You've got a shirt to wear in twenty minutes, a blazer that looks crushed from the closet, or a guest room that needs a quick refresh before someone arrives. That's when a garment steamer earns its keep. It's faster than setting up an ironing board, gentler on many fabrics, and far better at freshening pieces that don't need a full wash.
But using one well involves more than blasting steam at wrinkles. If you want results that look closer to dry-cleaner finishing, the difference comes down to setup, hand position, distance, and knowing when to back off on delicate fabric. That's where many users err. These individuals move too fast, hold the head too close, skip the purge, and then wonder why they get spit marks instead of smooth fabric.
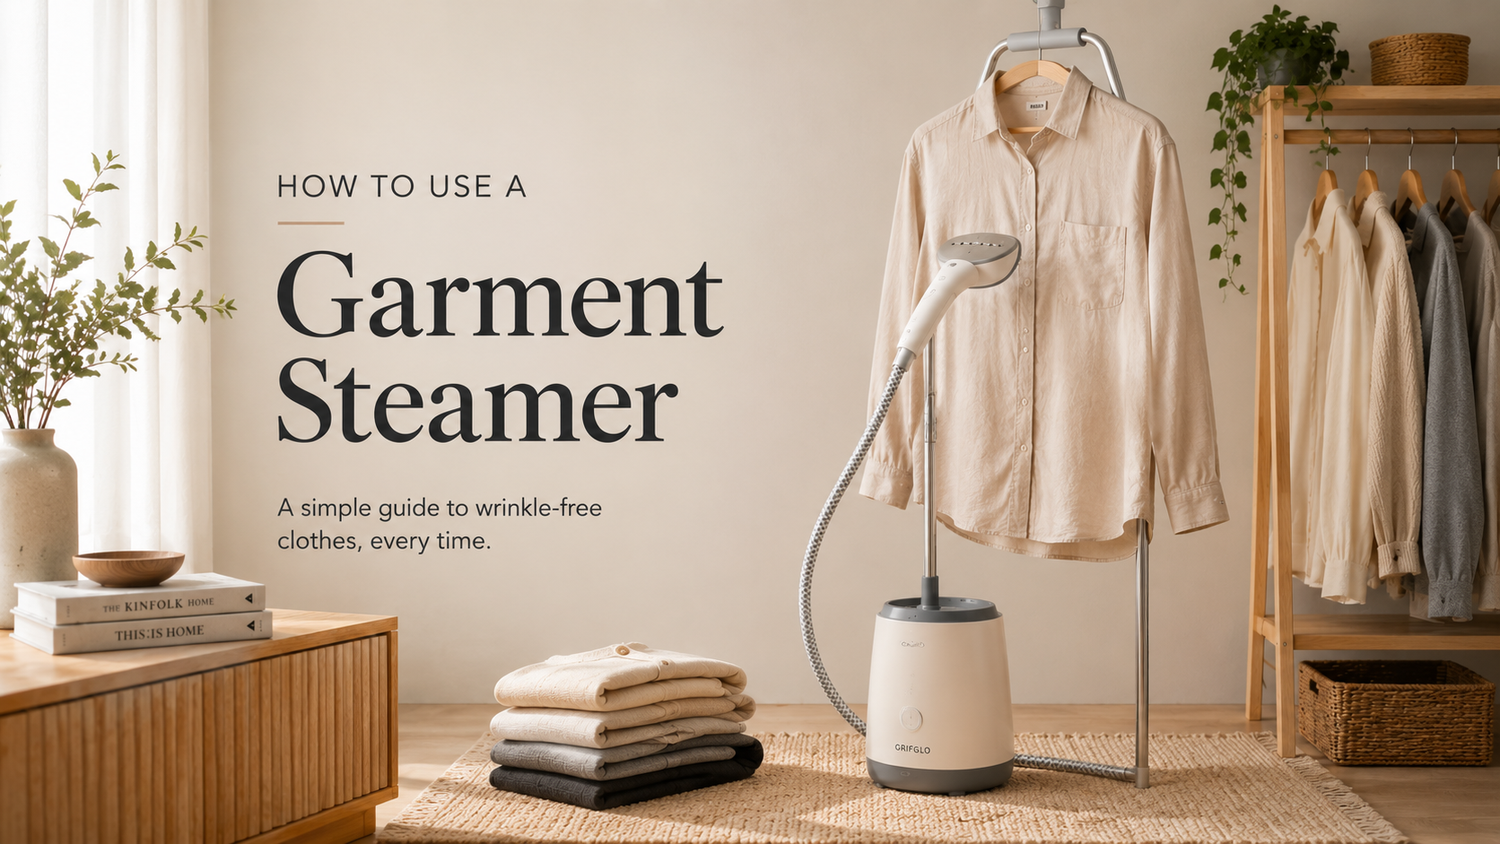
Table of Contents
- Your Essential Pre-Steaming Checklist
- Mastering the Art of Steaming Technique
- A Fabric-by-Fabric Guide to Safe Steaming
- Extend Your Steamer's Life with Proper Care
- Frequently Asked Steaming Questions
Your Essential Pre-Steaming Checklist
You are five minutes from heading out, or turning over a guest room, and the shirt or duvet cover looks wrinkled enough to spoil the whole impression. The finish you get in the next few minutes depends less on speed than on setup. Good prep is what separates a quick pass from the crisp, dry-cleaner-like result people notice.
Start with water that won't fight your machine
Start with distilled water if your steamer allows it. It is the simplest way to cut down on mineral buildup, weak steam, and the spitting that ruins dark fabrics with water marks. Tap water may seem harmless at first, but over time it leaves residue inside the tank and steam path, and performance drops long before the machine fully fails.

A few setup habits make a visible difference:
- Fill the tank on a flat surface: This helps you avoid overfilling and keeps water from collecting around the cap.
- Check the garment first: Empty pockets, release folded cuffs, open collars, and hang the item properly so you are not fighting its shape mid-job.
- Choose a clear, well-lit spot: You need enough room to move and enough light to catch damp patches before they dry into spots.
- Keep supplies together: If you steam regularly, store distilled water near the unit or with your garment care essentials.
Practical rule: A steamer should produce smooth, even steam. If it coughs, spits, or pulses, fix the setup first.
Do the pre-heat purge every time
A common mistake is treating the ready light as a green light to start on fabric immediately. The first wet blast often comes from that shortcut. Let the steamer heat fully, keep it upright, and send the first burst into a sink, towel, or open space until the steam runs evenly.
This matters most on silk-like synthetics, dark cotton, and anything you need to finish cleanly on the first try. Those fabrics show water spots fast, and once they appear, you have added another round of drying or re-steaming to the job.
Use this quick sequence every time:
- Fill with distilled water.
- Plug in and let it fully heat.
- Hold it upright.
- Purge the first steam away from fabric.
- Start on a less visible area if the fabric is delicate.
The whole routine takes a minute or two. It prevents the messiest mistakes and gives you a better start, which is exactly what you want when the goal is a cleaner, more professional finish at home.
Mastering the Art of Steaming Technique
A garment steamer isn't an iron held vertically. If you press the head flat against the fabric or wave it around loosely, you'll get a damp garment with half the wrinkles still there. The polished look comes from tension, distance, and slower passes.
Use tension, not guesswork
Canadian garment care experts found that a tension-controlled methodology achieves 92% crease elimination on wool and synthetics, and that method includes gripping the bottom hem to stretch the garment taut and keeping the nozzle 2 to 6 inches away, which also aligns with CSA safety guidance, according to Everything Formals on how to steam garments.

That's the core of how to use a garment steamer properly:
- Hang the garment securely: A sturdy hanger matters because the piece needs to stay still while you work.
- Use your free hand: Hold the hem or side seam and pull gently until the panel lies flat.
- Start at the top: Steam works with gravity. Begin at the shoulder, collar, or waistband and move downward.
- Go slower than you think: Let the steam relax the fibres. Fast waving doesn't give it time to work.
- Keep a little air gap: The steam needs room to flow through the fabric surface.
For everyday touch-ups, a compact unit is often enough. For example, a portable garment steamer for clothes touch-ups and travel-friendly use makes sense for renters, condo living, or quick morning resets.
Hold the fabric steady. Move the steamer steadily. Most poor results come from rushing one or both.
Work the hard areas properly
The body of a shirt or dress is easy. The details are where the finish starts to look professional or unfinished.
For collars, steam the underside first, then the outer side. Use your hand to shape the collar edge so the steam can relax the fold line instead of flattening it awkwardly.
For button plackets, work in narrow vertical passes along the strip rather than trying to steam across buttons. Let the head skim near the fabric instead of knocking into the closures.
For cuffs, open them if possible. A cuff steamed flat while folded often keeps a stubborn ridge. Open fabric gives you a cleaner reset.
For sleeves, start at the shoulder seam and finish at the cuff. If the sleeve twists on the hanger, hold the lower edge lightly and straighten the line before each pass.
Watch the motion before you copy it
A quick visual helps because steaming is physical. Hand position matters. Angle matters. Pace matters.
Once you've got the basic motion, the biggest upgrade is consistency. Don't change distance every few seconds. Don't speed up because one area looks better. Finish one panel cleanly, let it fall, then move on.
A Fabric-by-Fabric Guide to Safe Steaming
You can use the same steamer on a cotton oxford, a silk blouse, and a set of guest-room drapes, but you should not use the same approach. Fabric decides steam level, distance, and pace. That is the difference between a quick de-wrinkle and a finish that looks pressed and intentional.
For a cleaner result, sort garments by fabric before you start. Steam all your sturdy pieces first, then lower the output for delicates. That saves time and keeps you from bouncing between settings.
How to adjust by material
Cotton and linen can take more steam and usually need it. These fabrics hold set-in creases, especially around plackets, hems, and folded storage lines. Work slowly enough for the wrinkle to release, and if the piece is heavily creased, steam the inside first and then refine the outside for a flatter, more polished face.
Wool responds better to restraint. Keep a little space between the nozzle and the fabric, let the steam loosen the fibers, and use light tension with your free hand to keep the panel straight. That gives you shape without crushing the surface, which matters on sweaters, trousers, and suit separates.
Silk, rayon, acetate, and light synthetics need a gentler hand. Start with the lowest steam setting, test a hidden area, and keep the head farther back than you would on cotton. Delicate fabrics are more likely to show water marks, shine, or ripple if you rush. Steamers can also help freshen upholstery and other soft furnishings because hot steam loosens odors and surface grime while reducing bacteria, but those surfaces still need time to dry fully before use, as noted in Zogics' garment steamer guide (https://zogics.com/product-guide-library/how-to-work-a-steamer-the-best-easy-guide-to-wrinklefree-clothes/).
If you use a compact handheld model, a lighter steamer such as the Rowenta Pure Pop handheld steamer is especially useful for silk tops, polyester uniforms, and quick resets in guest spaces where control matters more than brute steam output.
Fabric Steaming Guide
| Fabric Type | Technique | Nozzle Distance |
|---|---|---|
| Cotton | Use slow, straight top-to-bottom passes on a taut panel. Finish edges and seams with an extra pass if needed. | Close enough to deliver steady steam without soaking the fabric |
| Linen | Work in sections and let each area relax before repeating. Expect stubborn fold lines to need more than one pass. | Slightly farther back than cotton if spotting is a risk |
| Wool | Steam lightly, keep the fabric shaped, and avoid lingering on one area. | A few inches away |
| Silk | Use the lowest output, test first, and steam from the inside when possible. | Extra distance |
| Polyester and blends | Start cautiously. Short passes help prevent shine and moisture marks. | Moderate distance |
| Upholstery | Use broad, even passes and avoid saturating seams or padding. Air out fully after steaming. | Farther back than clothing |
Delicate fabric looks best when it is smooth, fresh, and properly shaped. A steamer should relax the cloth, not flatten its character.
What I would not steam casually
Some items deserve a pause before you steam them. If a piece has coating, glue, bonded trim, sharp internal structure, or heavy decoration, moisture can change the finish or loosen the construction even when the base fabric seems safe.
Use extra caution with:
- Waxed or coated items: Steam can change the surface and leave uneven patches.
- Plastic trim or decorative bonding: Heat and moisture can warp edges or weaken adhesion.
- Sequins, glued appliqués, or beading: Attachments often fail before the fabric does.
- Velvet with a crush-prone pile: Steam can help revive it, but only with distance and no contact.
- Structured jackets or pleated pieces: Steam may soften shape that was meant to stay crisp.
For short-term rental hosts, steaming duvet covers, curtain panels, cushion covers, and upholstered headboards can make a room feel reset fast. The professional-looking result comes from restraint. Remove the wrinkles, freshen the surface, and let everything dry and settle before you make the bed or turn the room over.
Extend Your Steamer's Life with Proper Care
Most steamers don't fail because they're used too much. They fail because they're used carelessly. If you want reliable steam on busy mornings, maintenance isn't optional. It's part of the job.
The maintenance habit that matters most
In Canada, where hard water is common, using distilled water can cut steamer failures by 40%, according to Rowenta's beginner's guide to using a steamer. That same guide notes that CSA Group safety standards require a 30 to 60 second wait after the indicator light turns on so the unit can reach 98 to 100°C, which prevents 85% of reported water spitting incidents.

That tells you two things. First, the machine needs clean water. Second, it needs full heat. People often blame the steamer when the actual problem is residue in the tank or a rushed start.
If you use a handheld model regularly, keep a basic maintenance rhythm:
- Empty the tank after use: Don't let water sit in the machine.
- Store it dry: Moisture left inside encourages residue.
- Wipe the head: Remove any visible lint or fabric dust.
- Descale when steam output drops: Don't wait for a full clog.
A practical option for regular use is a compact handheld like the Rowenta Pure Pop handheld steamer, especially if you want something easy to empty and store between sessions.
A simple care routine after each session
Routine care doesn't need to be elaborate. It just needs to be consistent.
After steaming, unplug the unit and let it cool fully. Empty the remaining water. Leave the tank open for a bit if the design allows airflow. Coil cords loosely rather than wrapping them tight around the body.
For descaling, a vinegar-and-water cleaning cycle is a common maintenance step for units that allow it. Follow the manufacturer instructions first, because steamer designs differ. The goal is simple. Clear residue before it hardens into a blockage.
A steamer that lives with old water in it will eventually act like it. Weak, inconsistent, and messy.
If your unit starts making more noise, producing uneven steam, or leaving droplets after it used to work well, treat that as a maintenance warning. Don't keep forcing it through garments.
Frequently Asked Steaming Questions
People usually learn steaming by trial and error. That works, but it also ruins mornings. These are the problems that come up most often and the fixes that make the tool far more dependable.
Why is my steamer spitting water
The most common causes are incomplete heating, leftover condensation, or poor fabric handling. For safety, always stretch the fabric taut while steaming from top to bottom. Good Housekeeping's garment steamer guide notes that WorkSafeBC reports this technique results in 22% fewer burn incidents, and the same guide says 82% of Canadians prefer steamers for their efficiency in Angus Reid polls.
The practical fix is straightforward:
- Let it heat properly: Don't begin the second the light changes.
- Purge the first steam away from clothing: Initial condensation is often the culprit.
- Keep the garment taut: Loose fabric lets moisture pool.
- Hold the steamer upright: Tilting some handheld units too far can encourage drips.
If it spits repeatedly even with proper use, empty it, let it cool, and check for buildup or a partially blocked steam path.
Can I steam curtains bedding or upholstery
Yes, with common sense. Steam is excellent for refreshing fabric around the home because you don't need to remove and wash every item to improve how it looks and feels.
Curtains respond well when they're already hanging. Start at the top and work down in broad passes. For bedding, steam the duvet cover or top layer lightly rather than soaking the fabric. Upholstery should be steamed with extra distance and a lighter hand, then allowed to air out before use.
Use steaming to refresh, not saturate. If the fabric feels noticeably wet, you're moving too slowly or working too close.
Can a garment steamer replace an iron
For many households, it replaces most ironing. It's especially good for shirts, dresses, knitwear, soft trousers, blouses, and quick morning resets. It's also much more convenient for items that are awkward on an ironing board.
It won't fully replace an iron if you want razor-sharp creases in custom-fit trousers, perfectly pressed shirt plackets, or very flat formal finishes on stiff woven fabric. That's the trade-off. A steamer gives speed, gentleness, and flexibility. An iron gives compression and edge.
Generally, the best setup is not steamer versus iron. It's steamer for almost everything, iron only when a hard press matters.
How should I travel with a handheld steamer
Travel steamers are useful, but they're often packed badly. That's what leads to leaks into your bag or a stale tank smell when you arrive.
Before packing:
- Empty the tank completely.
- Let the unit dry with the cap off if possible.
- Wrap the cord loosely.
- Pack it upright if your luggage layout allows.
- Check voltage compatibility before international travel.
Once you arrive, fill it only when you're ready to use it. Hotel sinks are fine for setup, but keep the first purge away from your clothing, especially if you're steaming a dark shirt or a delicate dress before an event.
A compact steamer is also useful beyond clothes. I've seen hosts use one to tidy guest-room curtains, soften folded table runners, and refresh decorative cushion covers quickly before check-in. That's where the tool proves its value. It handles small visible problems fast.
GrifGlo helps households, renters, and hospitality teams find practical home tools without sorting through endless options. If you're comparing garment care essentials, handheld steamers, or reliable products for everyday use, browse GrifGlo for decision-friendly picks built around real routines.


Laisser un commentaire
Ce site est protégé par hCaptcha, et la Politique de confidentialité et les Conditions de service de hCaptcha s’appliquent.