

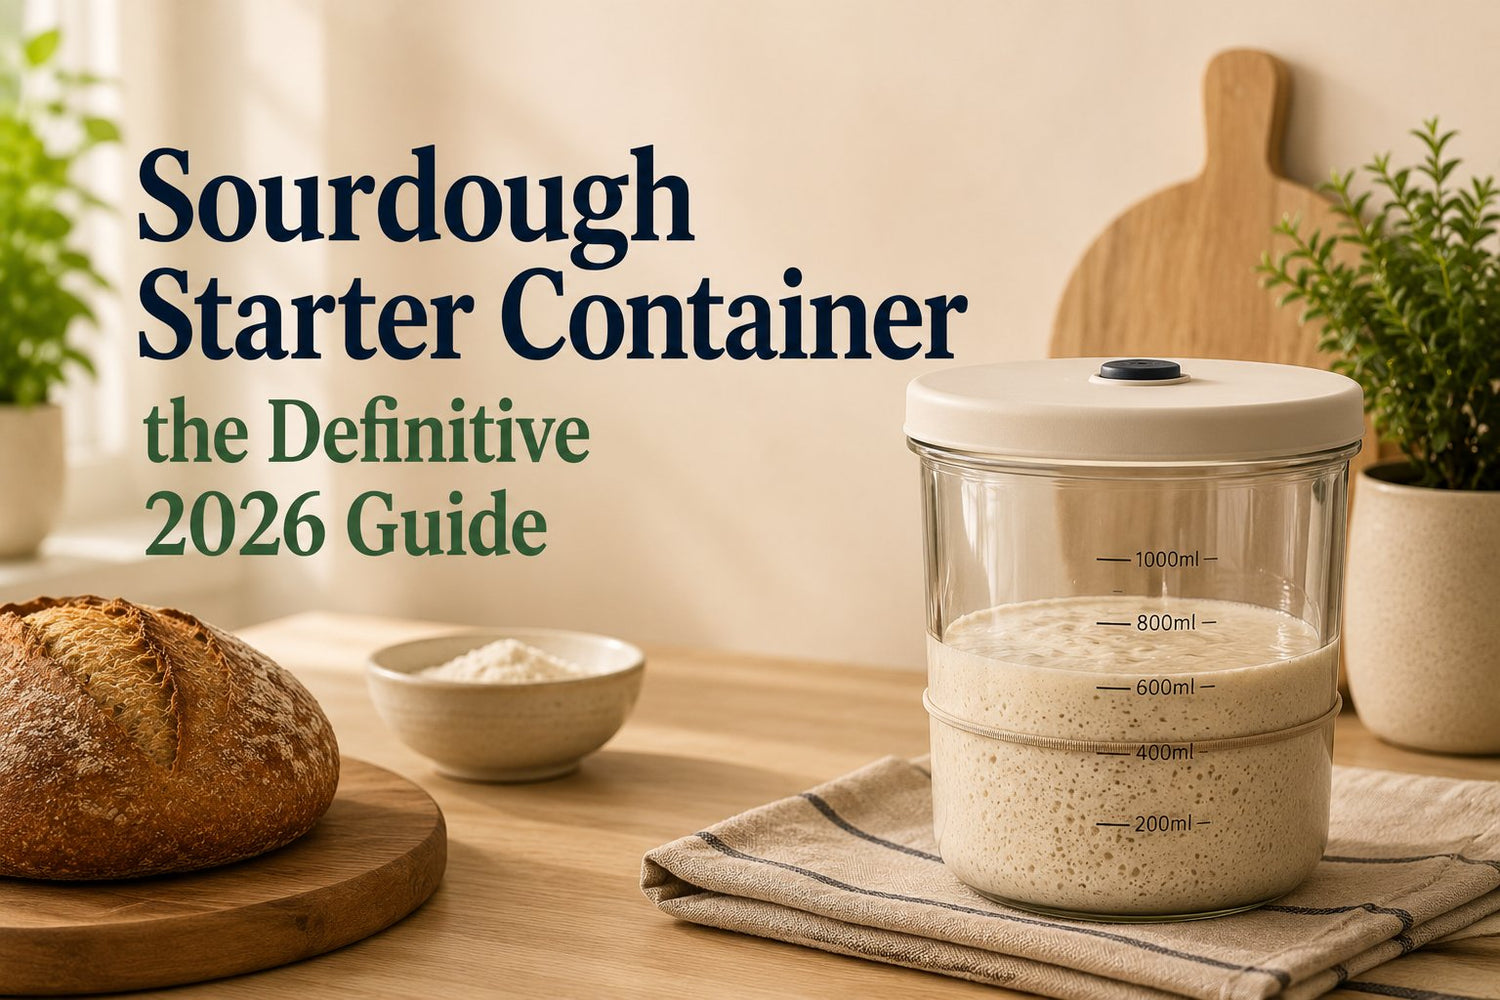
You feed your starter on schedule, use decent flour, keep the ratio steady, and it still behaves like a moody pet. One week it climbs beautifully. The next it barely moves, or it blows past the rim and leaves a sticky ring on the counter. A lot of bakers blame the flour, the room temperature, or their technique. Often, the problem is simpler. The container doesn't suit the system.
That matters more than people think. A sourdough starter container isn't just where the starter waits. It affects how easily you can mix, how accurately you can read the rise, how safely gas escapes, how often you need to clean, and whether your routine feels manageable in a small kitchen or busy prep space. If the jar is awkward, too narrow, too short, too sealed, or impossible to scrape clean, the whole process gets harder than it needs to be.
There's also a long tradition behind this. San Francisco style sourdough goes back to the 1849 Gold Rush era, and some bakeries report maintaining the same culture since then, for over 175 years as of the 2024 to 2026 period, which makes the vessel part of a real preservation chain, not just a storage choice, as noted in this history of San Francisco sourdough.
Table of Contents
- Why Your Starter's Home Matters More Than You Think
- Choosing Your Material Glass vs Plastic vs Ceramic
- Getting the Size and Shape Just Right
- The Critical Role of Lids and Airflow
- Container Troubleshooting and Advanced Care
- A Practical Framework for Your Kitchen and Budget
Why Your Starter's Home Matters More Than You Think
A baker can do almost everything right and still get inconsistent results from a poor vessel. The classic example is the reused pantry jar with curved shoulders, a narrow opening, and a lid that screws down tight. It works for leftovers. It's annoying for starter.
The problems show up slowly. Old paste dries under the shoulder where the spoon can't reach well. Rise marks are hard to judge because the sides taper or bulge. Feedings get messier, so the jar gets cleaned less often. Then one warm day the starter surges upward, hits the lid, and leaves you wondering whether the culture is unstable.
Practical rule: If your starter routine feels messy, vague, or harder than it should, change the container before you change the culture.
A good sourdough starter container gives you three things at once. It creates a stable home for fermentation, it makes your maintenance routine easier, and it helps you read the starter without guessing. That last part matters more than beginners realise. If you can't see whether the starter has risen, you can't time your baking well.
The vessel is part of the process
With sourdough, the container becomes part of the method. It's where the starter is refreshed, where fermentation becomes visible, and where you decide whether the culture is ready for the next step.
That idea isn't new. Bakers have relied on durable vessels for generations, and the long continuity of San Francisco sourdough makes the point clearly. The jar or crock isn't a passive accessory. It supports an ongoing fermentation chain.
Good container choices reduce friction
The right vessel doesn't make weak starter strong on its own, but it removes friction from daily care.
- Cleaner feedings: Wide access means less paste on the rim and fewer crusty leftovers.
- Better reading: Straight sides make a rubber-band mark useful.
- Less stress: Proper headspace and a sensible cover reduce overflow and pressure issues.
If you bake often, that adds up fast. If you bake only now and then, it matters even more because your system needs to be easy enough to restart without fuss.
Choosing Your Material Glass vs Plastic vs Ceramic
Material changes how the container behaves in real life. Not in theory. In your actual kitchen, with rushed feedings, small sinks, full dish racks, and the occasional dropped jar.

If you're already comparing everyday kitchen storage materials, this broader guide to glass vs plastic food storage containers is useful context because the same trade-offs show up with starter care: visibility, weight, durability, and cleaning effort.
Glass for visibility and clean handling
Glass is what I'd put most home bakers in first. You can see the bubbles, the rise line, the separation, and the residue on the walls. That means fewer surprises and cleaner timing.
It also scrapes down well. Old starter comes off more cleanly from glass than from many worn plastic containers, especially once the plastic has picked up scratches. If you maintain a small to moderate starter on the counter, glass is usually the easiest material to live with.
The downside is obvious.
- Break risk: Glass and tile floors don't forgive clumsy mornings.
- Weight: A larger glass jar feels less convenient if you move it in and out of the fridge often.
- Cold transfer: Straight from fridge to counter, glass can feel less forgiving to handle than plastic.
Plastic for low risk and busy kitchens
Food-grade plastic makes sense when durability matters more than looks. In a crowded kitchen, a rental with hard floors, or a small café where staff need something light and easy to move, plastic earns its place.
It also works well for backup starter, fridge storage, and transport. If your routine involves moving containers around a lot, plastic can be the practical pick even if it isn't the prettiest one on the shelf.
Its weak points show up over time:
| Material | What it does well | Where it gets annoying |
|---|---|---|
| Glass | Shows rise clearly, cleans well | Breaks if dropped, heavier |
| Food-grade plastic | Lightweight, durable, easy to move | Can stain, scratch, and hold odours |
| Ceramic | Stable feel, attractive on the counter | You can't see activity without opening |
Plastic can also become harder to trust visually. A stained container makes it tougher to distinguish fresh residue from old residue. For a baker who already pushes cleaning a day longer than they should, that matters.
Ceramic for steadiness and counter appeal
Ceramic suits bakers who want the starter to live on the counter and look like it belongs there. It also has a steady, insulated feel that some people prefer in homes where room temperature swings across the day.
But ceramic asks for a trade. You lose visibility. If the vessel is opaque, you can't judge rise from the side, and you'll open it more often just to check progress. That interrupts the clean, low-touch routine most starter systems need.
A container that looks beautiful but hides the starter's behaviour is often the wrong tool for a busy baker.
There's a place for ceramic, especially if your system is already dialled in and you know your starter well. Typically, however, it becomes a secondary vessel, not the main one.
A practical side note for small kitchens: if you wash jars frequently, drying space matters. A space-saving rack like the HOME AESTHETICS HA-4403 Dishrack 2 Tier With Rubbermaid can make glass container rotation easier because it uses a 2-tier design and includes a built-in drainboard system with holders for cutlery and glassware.
Getting the Size and Shape Just Right
Brand gets too much attention. Geometry does the actual work.
The most widely recommended format is a 16 to 32 oz, about 500 mL to 1 L, clear, wide-mouth, straight-sided glass jar, with room for roughly 100 to 200 g of starter. If your culture is especially active, a 1 L or 32 oz jar gives more buffer against overflow. That guidance comes from this practical breakdown of the best jar size and shape for sourdough starter.

If you're trying to visualise what those volumes look like across everyday storage formats, this sizing guide to food storage container sizes helps translate jar labels into real kitchen use.
Why straight sides beat fancy shapes
Straight sides make the starter easier to read and easier to clean. That's the whole game.
Shouldered jars create a dead zone where starter smears collect. Those smears dry out, cling to the glass, and make the jar look dirtier than it is. They also make scraping less efficient during feeding. Over time, that means more residue and more uncertainty.
Wide mouths matter for the same reason. You need enough room to stir properly, scrape the sides, and wipe the rim without contorting a spoon into a narrow opening.
Here's what to look for first:
- Wide opening: Your spoon or spatula should move freely without scraping your knuckles.
- Straight wall: Rise should be easy to mark and compare from one feed to the next.
- Flat base: A stable jar is less likely to wobble while you stir.
- Minimal interior ledges: Fewer hiding places for dried paste.
How to match jar size to your maintenance routine
Don't choose size based on what looks tidy empty. Choose it based on how your fed starter behaves.
A very small jar can work for a very lean starter, but it leaves no room for mistakes in a warm kitchen. A very large jar creates the opposite problem. The starter can look inactive because the change in height is hard to read.
This is the working logic I use:
- For modest home maintenance, keep enough space above the feed line that the starter can rise comfortably without threatening the cover.
- For warm kitchens or vigorous cultures, use the larger end of the recommended range so you're not cleaning overflow rings off the counter.
- For fridge-first bakers, choose a jar that still lets you mix comfortably after the starter has thickened and chilled.
Don't buy a jar because bakers online use it. Buy the one that makes your own feed, scrape, mark, and clean cycle easy.
A good sourdough starter container should let you answer three questions at a glance. How high did it start. How high did it rise. How much mess will this feeding create. If the shape hides any of that, move on.
The Critical Role of Lids and Airflow
The lid is where a lot of starter routines go wrong. People hear “store in a jar” and assume the jar should close the way a leftover soup jar closes. That's not the same job.
Fermentation creates gas. If the container is sealed tightly while the starter is active, pressure can build inside. One specialist source warns that a sealed jar can even crack, which is why a loosely covered setup is preferred for active starter. That same source points to formats such as the Weck 743 Mold Jar and 745 Tulip Jar, with the 743 cited as a top-performing option for starter management in this review of the best jar for your sourdough starter.

For a broader kitchen-storage perspective, this GrifGlo guide on airtight food storage containers is useful because it highlights exactly where airtight storage helps and where it creates problems. Starter falls into the second category when it's actively fermenting.
Why a tight seal creates avoidable problems
A tight seal sounds sanitary, but with an active starter it often creates pressure and mess instead of control. If the culture is vigorous, gas has to go somewhere.
That doesn't mean the starter needs to sit exposed. It means the cover should protect the surface without locking gas inside.
Common problems with the wrong lid include:
- Pressure build-up: Tight seals trap gas instead of letting it escape gradually.
- Overflow at the rim: The starter hits the top sooner when the vessel has poor headspace and a sealed lid.
- Messy cleanup: Sticky foam under threads or gaskets adds another place for residue to sit.
What actually works on the counter
The most reliable setup is simple. Use a lid that rests on top, sits loosely, or otherwise doesn't create a firm airtight seal during active fermentation.
That's why jars with easy-on, easy-off covers tend to work well in real kitchens. You can feed, scrape, mark the level, and replace the cover in seconds. No fussing with threads caked in starter.
A few practical choices work better than others:
- Loosely resting hard lid: Good protection, fast to remove, low effort.
- Non-sealed glass lid systems: Useful if they sit securely without trapping pressure.
- Cloth-style covers: Sometimes used, but they can create their own contamination issues in ordinary kitchens.
If the lid requires you to choose between safety and convenience, it's the wrong lid for a starter jar.
For fridge storage, some bakers tighten things more than they do on the counter. For active room-temperature fermentation, loose cover wins on both safety and ease.
Container Troubleshooting and Advanced Care
When a starter starts misbehaving, most bakers focus on feeding ratios first. Fair enough. But container choice often explains why the same starter behaves well in one home and badly in another.
That's especially true in warmer California conditions. Existing guidance notes that heat extremes are increasing, which can accelerate fermentation and make container choice more consequential. In that environment, a tightly sealed container can raise pressure and overflow risk, while some lid styles may not protect well enough from contaminants. That practical warning appears in this discussion of whether you need a special jar for sourdough starter.

For the maintenance side of the equation, this guide on how to clean food storage containers is a useful companion because starter jars fail in the same ordinary way many kitchen containers fail: residue gets left behind in seams, shoulders, and lids.
Overflow hooch and mould usually have a container story
Overflow often means the jar is too small for the environment or too awkward for the feeding routine. In a warm flat, the same feeding that behaves politely in cool weather can climb much faster. If the vessel has limited headspace, the starter ends up on the counter.
Hooch and neglect also have a container angle. If the jar is hard to open, hard to clean, or too opaque to read, bakers tend to postpone maintenance. The starter doesn't fail because the material is cursed. It fails because the vessel creates friction and the routine slips.
Mould risk rises when old residue sticks around.
- Dirty shoulders: Dried paste sits where you can't properly wipe it.
- Messy threads and seals: Residue hides in crevices and gets ignored.
- Weak lid choice: Too open and the jar is less protected. Too sealed and pressure becomes its own problem.
Care habits that keep the vessel from becoming the problem
The easiest advanced habit is a jar rotation. Keep one active jar in use and one clean, dry jar ready. Feed into the clean jar regularly instead of endlessly building residue in the same one.
That solves several problems at once. You remove old build-up, you can inspect the starter better, and you stop normal staining from becoming your baseline.
A few habits work in almost every kitchen:
- Wipe the upper wall after feeding: Don't leave a ring of paste above the fresh level.
- Mark the starting point: A band or marked line makes the rise obvious.
- Choose storage by routine: Counter for frequent baking, fridge for slower rhythms.
- Adapt to weather: In hotter spells, give the starter more headspace and check it sooner.
A calm starter routine usually comes from a clean jar, clear rise marks, and enough room for a warm-day surge.
If you live in a small apartment, keep the jar where the temperature is fairly stable and where an overflow won't ruin anything important. If you run a small café, standardise the vessel so anyone feeding the culture can read it the same way.
A Practical Framework for Your Kitchen and Budget
A sourdough starter container doesn't need to be “perfect”. It needs to match one's space, schedule, and tolerance for breakage, cleaning, and clutter.
That's the part buyers often skip. They shop by material when they should shop by system. If you want a practical comparison process for everyday kitchen tools, GrifGlo's guide on how to choose food storage containers uses the same kind of decision criteria that work well here: fit for purpose, ease of use, and storage reality.
Best fit for home cooks renters and small operations
Different setups call for different compromises.
For the everyday home cook, I'd lean toward a clear, straight-sided glass jar with a loose lid. You can read the rise instantly, clean it properly, and keep the whole routine visible. That's the least frustrating path if you bake often enough to want the starter on hand.
For renters or anyone in a tight kitchen, durability may matter more. If the jar lives beside the kettle, above the microwave, or in a crowded fridge, a lighter container can make the whole system easier to manage. You may give up some long-term visual clarity, but you gain resilience in a high-traffic space.
For a small café or hospitality setup, standardisation matters most. Everyone should use the same vessel, the same fill line habit, and the same cover style. The biggest gain isn't elegance. It's consistency.
A simple system beats a perfect jar
The smartest setup is usually boring.
Use one main container that matches your normal routine. Keep one backup container clean and ready. Label if needed. Don't keep experimenting once you find a shape that makes feeding easy and rise easy to read.
A few final matches work well in practice:
- If you bake weekly or more: Go with visibility first. Clear glass makes timing easier.
- If you move things often: Prioritise lighter, tougher containers.
- If your kitchen runs warm: Choose more headspace than you think you need.
- If staff or family share the task: Standardise the jar and mark the feeding line.
- If you hate cleanup: Avoid shoulders, deep threads, and awkward lids.
The right sourdough starter container doesn't need to be fancy. It needs to fit your habits well enough that you'll keep the culture healthy without turning it into a chore.
If you're building a more reliable kitchen setup beyond one starter jar, GrifGlo offers decision-friendly guides across storage, organisation, and home essentials so you can choose tools that fit your routine instead of cluttering it.

Laisser un commentaire
Ce site est protégé par hCaptcha, et la Politique de confidentialité et les Conditions de service de hCaptcha s’appliquent.