

You pull a tray out, and the food tells a completely different story than the oven display did. The top looks done. The middle isn't. Or preheat seems to take forever, yet the control panel insists everything is normal.
That's the kind of problem that makes people doubt their recipes, their pans, and sometimes their cooking. In many cases, the underlying issue is much smaller and much less dramatic: the oven heat sensor. It's a simple part, but it plays a major role in helping the oven decide when to heat, when to stop, and how to hold a steady temperature.
The tricky part is that a bad sensor isn't always the actual fault. Plenty of homeowners replace the sensor first, only to find the oven still runs hot, cold, or erratically. That usually means the control board or wiring was the underlying problem all along. If you've been troubleshooting uneven baking, slow preheating, or inconsistent results, it also helps to rule out cookware-related variables, especially if you cook often on different appliances. GrifGlo's guide to choosing cookware for gas stoves is a useful example of how heat transfer can change results even before an appliance fault enters the picture.
This guide walks through the problem the way a careful technician would. You'll learn what the sensor does, how to test it properly, when to suspect the control board instead, and how to decide whether this is a repair you should tackle yourself.
Table of Contents
- That Ruined Recipe Might Not Be Your Fault
- What Is an Oven Heat Sensor and How Does It Work
- Symptoms of a Failing Sensor Or Is It the Control Board
- How to Test Your Oven Sensor with a Multimeter
- A Practical Guide to Replacing an Oven Sensor
- DIY Repair vs Hiring a Professional
- Buying a New Sensor Considerations for Every User
That Ruined Recipe Might Not Be Your Fault
A lot of oven problems show up first as “bad cooking”. A cake browns too fast on top but stays wet in the centre. Frozen pizza needs extra time every single night. Roast vegetables come out pale one day and scorched the next.
Baking problems frequently lead to blaming the recipe first. Blame then shifts to the pan. Finally, the temperature knob is adjusted or settings are changed, often with the hope of improvement.
What's often happening is simpler than that. The oven is making decisions based on faulty temperature information. If the oven heat sensor sends the wrong signal, the oven can shut the element off too soon, stay on too long, or cycle unevenly. To you, it looks like random cooking trouble. To a technician, it looks like a temperature feedback problem.
Practical rule: If the same recipes suddenly start failing in the same oven, your cooking skills probably didn't disappear overnight.
There's another wrinkle that catches a lot of people. The symptoms of a bad sensor and the symptoms of a bad control board can look almost identical. That's why replacing the first obvious part doesn't always fix anything. A rushed diagnosis can cost money and still leave you with the same underheated casserole.
That's why confidence matters more than speed here. A careful check takes longer than guessing, but it gives you something much better: a real answer.
What Is an Oven Heat Sensor and How Does It Work
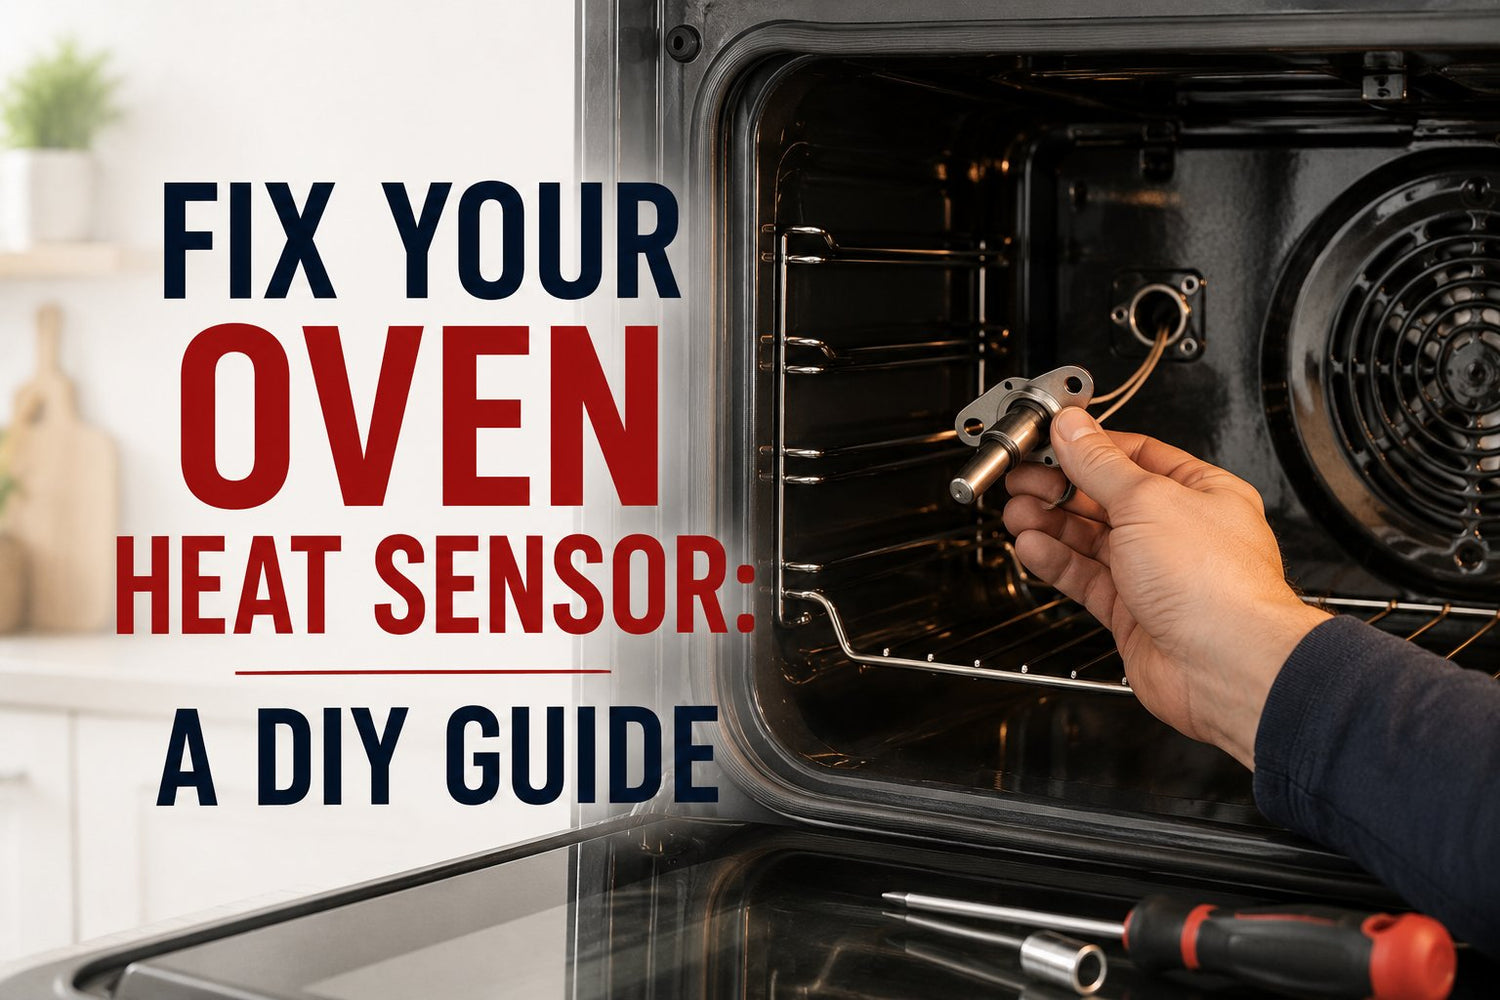
The oven heat sensor is a slim metal probe mounted inside the oven cavity, usually near the upper rear area. It doesn't create heat. It measures heat and reports that information back to the control system.
Think of it as the oven's thermometer
A simple way to picture it is this: the sensor is the oven's dedicated thermometer, and the control board is the decision-maker. The sensor keeps reporting what the temperature is. The board uses that report to decide whether the heating element should stay on or cycle off.

That's very similar to how a home heating system relies on temperature feedback. If you've ever read about smart thermostat installation basics, the idea is familiar: one part senses temperature, another part acts on that information.
In many residential ovens, the sensor works by changing electrical resistance as temperature changes. The control board reads that resistance and interprets it as temperature. Higher or lower resistance tells the board whether the cavity is cooler or hotter than the target setting.
What the resistance reading actually means
A standard oven temperature sensor reads approximately 1,080 ohms at room temperature (20°C), with a normal range of 1,060 to 1,100 ohms according to this residential oven sensor testing reference. If the reading falls below that range or rises above it at room temperature, the sensor is generally considered faulty.
That matters because the sensor's resistance change is what triggers the relay to cycle the heating element on and off. If the signal is wrong, the oven's timing is wrong. The result is uneven heating, poor preheating, or temperature drift during baking.
Here's the plain-language version:
- Normal reading: The oven gets believable temperature information.
- Reading too far off: The oven reacts to bad information.
- Bad reaction: Food cooks unevenly, slowly, or too aggressively.
The sensor doesn't “know” your cookies are burning. It only changes resistance. The control board decides what to do with that signal.
That last point is why diagnosis matters. A sensor can be healthy, but if the control board misreads it or fails to switch the heating circuit correctly, the oven still behaves badly.
Symptoms of a Failing Sensor Or Is It the Control Board
When people suspect an oven heat sensor, they're usually reacting to symptoms, not measurements. That's normal. You notice cooking problems first.
The symptoms overlap more than most guides admit

Common complaints include an oven that won't preheat properly, overheats, underheats, shuts the element off too early, or takes forever to cook familiar meals. All of those can point to a sensor problem.
But here's the expensive trap. The same symptoms can also point to a failing control board or a wiring fault. In fact, the confusion is common enough that a repair discussion in the appliance community notes that 30 to 40% of “sensor” replacement cases are caused by a faulty control board or wiring issue, and that replacing a $40 sensor when the underlying fault is a $200 to $300 control board wastes time and money, as described in this appliance repair discussion about sensor versus CPU diagnosis.
That doesn't mean the sensor is rarely bad. It means symptoms alone don't prove it.
Symptom diagnostic chart
| Symptom | Likely Cause (Sensor) | Possible Alternative Cause (Control Board/Element) |
|---|---|---|
| Oven runs cooler than the set temperature | Sensor reading is inaccurate | Control board misreads input or fails to keep bake circuit energised |
| Oven overheats | Sensor sends false low-temperature signal | Control relay sticks or board fails to cycle element off |
| Preheat takes too long | Sensor reading is drifting | Weak element or board not delivering heat consistently |
| Display says preheated but food is still underdone | Sensor reports temperature too early | Board logic or relay issue interrupts proper heating |
| Temperature swings feel extreme | Sensor changes erratically | Wiring issue, relay issue, or broader control failure |
A quick visual can help if you want to see the parts involved before opening anything up.
When the board becomes the better suspect
If you test the sensor and it falls within the proper room-temperature range, don't stop thinking. That's the moment to widen the diagnosis.
Pay closer attention to the control board if:
- The sensor tests properly: A normal ohm reading makes the board, relay, or wiring more suspicious.
- The problem comes and goes: Intermittent behaviour often points to electrical control issues.
- The display or controls act oddly: Unresponsive buttons, odd temperature behaviour, or inconsistent operation can suggest board trouble.
- A new sensor changes nothing: That's one of the strongest clues that the original diagnosis was incomplete.
A bad sensor and a bad board can produce the same meal failures. The meter is what separates them.
How to Test Your Oven Sensor with a Multimeter
Testing the sensor is the point where guessing ends. You don't need advanced electrical training for this, but you do need patience, a multimeter, and a strict respect for safety.
Safety first and access
Start by fully disconnecting power to the oven. Unplug it if it has a plug. If it's hardwired, switch off the correct breaker and make sure the appliance is dead before touching anything.
Open the oven door and look for the sensor probe inside the cavity. It's usually a thin rod attached with screws near the back wall. Remove the mounting screws carefully and pull the sensor forward just enough to access the connector, if your model allows it.

Some models give you enough slack to disconnect the sensor from inside the oven. Others require rear access. If the connector slips back through the insulation, stop and work carefully. You don't want to turn a simple sensor test into a cabinet-pulling job.
If you like appliances with straightforward digital controls, something like the Hamilton Beach 35065C 3 Liter Digital Air Fryer shows how different small cooking appliances handle time and temperature control in a more compact format. It offers a 3L compact capacity, 8 preset cooking functions, digital time and temperature control, and a nonstick easy-clean basket. That doesn't help diagnose your oven, but it does make the basic idea of electronic heat control easier to picture.
Taking the ohm reading
Set your multimeter to measure ohms, not continuity. That distinction matters. Oven sensors cannot be tested by continuity, so technicians use an ohm reading at the sensor plug pins instead, as shown in this multimeter-based oven sensor testing guide.
At room temperature, the sensor should read about 1,080 ohms. That room-temperature benchmark is the critical checkpoint for diagnosis.
Use this sequence:
- Disconnect the sensor plug: Test the sensor itself, not the whole circuit through the board.
- Touch one meter lead to each pin: Keep your fingers off the metal probe tips if possible.
- Read the display carefully: You're looking for a value around 1,080 ohms at room temperature.
- Judge the result calmly: A reading far above or below that benchmark points to a failed sensor.
If your meter has manual ranges, use a range that covers this resistance clearly. If it's autoranging, let it settle before deciding the reading is final.
How to avoid a false diagnosis
The meter gives you a strong clue, but technique still matters. These are the mistakes I see most often:
- Testing with power still connected: Unsafe, and it can produce misleading readings.
- Using continuity mode: The sensor's resistance is too high for that method to tell you anything useful.
- Measuring through connected wiring: That can mix board or wiring issues into the result.
- Skipping the wiring check: A healthy sensor can't help if the harness is damaged.
If the sensor tests out properly, the next suspect is no longer the sensor. At that stage, inspect the harness and connector, and consider whether the control board is failing to interpret or act on the signal. For built-in appliance projects where access can be awkward, a guide like over-the-range microwave installation steps can also give you a good sense of how much caution and planning built-in kitchen work usually requires.
A Practical Guide to Replacing an Oven Sensor
Once you've confirmed the sensor itself is faulty, replacement is usually one of the more approachable oven repairs. It's often less complicated than it sounds because the part is small and commonly held in place with just a few fasteners.
Before you buy the part
Use the oven's full model number, not just the brand name. The right sensor needs to match the wiring connector, mounting style, and control system your oven uses.
Choose carefully between OEM and aftermarket parts. OEM parts usually make matching easier. A quality aftermarket part can also work, but only if it's clearly compatible with your exact model.
It also helps to take a photo before you remove anything. That one step saves a lot of second-guessing during reassembly. If you handle replacement parts and oven hardware regularly, simple support gear matters too. Even with a cold oven, gloves or mitts can help you grip sharp-edged interior parts more securely.
Replacement steps that keep things simple
Most sensor replacements follow this basic pattern:
- Disconnect power completely. Don't trust the control panel being dark. Verify the oven has no power.
- Remove the mounting screws. Keep them in a small dish so they don't disappear under the range.
- Pull the old sensor forward gently. Don't yank. The harness behind it may be short.
- Separate the connector. If there's a clip, release it carefully instead of forcing it.
- Connect the new sensor. Match the connector securely and check that the wiring isn't twisted or pinched.
- Reinstall the sensor. Seat it straight and fasten it snugly, but don't overtighten the screws.
- Restore power and test. Run a bake cycle and watch for normal preheating behaviour.
If the new sensor goes in easily but the oven still behaves the same way, stop replacing parts. That's when the control side deserves attention.
A final practical note. If you're comparing repair tasks around the home, GrifGlo's piece on refrigerator water filter replacement is another good example of how small appliance maintenance jobs reward model-specific parts and careful handling more than brute force.
DIY Repair vs Hiring a Professional
Some oven sensor jobs are good DIY candidates. Some are not. The difference usually comes down to diagnosis confidence, access, and your comfort around live-appliance risks.
When DIY makes sense
DIY repair makes sense when the sensor tested faulty, the replacement part is clearly identified, and you can reach the connector without dismantling half the kitchen. In that situation, the job is often straightforward enough for a careful homeowner.

DIY also appeals to people who like understanding how their home works. If you already use tools comfortably and follow safety steps closely, replacing a confirmed bad sensor can be a satisfying repair.
A separate advantage is decision clarity. If you test first and replace second, you're not just swapping parts at random.
When a service call is the smarter move
Call a professional when the sensor checks out but the oven still misbehaves. That's where the job moves away from simple component replacement and into board-level diagnosis, relay testing, and wiring evaluation.
You should also hand it off if:
- The oven is under warranty: DIY work can complicate coverage.
- Access is poor: Wall ovens and built-in models can become physically awkward fast.
- The controls behave strangely: That usually points beyond the sensor.
- You're not comfortable with electrical testing: Good judgement beats forced confidence.
Sometimes the cheapest repair is the one you don't guess at.
If you're trying to decide whether repeated appliance problems justify more visibility into your household power use, a tool guide like this overview of home energy monitors can be useful for broader planning, especially in homes with several ageing kitchen appliances.
Buying a New Sensor Considerations for Every User
Buying the right oven heat sensor depends on who you are and how the oven is used.
For homeowners and home cooks
Match the part to the exact model number. Don't buy based on appearance alone. Two sensors can look nearly identical and still use different connectors or calibration behaviour.
If you're deciding between OEM and aftermarket, think in terms of fit confidence. The more unusual the oven, the more valuable an exact match becomes.
For renters and property managers
If you rent, don't assume this is your repair to perform. In many homes, oven repair is a landlord or property manager responsibility. Report the symptoms clearly, mention any test results you gathered safely, and avoid replacing parts without permission.
For property managers, standardising by model and part records helps a lot. It reduces repeat guesswork when the same appliance appears in multiple units.
For cafés and heavier-use kitchens
Commercial and industrial environments need tougher components than a typical home kitchen. According to this commercial oven sensor datasheet, high-performance oven temperature sensors can be engineered for a maximum operating temperature of +500°C and a lower limit of -40°C, using fiberglass-insulated 24AWG wiring for durability in extreme thermal conditions.
That matters in heavier-use kitchens because the part isn't just reading temperature. It has to survive repeated heat stress without becoming the weak link in the system.
For people who want help narrowing choices across kitchen tools and household essentials, GrifGlo organises products and buying guides in a way that makes comparison simpler, especially when you're matching tools to a specific home setup rather than browsing a huge general catalogue.
If you're sorting out an oven repair, replacing worn kitchen gear, or comparing practical home essentials without digging through endless product pages, GrifGlo offers decision-friendly guides and curated options built around real household use.


Leave a comment
This site is protected by hCaptcha and the hCaptcha Privacy Policy and Terms of Service apply.