

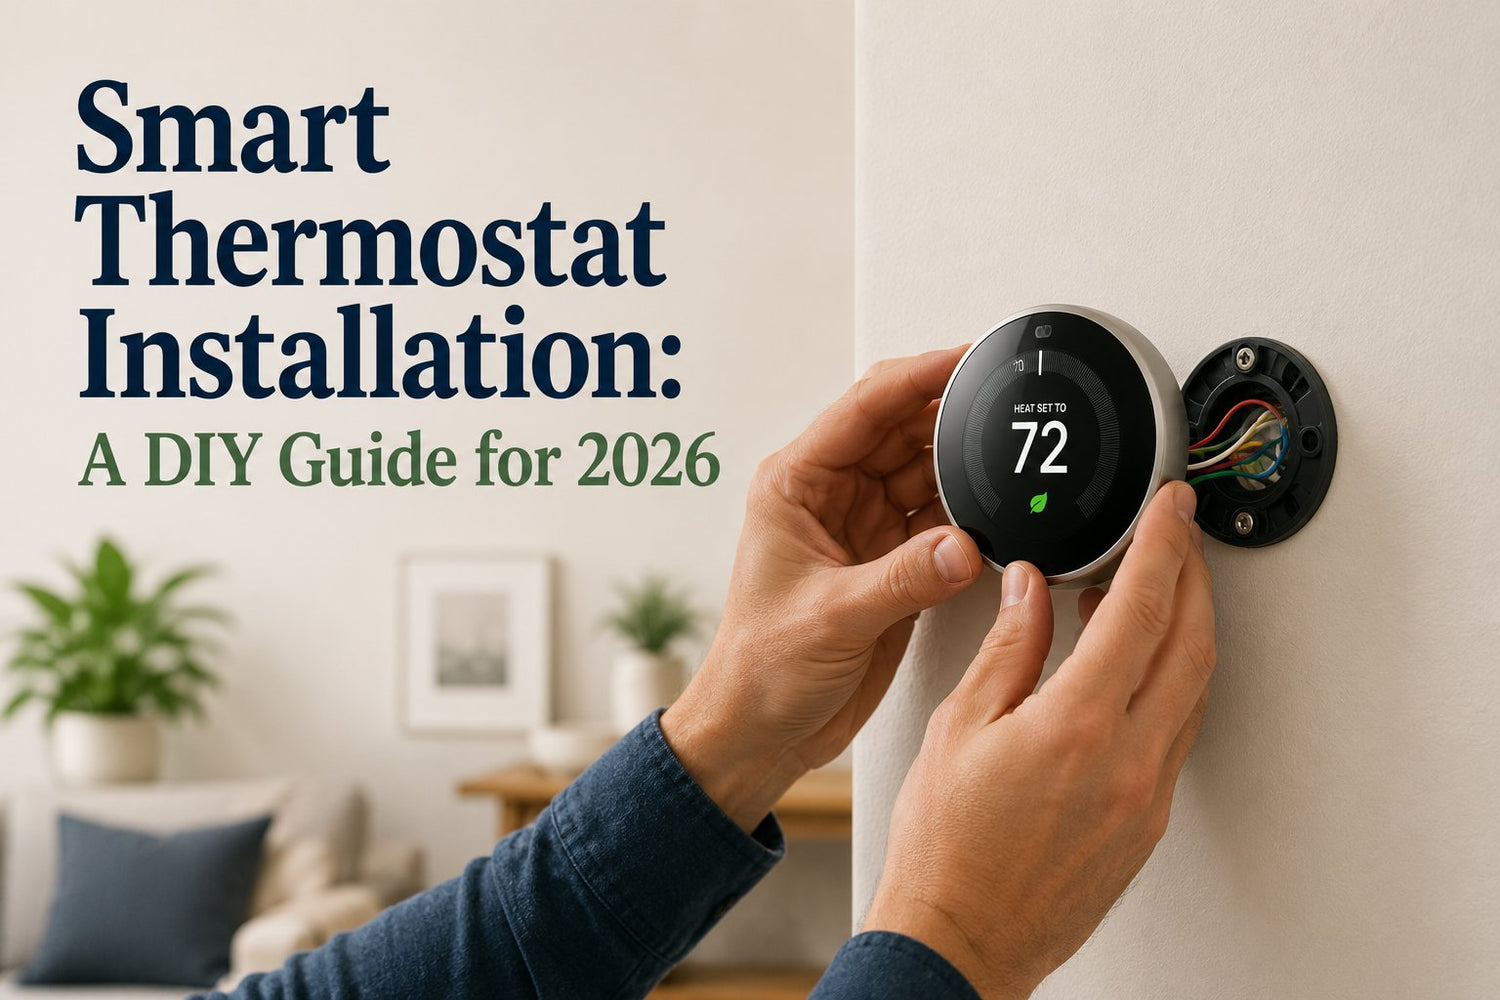
You're probably standing in a hallway with a thermostat box on the floor, a screwdriver in one hand, and one nagging question in your head: will this work with my system? That's the part most guides rush past. They jump straight to mounting screws and app screens, but the jobs that go sideways usually fail much earlier.
Smart thermostat installation is rarely about attaching a plate to drywall. It's about checking whether your HVAC setup can power the thermostat, whether the terminals match what the new unit expects, and whether your system type needs special configuration. In older homes, that matters even more. Hidden constraints like a missing C-wire, unusual staging, or heat-pump wiring are often the primary blockers, not the thermostat brand itself, as noted by Focus on Energy's installation guidance.
Table of Contents
- Is Your Home Ready for a Smart Thermostat?
- Safely Powering Down and Removing the Old Unit
- Wiring and Mounting Your New Thermostat
- Connecting to WiFi and Configuring Your System
- Solving Common Post-Installation Problems
- Final Advice for Homeowners and Renters
Is Your Home Ready for a Smart Thermostat?
Most failed installs start with the wrong assumption. People assume the hard part is taking the old thermostat off the wall. Usually it isn't. The hard part is learning whether your heating and cooling system can support the thermostat you bought.
California's smart thermostat programs were already significant enough by the 2018 evaluation cycle to support a statewide impact assessment under California Public Utilities Commission oversight, with installed devices and savings explicitly reported for the CPUC Group A portfolio in the 2018 program year in the CPUC Group A smart thermostat evaluation. That tells you something useful at the household level. These devices aren't niche gadgets. They're treated as a measurable grid-efficiency resource, which is one reason compatibility and correct setup matter so much.

Compatibility matters more than the faceplate
In older homes, the thermostat on the wall often obscures the full picture. The wires may be underspecified, the equipment may have been upgraded in stages, or the system may use a heat pump with settings that aren't obvious until you enter the installer menu.
Practical rule: Buy the thermostat only after you identify the HVAC system type and terminal layout, not before.
If you need a quick example of how hidden fit issues affect home upgrades in general, even appliance planning guides like this 36-inch fridge sizing article revolve around measurements and compatibility long before installation day. Thermostats are the same. The wall opening is easy. The system match is the key decision.
The three checks to make before you buy
Here are the checks that decide whether smart thermostat installation stays simple or turns into a troubleshooting project.
| Check | What to look for | Why it matters |
|---|---|---|
| System type | Conventional forced air, heat pump, boiler, multi-stage, dual-fuel | Not every smart thermostat supports every control scheme |
| Power path | A C-wire or another approved method the thermostat manufacturer supports | Many smart thermostats need continuous low-voltage power |
| Network fit | Strong WiFi signal where the thermostat sits | Weak connectivity leads to poor app control and dropped features |
The three checks to make before you buy
Start with the equipment, not the thermostat. If you have a forced-air furnace with central air, the terminal letters are often straightforward. If you have a heat pump, terminal mapping gets more sensitive. If you have a boiler or other non-standard setup, compatibility can narrow fast.
Next, pull the old thermostat faceplate only enough to inspect the terminals. You're looking for a wire connected to C. Don't rely on colour. A blue wire might be common, or it might not be connected at all. A spare conductor tucked into the wall might be available, but until you confirm it at both ends, it's just a possibility.
Then check your WiFi where the thermostat lives, not where your sofa is. Hallways and entry walls can be dead spots. A smart thermostat with a weak signal often still controls heating and cooling locally, but the app features become unreliable.
- For the C-wire check: Look for a terminal marked C on the old thermostat base and, if needed, confirm the same conductor exists at the furnace or air-handler control board.
- For heat-pump systems: Check whether there's an O or B terminal in use. That tells you the setup will need closer attention later.
- For older homes: Expect surprises. The wiring behind the thermostat may not match what the old faceplate suggested.
Tools to put beside you before you start
Don't overpack. You need a small kit, not a workshop.
- Non-contact voltage tester: For verifying the system is de-energised before touching conductors.
- Small screwdriver set: Thermostat terminals vary.
- Phone camera: This is documentation, not convenience.
- Wire labels or masking tape: Label by terminal letter.
- Level: A crooked thermostat won't usually hurt operation, but it looks sloppy.
- Needle-nose pliers: Useful for straightening bent low-voltage conductors.
A final note before you touch a screw. Thermostat projects fail less from lack of confidence than from skipping diagnosis. If your system doesn't have common power, uses older heat-pump wiring, or shows terminals you can't identify, pause there. That's the decision point that saves the project.
Safely Powering Down and Removing the Old Unit
A lot of thermostat installs go wrong before the new unit even comes out of the box. The mistake is usually simple. Power was not fully shut down, the old wiring was documented poorly, or an older HVAC system was assumed to be standard when it was not.
Shut off power from the equipment side, not just the wall
Start at the breaker panel and turn off the furnace or air handler circuit. If there is a service switch mounted near the indoor equipment, turn that off too. Then go back to the thermostat and call for heating or cooling. The system should stay silent.
Do not use the thermostat screen as proof that power is off. Older thermostats often have batteries, and some control boards can still hold enough power to confuse the display for a short time. Give the system a few minutes, then verify with your tester before touching bare conductors.
For a completely unrelated household example of why labels can mislead, the KALORIK TO50913SS 4 Slice Digital Toaster Stainless Steel has a bright LCD countdown and independent toasting controls, but a display never tells you the whole electrical story behind the appliance. Thermostats are similar. A lit screen does not confirm that the control circuit is safe to handle.
If you have an older system, pause and pay attention to what powers the thermostat. On some jobs, especially in homes without a C-wire, the old thermostat may be getting by with a setup that a smart thermostat will not tolerate. That does not stop removal, but it should stay in your mind while you document every terminal.
A good safety habit from other wall-mounted appliance work also applies here. Before loosening anything, follow the same careful shutdown mindset used in projects like installing an over-the-range microwave without damaging wiring or supports. Verify first, then put tools on the hardware.
Remove the cover without disturbing the evidence
Pull the old faceplate off gently. Some snap off. Others need a small screw loosened first. If the wire bundle is short, one careless tug can pull a conductor back into the wall cavity and turn a simple thermostat swap into a fishing job.
Take a close photo of the terminals before you move a single wire. Then take one wider shot that shows the full base and cable entry point. Those two images save a lot of second-guessing later, especially if the old installer used nonstandard wire colours.
Label by terminal letter, not by insulation colour. A white wire is not always W. A blue wire is not always C. On older equipment, I have seen spare colours used for almost anything.
Use this order:
- Remove the faceplate and expose the terminal block.
- Photograph the wiring clearly from two angles.
- Tag each wire with the letter of the terminal it is connected to.
- Loosen one terminal at a time and keep slight tension on the wire so it does not slip backward.
- Unscrew the old mounting plate only after every conductor is identified.
If the hole in the drywall is wide or the cable is stiff, tape the wires to the wall or loop them loosely around a pencil while you work. That small step prevents the most annoying setback in the whole job.
One last check matters here. If you uncover terminals you did not expect, especially extra wires tucked into the wall or heat-pump labels such as O/B, stop and compare what you see to the notes you made earlier about system compatibility. Most installation guides spend their time on mounting the new plate. The critical pass-fail point is whether the old wiring was identified correctly before removal, especially in older homes where missing common wire problems usually show up.
Wiring and Mounting Your New Thermostat
A smart thermostat install usually succeeds or fails before the display ever snaps onto the wall. By the time you reach mounting, the job should feel controlled. If it still feels uncertain, especially in an older home without a confirmed C-wire or with heat-pump terminals you did not expect, stop and verify the wiring map against the new thermostat instructions before you land anything.
Start with the new base in your hand and the terminal labels in front of you. Do not assume the letters will line up exactly with the old thermostat. Some brands combine functions on shared terminals, and some assign final behavior during equipment setup after power is restored.

Mount the base square, then wire with care
Feed the labelled wires through the opening in the backplate and hold it against the wall before marking anything. Check that the plate sits flat and that the wire bundle is not pushing it outward. If the drywall is uneven or the old holes are stripped, use the supplied anchors. A thermostat that rocks on the wall can lose clean contact with the display head, and that creates annoying intermittent problems that look like wiring faults.
Then land the conductors one at a time. Match each wire to the terminal label you documented earlier. If the manufacturer gives a system-specific wiring diagram for your furnace, air handler, or heat pump, use that instead of a generic chart.
A few habits prevent the callbacks I see most often:
- Trim and straighten nicked copper: Frayed ends do not clamp well.
- Seat each wire fully: Partially inserted wires can work for a day, then fail when the base shifts.
- Tighten terminals just enough: Small clamps crack or strip if you muscle them down.
- Keep bare copper inside the terminal: Exposed conductor near adjacent terminals can cause shorts or false calls for heating or cooling.
If the display will not sit flush, do not force it. Pull it back off and fold the wire bundle deeper into the wall cavity so the conductors are not pressing against the rear of the thermostat. The same careful sequencing that matters in a guide to installing an over-the-range microwave matters here too. Alignment and support beat speed.
Here's a useful walk-through if you like seeing the sequence visually:
Heat pumps and older systems deserve a pause
This is the point where confident DIY work can turn into guesswork. On heat-pump systems, the O/B terminal has to match the equipment and the thermostat settings. If that changeover wire is assigned incorrectly, the system can appear normal in one mode and reverse itself in the other.
Older systems add another layer. I see homeowners find an unused blue wire in the wall and assume it can serve as C immediately. Sometimes it can. Sometimes it is not connected at the equipment board at all. Mounting the plate before confirming that detail wastes time and can send you back to the air handler or furnace later.
Check three things before you attach the display head:
| Item to verify | What good looks like |
|---|---|
| Backplate | Flat against the wall, no rocking |
| Terminal mapping | Every wire matches the new thermostat's required terminal, not just the old layout |
| Unused conductors | Tucked away safely, with no bare copper exposed |
| Wire bundle | Folded back without pushing the thermostat outward |
| Display fit | Snaps on with light pressure only |
A clean install is usually a quiet one. The base sits flat, the wires stay put, and nothing has to be forced. If anything feels tight, unclear, or inconsistent with the compatibility notes you made earlier, correct that now while the system is still off.
Connecting to WiFi and Configuring Your System
Once the thermostat is mounted, restore power and let the unit boot fully. Some models guide you through setup on-screen. Others move most of the process into the app. Either way, this isn't just account creation. During this stage, you tell the thermostat what equipment it's controlling.
Tell the thermostat what it controls
The most common setup mistake after wiring is rushing through the equipment prompts. If the thermostat asks whether your home uses a heat pump, auxiliary heat, conventional furnace and AC, or another system type, answer carefully. A correctly wired thermostat can still behave incorrectly if the software configuration determined during these prompts is wrong.
Use the app or on-device menu to connect to your home WiFi, create the account, and complete the initial equipment profile. Then test each mode separately. Run fan-only, then cooling, then heating if conditions allow.
A weak signal won't always stop the thermostat from operating, but it can make remote control and automation frustrating. If your hallway has a weak connection, solve that now instead of blaming the thermostat later. If you're building out other connected devices too, a practical roundup like this smart home devices with Alexa guide can help you think about placement, network overlap, and app sprawl in one pass.
The app setup is where the value shows up
The value proposition of smart thermostats is shifting from simple WiFi control toward grid-aware optimization, and in markets like California these devices can support demand response and pre-cooling when they're configured properly during app setup, according to SRP's smart thermostat installation overview.
That matters because the true benefit often doesn't come from changing the temperature from your phone once in a while. It comes from using the settings people skip:
- Schedules: Set realistic occupied and away periods.
- Geofencing: Useful if everyone in the household carries a phone and wants automated away mode.
- Utility programme enrolment: Only if the terms and control options make sense for your comfort preferences.
- Equipment optimisation settings: Especially relevant for heat pumps and time-sensitive cooling.
A thermostat isn't smart because it has an app. It becomes useful when the schedule, system type, and utility-facing features are configured to match how the home actually runs.
If the app offers pre-cooling, eco periods, or demand-response participation, read the prompts instead of tapping through. Those choices affect comfort and how the device behaves on high-demand days.
Solving Common Post-Installation Problems
The first test after installation tells you where to look. A blank screen, reversed heating and cooling, or a fan that will not behave usually comes back to power, wire placement, or one installer setting that was easy to miss.

Start with the symptom in front of you. Do not keep changing settings at random. On older systems, especially ones that were already questionable during the pre-install check, one wrong move can muddy the diagnosis fast.
Blank screen, reboot loop, or no system response
If the thermostat is dead or keeps restarting, check power before you touch any settings.
- Blank or flickering display: Confirm the HVAC breaker is on, the furnace door panel is fully closed if it has a safety switch, and the thermostat face is snapped onto the base correctly.
- C-wire trouble: If your home did not have a clear common wire from the start, return to that question first. Many post-install power problems are really compatibility problems that showed up late.
- No heating or cooling at all: Pull up the photo of the old wiring and compare each terminal one by one. A single misplaced wire can stop the call for heating or cooling.
- Fan runs at the wrong time: Check the G wire and review whether the thermostat is set to control the fan automatically or continuously.
Patience proves valuable. The cleanest troubleshooting habit is simple: make one change, test one mode, then stop long enough to see what changed.
Heating and cooling are reversed
Hot air during a cooling call usually points to a heat pump setup issue. In the field, I see this most often when the O/B wire is on the right terminal but the reversing-valve setting in the app or installer menu is wrong.
Work through it in order:
- Verify the equipment type. Make sure the home has a heat pump and not a standard furnace and AC combination.
- Check the O/B terminal. Confirm that wire is fully seated and landed where the thermostat manufacturer specifies.
- Review the changeover setting. Some systems energize the reversing valve in cooling, others in heating.
- Test cooling and heating separately. Let each mode run long enough to confirm the air temperature is correct.
Older HVAC equipment is where this gets messy. Wire colors are often inconsistent, and labels on the old thermostat may not match modern app prompts cleanly. If your pre-install notes were thin, slow down and verify the equipment at the air handler or outdoor unit before changing more settings.
WiFi problems and uneven comfort
A thermostat can be wired correctly and still feel disappointing if the connection or location is poor. If it keeps dropping off WiFi, check the signal at the thermostat wall, not in the room where you usually stand with your phone. Hallways and entry walls often have weaker coverage.
If the temperature reading feels off, inspect the wall around the thermostat. Drafts from an unsealed wire hole, direct sun, a nearby lamp, or a supply register can all skew the sensor. Sometimes the new thermostat is not causing discomfort. It is exposing airflow problems the old unit never showed clearly.
That happens a lot in kitchens and nearby rooms, where heat, humidity, and cooking odors can make comfort complaints feel like thermostat problems. If that area still feels stuffy after the HVAC controls are working properly, it can help to look at a kitchen air purifier guide for cooking-related air quality problems.
Good troubleshooting follows a fixed order: power, wiring, equipment type, installer settings, then placement.
Final Advice for Homeowners and Renters
The advertised install time on the box is rarely the time that matters. The installation process includes compatibility checks, power-down, wiring review, app setup, and testing. If your system is straightforward, it may feel quick. If it's older or uses a heat pump, the diagnosis often takes longer than the mounting.
Know when DIY stops making sense
Stop and call an HVAC technician or electrician if any of these show up:
- Unidentified terminals: You can't confidently match the old wiring to the new base.
- No clear power path: There's no confirmed C-wire and no approved alternative you fully understand.
- Short or damaged conductors: The wall wiring is brittle, nicked, or too short to terminate securely.
- Equipment mismatch: The thermostat and system type don't line up cleanly in the compatibility checker.
- Persistent reversed operation: Heating and cooling still behave incorrectly after a careful O/B review.
Homeowners can treat the thermostat as part control device, part HVAC interface. Renters should treat it as a property decision first. Ask permission before replacing the old unit, keep every screw and faceplate, and label the original hardware so it can go back on the wall when you move.
Renters should treat the old thermostat like stored hardware
Put the original thermostat, screws, and trim plate in one zip bag and mark the room name on it. That small bit of discipline saves a lot of confusion later.
If your goal is broader home efficiency, comfort, and practical energy use, it can also help to compare the thermostat project against other targeted upgrades like this energy-efficient space heater guide. Sometimes the right answer is better control of central HVAC. Sometimes it's a smaller room-by-room fix.
If you want a practical place to compare home, kitchen, organisation, and smart-living essentials without digging through oversized catalogues, GrifGlo publishes decision-friendly guides and curated product groupings that can help households, renters, and property managers sort through everyday purchase choices more efficiently.

Laisser un commentaire
Ce site est protégé par hCaptcha, et la Politique de confidentialité et les Conditions de service de hCaptcha s’appliquent.