

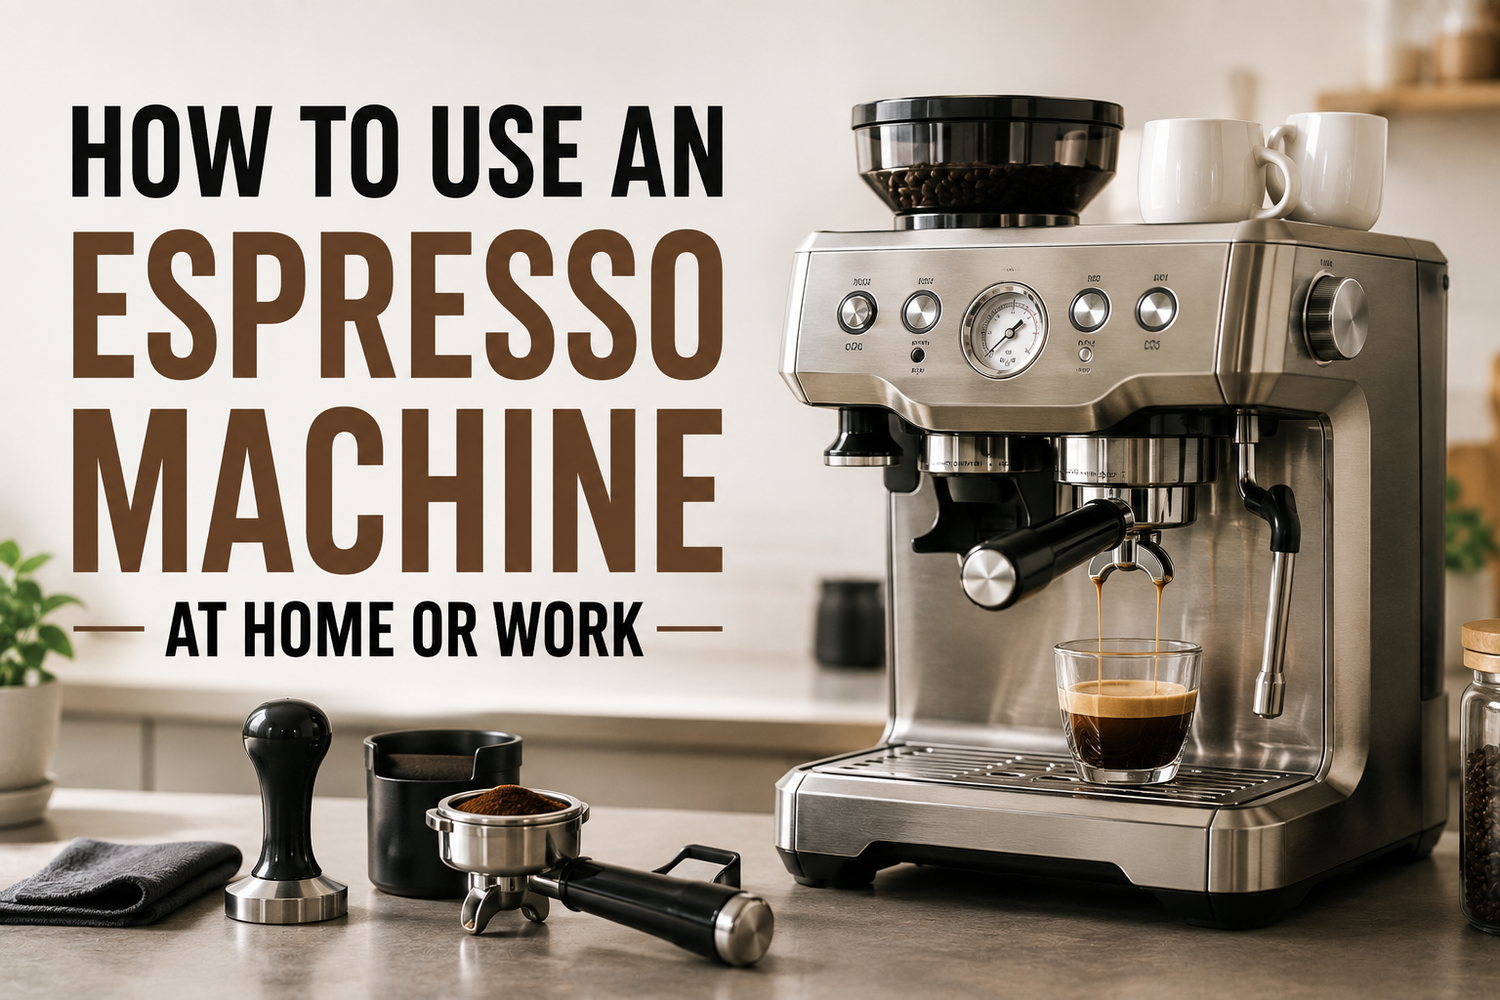
You've got the machine on the counter, the beans in a bag, and the first cup still feels a bit intimidating. That's normal. The first real hurdle in how to use an espresso machine isn't memorising a ritual, it's learning which parts of the process change the shot, and which parts are just noise.
Home espresso has moved well beyond a niche hobby. In the United States, espresso machines were used by 14% of past-day coffee drinkers in 2024, and usage has held steady for more than a decade, with 9% in 2012 and 15% in 2017, 2022, and 2023 (Statista usage data). That matters because the home workflow now has to work in real kitchens, around real schedules, and often with local water that changes the way a shot tastes.
Table of Contents
- A First Pull From Your Espresso Machine
- Picking the Right Espresso Machine Type for Your Setup
- Grinder Setup, Dose, and Tamping
- Pulling a Shot That Actually Tastes Good
- Steaming and Frothing Milk for Lattes and Cappuccinos
- Water Quality and Descaling
- Diagnosing Common Espresso Problems
A First Pull From Your Espresso Machine
Stand in front of the machine and keep the first pass simple. Fill the reservoir, switch the machine on, wait for it to heat, and warm the cup if you can. Grinder quality, tamp consistency, and shot timing matter more than any decorative habit, because espresso depends on repeatable temperature and flow, not ceremony.

Start with the machine, not the grinder
Preheat the group head and portafilter if your machine allows it. A cold portafilter steals heat from the brew path, and a cold brew path usually gives you a flatter, more uneven first shot. On many home machines, a quick purge through the group head also clears stale water before the puck goes in.
Then grind fresh coffee and dose it into the basket. If you're using a standard machine, lock the portafilter in firmly and start the shot right after insertion so you don't lose more heat. That small habit helps more than people expect, especially on compact machines that cool quickly between steps.
Practical rule: if the machine isn't hot and the puck isn't level, the rest of the shot has to compensate for those mistakes.
Pull the shot, watch the first visible drip, and time the extraction from there. Stop when the output and taste line up, not when a vague instinct says it's “done”. For many home setups, that means tasting the shot, then adjusting grind or dose on the next attempt instead of trying to fix everything at once.
Picking the Right Espresso Machine Type for Your Setup
Not every espresso machine asks you to do the same job. The core question is who controls grind, dose, timing, pressure, and milk. Once that's clear, the workflow becomes easier to learn because you're matching technique to the machine, not forcing one method onto every model.
Compare control, cleanup, and daily effort
A manual lever machine gives you the most control and the steepest learning curve. You're managing the pull by feel, which rewards patience and punishes rushed prep. A semi-automatic machine shifts some of that control to the pump, but you still own the grind, dose, tamp, and stop point, which makes it a strong fit for people who like a repeatable ritual.
A super-automatic machine reduces the learning curve sharply. It handles most of the work, including a lot of cleanup, so it fits busy households that care more about consistency than hands-on control. A pod machine removes nearly all the variable setup, but it also gives up depth of flavour and the chance to fine-tune the shot.
A machine that matches your patience level will make better coffee than a fancy machine you resent using.
| Type | User Controls | Learning Curve | Cleanup | Best Fit |
|---|---|---|---|---|
| Manual lever | Pressure, timing, often temperature management | High | Medium | Tinkerers and experienced users |
| Semi-automatic | Grind, dose, tamp, start, stop | Medium | Medium | Home users who want control |
| Super-automatic | Beverage selection, some strength settings | Low | Lower | Busy homes and shared kitchens |
| Pod | Pod choice, brew button | Very low | Low | Small spaces and zero-fuss routines |
If your kitchen is tight, choose the machine you'll keep accessible. A small bin like HOME AESTHETICS HA-5138 Swing Garbage Bin 15L can fit the kind of coffee waste a daily workflow creates without taking over the counter, which matters more in compact setups than most guides admit. For buyers comparing automation levels, this machine overview from GrifGlo's De'Longhi automatic espresso guide is useful as a broad reference point.
Grinder Setup, Dose, and Tamping
The grinder changes the cup more than the machine does. Espresso needs a fine, uniform grind because uneven particles extract unevenly, and that shows up immediately in the cup as sourness, bitterness, or a watery body. Blade grinders chop beans inconsistently, while burr grinders give you the control needed for espresso-style extraction; for a broader comparison, see GrifGlo's burr grinder guide.
Build the puck from the ground up
Dial in the grinder in small increments, not big jumps. If the shot runs too fast and tastes thin, go finer. If it chokes or tastes harsh and tight, go coarser. Make one change at a time so you can tell what moved the flavour.
Dose matters next. For a home setup, a single shot is often around 7 g, and many double baskets land around 18 to 20 g in common beginner guidance, but the key is basket fit and consistency, not chasing a number for its own sake. The grounds should sit evenly in the basket before tamping.
Distribute the coffee before you tamp. A tap-and-level routine works for many home users, and a WDT-style stir can break up clumps if your grinder throws them. The goal is a puck that fills evenly from edge to edge.
Tamping doesn't need brute force. A level tamp with consistent depth matters more than trying to press harder every morning.
A firm, flat tamp helps the water move through the puck evenly. If the bed is tilted, water finds the weak side first and the shot becomes uneven before it ever reaches the cup. That's why a repeatable setup matters more than a dramatic tamping style.
Pulling a Shot That Actually Tastes Good
Good espresso starts before the pump does. Preheat the machine, purge the group head, and lock the portafilter in immediately after prep so you don't lose heat through the metal parts. That is the habit most home users skip when shots come out dull or inconsistent.

Read the shot while it's running
A practical baseline for a home espresso workflow is a 1:2 yield ratio in roughly 25 to 30 seconds, with one expert preparation guide specifying 23 to 30 seconds, 9 bar pump pressure, 194 to 201°F brew temperature, and output around 25 g for a single or 50 g for a double once you begin timing from the first visible drip (illy espresso preparation guide). The point of those numbers is not perfection. They give you a stable baseline for taste.
Watch the flow. If the shot gushes fast and looks watery, the grind is probably too coarse or the dose is too low. If it crawls and turns harsh, the grind is likely too fine or the puck is too tight. Blonding, where the stream turns pale and thin, is your cue that the good extraction has moved on.
Start the timer at the first visible drip, not when the pump clicks on. That small timing habit makes your dial-in far more consistent.
Taste the result, then change one variable. If it's under-extracted, go finer or raise the dose slightly next time. If it's over-extracted, back off the grind. For a deeper home-brewing framework, GrifGlo's coffee brewing guide gives a useful adjacent reference without turning espresso into guesswork.
Steaming and Frothing Milk for Lattes and Cappuccinos
Milk is where many home drinks either come together or fall apart. The texture you want for a latte is glossy and smooth, while cappuccino foam is drier and airier. The difference comes from how long you stretch the milk at the surface and how quickly you roll it into a fine microfoam.
Stretch first, then roll
Start with cold milk in a cold pitcher. Lower the steam wand just below the surface for a short stretch, enough to introduce air without making big bubbles. Then drop the wand deeper and let the milk roll into a vortex, which smooths the foam and gives it that wet-paint sheen.
Stop steaming before the milk overheats. A useful stopping point is around 150 to 155°F, before the texture turns thin or the flavour starts to flatten. If the pitcher gets too hot to hold, you're already late.
Plant-based milks behave differently from dairy. Oat milk usually stretches readily and can handle a latte-style texture, while almond can be more fragile and often needs gentler steaming. Both can collapse if you over-aerate them.
The cue is visual as much as thermal. Glossy, paint-like movement in the pitcher usually beats guessing by sound alone.
For drinks that lean cold, a separate routine helps. If you want a cold-foam style top for iced coffee or non-hot drinks, GrifGlo's cold foam guide is a practical companion, but don't confuse that with proper steam wand frothing. Steam gives you hot microfoam, and that's what makes the traditional latte texture.
Water Quality and Descaling
Water is part of the recipe, not just a utility. The mineral balance changes how espresso extracts, and it also determines how quickly scale builds inside the machine. Water that is too hard can create maintenance problems, while water that is too soft can leave the cup tasting flat and hollow.

Treat water like a setup choice
Specialty Coffee Association targets cited by expert water guides sit around 50 to 175 ppm total hardness, 75 to 250 ppm TDS, and pH 6.5 to 7.5, with a narrower espresso-friendly range often around 75 to 150 ppm TDS and low chlorine (water quality guidance). The exact sweet spot depends on the machine and the water source. Harder water raises scale risk, and softer water can strip the shot of structure.
The right move is to test your local water first. If it's hard, filter it. If it's extremely soft, add minerals back in a controlled way. Then set your descaling routine around the water report instead of waiting for flow problems to show up.
Don't guess at water. Match the machine to the water you actually have, then maintain it from there.
That point is especially relevant in regions where municipal water chemistry varies a lot from one area to another. A fixed calendar is a poor substitute for a real hardness reading. If you want a practical follow-up routine, check the machine manual and keep descaling tied to use, not just the month.
Diagnosing Common Espresso Problems
Espresso gives feedback fast. The shot itself usually tells you what went wrong if you know how to read it. Sour, thin espresso usually points to under-extraction, while bitter, harsh espresso usually points to over-extraction. Missing crema often comes from stale beans or a seal issue, and weak steam usually means the wand tip needs cleaning or the machine isn't delivering enough steam pressure.
Match the symptom to the fix
If the shot tastes sour or looks pale and watery, grind finer first. If that doesn't help, raise the dose slightly within your basket's range and check that the puck is level. The goal is to slow extraction just enough to bring sweetness back without choking the shot.
If the shot tastes bitter, start by going coarser. A too-fine grind can overwork the puck and pull out harsh compounds before the cup is ready. If you've also overloaded the basket, back the dose down and keep the puck more open.
If crema disappears, check freshness before blaming the machine. Beans lose performance as they age, and a worn gasket or dirty shower screen can also hurt the seal. If steam feels weak, clear the wand tip and make sure milk residue isn't blocking the holes.
For a broader grinder diagnostic lens, the difference between burr and blade grinding is covered in GrifGlo's grinder comparison guide, and that distinction often explains why a home setup feels unpredictable.
Keep the machine from drifting
Daily cleanup should be short and automatic. Purge the group head, wipe the steam wand, rinse the portafilter, and backflush if the machine supports it. Weekly, soak the basket and portafilter, then rinse the tank.
Cleanliness isn't cosmetic here, it changes flavour and flow.
If you build that habit, espresso stops feeling fragile. The machine stays more stable, the shot becomes easier to repeat, and the morning cup starts behaving like a routine instead of a rescue mission.
If you want more practical home-setup guidance, GrifGlo pulls together appliance and organisation advice that fits real kitchens, not showroom counters. Visit GrifGlo to compare useful home essentials and make your espresso corner easier to live with day after day.



Leave a comment
This site is protected by hCaptcha and the hCaptcha Privacy Policy and Terms of Service apply.