

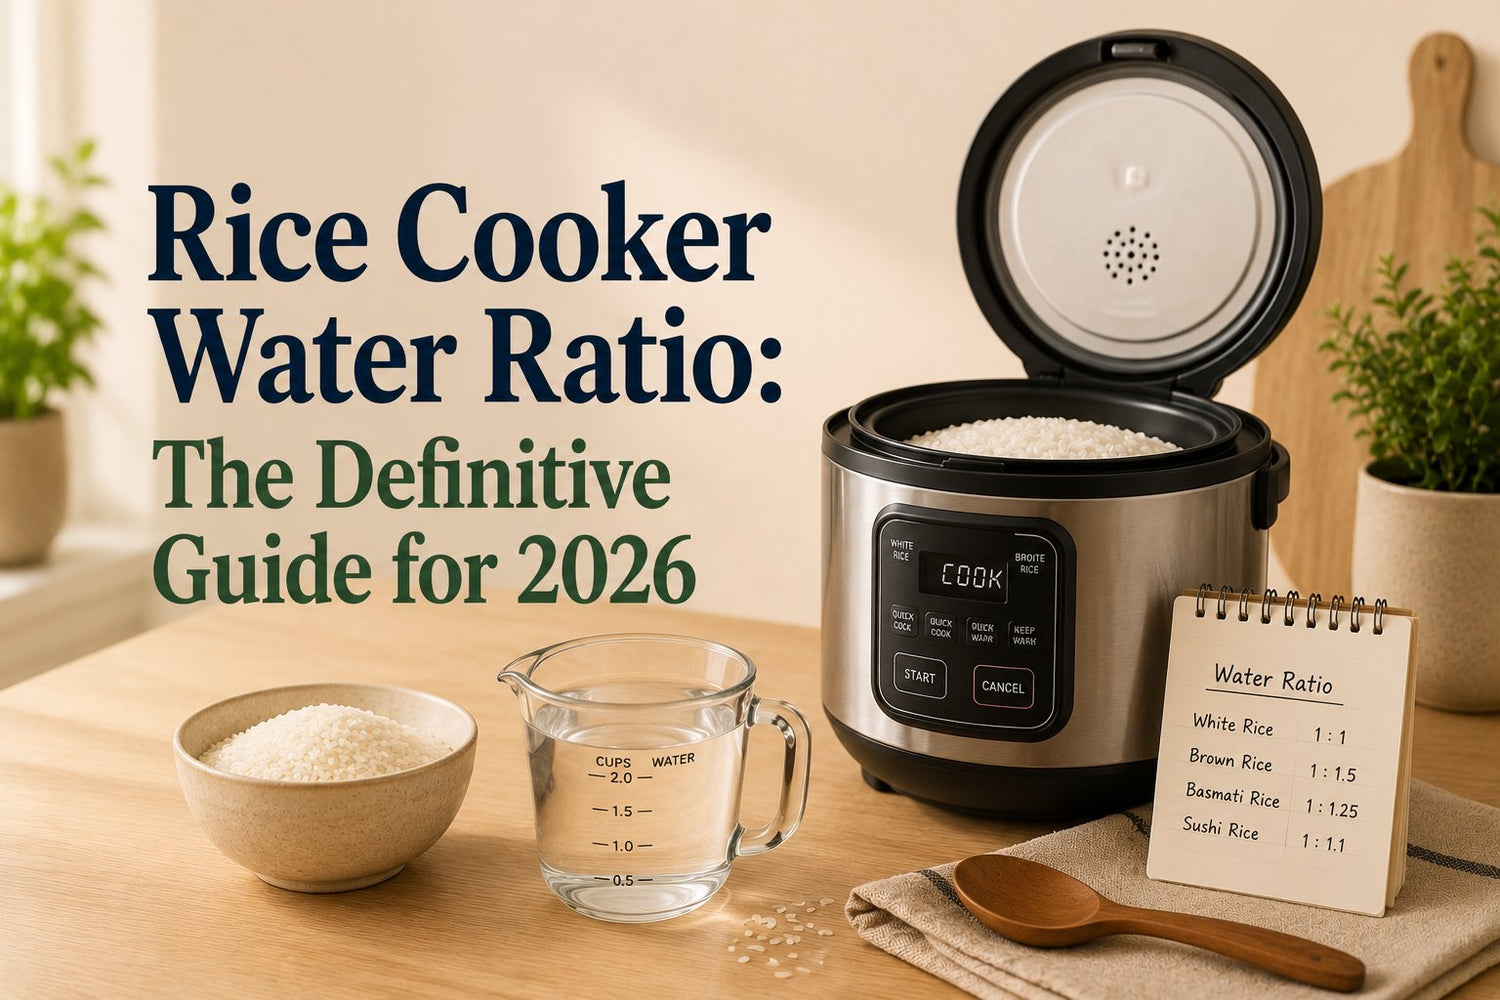
You lift the lid expecting fluffy rice and get one of two extremes. A wet, heavy mass that clings to the paddle, or dry grains with a chalky centre. It's often assumed the water ratio was incorrect, but the underlying problem usually starts earlier.
In Canadian kitchens, the biggest source of rice cooker frustration isn't lack of skill. It's measurement ambiguity. The cup that came with the cooker is often 180 mL, while a standard North American measuring cup is 250 mL. That gap changes the whole rice cooker water ratio and can make a recipe look correct while producing the wrong result in the pot, as explained in this guide on rice cooker cup sizing and ratios.
Once that clicks, rice gets much easier. The mystery stops being “Why does my rice cooker hate me?” and becomes “Which cup is this recipe using?”
If you're trying to build a kitchen setup that avoids this kind of everyday annoyance, a practical kitchen essentials list helps more than another drawer full of gadgets.
Table of Contents
- Why Perfect Rice Feels So Elusive
- The Measurement Mystery The Rice Cooker Cup vs A Standard Cup
- A Universal Workflow for Any Rice Cooker
- The Definitive Water to Rice Ratio Table
- Advanced Adjustments for Perfect Results
- Troubleshooting Common Rice Tragedies
Why Perfect Rice Feels So Elusive
Dinner is ready, the curry is hot, and the rice is the one thing that lets you down. One batch turns out wet and heavy. The next comes out firm in the center, even though you swear you measured the same way both times.
That pattern frustrates careful cooks because the mistake usually is not carelessness. It is ambiguity. Rice cookers look simple, but the word “cup” hides two different measuring systems, and that small mismatch throws off the whole pot.
The hidden mismatch in your kitchen
Many home cooks assume a cup is a cup. In rice cooker instructions, it often is not. The included rice cooker cup is typically smaller than the standard measuring cup sitting in a baking drawer, so the ratio that sounds straightforward on paper shifts the moment you swap tools.
In practical terms, a ratio that looks like 1:1.5 in cooker-cup terms can look close to 2:1 when you convert it loosely into standard-cup math. That is why people follow the directions exactly and still get rice that feels wrong. The recipe and the machine may be speaking one system, while your measuring cup belongs to another.
I see this most often in kitchens where tools get mixed without anyone noticing. Dry rice gets scooped with a standard measuring cup. Water gets filled to the line in the cooker pot. The machine cooks exactly as designed, but the starting point was off.
Aha moment: If your rice is consistently mushy or stubbornly undercooked, question the measuring system before you question the cooker.
Why this trips up even careful cooks
Rice cookers are calibrated. The scoop, the inner pot lines, and the cook cycle are meant to work together as one setup. Change one part, and the result changes too.
That is why the failures feel random when they are not:
- Too soft: You measured the rice with a standard cup, then added water to the cooker line.
- Too firm: You used a recipe written for standard measuring cups, but matched the water to the rice cooker markings.
- Inconsistent from week to week: You use the included scoop sometimes, then a mug or dry measuring cup when the scoop is missing.
One fix helps more than any fancy technique. Pick one measuring system and stick to it every time. If you are still building out the basics, a reliable set of kitchen measuring essentials makes rice cooking much more repeatable.
Once the measuring method stays consistent, the rest of rice cooking gets much easier to control.
The Measurement Mystery The Rice Cooker Cup vs A Standard Cup
Hearing “cup” often brings one specific image to mind. Rice cookers don't.
Many guides still talk about rice and water in cups without clarifying that a rice cooker cup is often 180 mL, not a standard U.S. measuring cup. That creates obvious ratio errors when people use the wrong cup size, as noted in Yum Asia's rice cooker capacity guide.

What the cooker expects
A rice cooker is usually designed as a closed system:
- The included rice cup measures the dry rice.
- The inner pot line tells you how much water to add for that exact number of cooker cups.
- The cooking cycle assumes you used those two references together.
If you replace the included cup with a standard measuring cup, you've already changed the system before pressing start.
That matters with compact countertop models and larger family models alike. With something like the HAUZ ARZ866 6-Cup Rice Cooker, the practical features are straightforward: a non-stick bowl, steam basket, warmer option, cool-touch handles and knob, and dishwasher-safe parts. But even with a simple cooker, the bowl markings only make sense if you measure the rice the way the cooker expects.
The mistake that causes most failures
The most common error is mixing systems. A person uses a standard measuring cup for rice because that's what's in the drawer, then fills water to a rice cooker line calibrated for the smaller cup.
The result is easy to predict:
| Measuring method | Water method | Likely result |
|---|---|---|
| Cooker cup | Pot marking | Usually on target |
| Standard cup | Pot marking | Usually too much water |
| Standard cup | Standard-cup ratio | Can work, if kept consistent |
| Random cup | Random guess | Unreliable every time |
Rice cookers don't get inconsistent. Measurement systems do.
If you also store grains in unlabeled jars or transfer scoops from one bin to another, it gets worse. Clear, dedicated measuring tools matter as much as the rice itself, especially if your pantry setup encourages consistency. That's one reason sensible pantry storage containers make daily cooking easier.
The practical fix
Pick one method and stay loyal to it.
If you're using the included rice cooker cup, use the inner pot markings. If you're using a standard measuring cup, ignore the pot lines and use a ratio based on that same cup for both rice and water. Problems usually start when those two systems get blended.
A Universal Workflow for Any Rice Cooker
Once the cup confusion is out of the way, good rice comes from a repeatable workflow. Not a secret trick. Not a lucky guess. Just a few habits done the same way each time.

Start with one measuring system
Measure the rice and water using the same system from start to finish. If your cooker came with a cup and inner pot lines, use both together. If the cup is missing, use one standard cup for both ingredients and stay consistent.
That consistency matters more than chasing internet shortcuts.
Rinse with purpose
Rinsing helps remove surface starch. That doesn't mean scrubbing the grains forever. It means washing until the water is less cloudy and the rice no longer feels dusty.
For white rice, rinsing usually gives a cleaner, more separate texture. For short-grain styles, it still matters, but the final rice will remain softer and stickier by design.
A simple routine works well:
- Measure first: Get the dry rice into the pot or a separate bowl.
- Rinse gently: Swish with water, drain, and repeat until the cloudiness drops.
- Level the rice: Before adding water, spread the grains evenly so the water sits consistently across the surface.
Use the markings when you have them
If your inner pot markings are clear, trust them more than vague online advice. Manufacturers calibrate those lines for their own measuring system. That's often the least frustrating path for everyday cooking.
If you prefer a low-fuss appliance, the cleanup side matters too. A non-stick bowl saves time after sticky or starchy batches. Even outside rice cooking, that same “easy to clean, easy to store” logic is why compact tools such as the HAUZ APM319 Non-Stick, Lightweight and Compact Panini Press earn a place in small kitchens. It has non-stick cooking plates, compact vertical storage, and light signals. Different appliance, same principle: straightforward tools get used more often.
The finger method still works
When the pot markings have worn off, the old hand method is more useful than many people realise. The Golden Finger/Hand technique is described as having a 90% success rate for consistent rice texture when markings are absent. The method is simple: spread rinsed rice evenly, then add water until it reaches between the second and third knuckle joints, about 20 mm above the rice, creating an evaporation margin that mimics a 1:1.5 volume ratio.
Kitchen habit: If the markings are gone, level the rice first. The finger method only works well when the rice bed is even.
Let the rice finish before fluffing
When the cooker clicks to warm, don't attack it immediately. Letting the rice sit briefly helps the moisture settle through the pot. Then fluff gently from the bottom, lifting rather than mashing.
A paddle works best, but even a simple utensil can do the job if you're careful. If you're looking at the basics that make daily cooking smoother, these wooden spoon options and kitchen tool notes are useful for choosing utensils that won't scratch cooker bowls.
The Definitive Water to Rice Ratio Table
Different rice types need different amounts of water. That's not fussiness. It's how grain structure shows up in the final bowl.
Neutral food-service guidance recommends 1:1.75 for long-grain white rice, 1:1.5 for medium- and short-grain white rice, 1:2.25 for long-grain brown rice, and 1:2 for parboiled rice. The same reference also notes that changing the water ratio affected 11 of 14 texture attributes, including stickiness, cohesiveness, hardness, springiness, and chewiness, according to this rice cooker guide and texture summary.
Ratio table for everyday use
Use the table below only when you're measuring both rice and water with the same cup.
| Rice type | Water ratio |
|---|---|
| Long-grain white rice | 1:1.75 |
| Medium-grain white rice | 1:1.5 |
| Short-grain white rice | 1:1.5 |
| Long-grain brown rice | 1:2.25 |
| Parboiled rice | 1:2 |
What those ratios mean in the bowl
Long-grain white rice usually benefits from more separation. That's why a higher water ratio than many people expect can still produce fluffy grains rather than soggy ones, provided the rice is measured correctly and not overhandled after cooking.
Medium- and short-grain white rice are different. They naturally lean softer and more cohesive. If you use a long-grain approach on them, the texture can become heavier than intended.
Brown rice needs more water because the outer bran layer slows hydration. It also needs patience. If white rice forgives small errors, brown rice usually doesn't.
More water doesn't just change doneness. It changes texture in measurable ways.
How to think about jasmine and basmati
The safest way to handle jasmine or basmati in a rice cooker is to treat them according to their grain style, then fine-tune slightly based on your preference and your cooker. If it's a long-grain white rice, start in the long-grain white range. If it finishes softer than you like, reduce modestly next time. If it finishes firmer, increase modestly next time.
That's why written notes matter. Once you find the right setting for one bag of rice in one cooker, keep it. The same “record what worked” habit helps across the kitchen, whether you're comparing grains, tea temperatures, or other countertop routines. If you're refining appliances more broadly, this guide to electric kettles and selection factors follows that same practical logic.
Advanced Adjustments for Perfect Results
A batch can go wrong even after you have the basic ratio figured out. Usually, the problem is not the rice itself. It is one of the small variables that shifts the result, especially if you switch between the 180 mL rice cooker cup, a standard 250 mL measuring cup, and the pot lines without realizing they do not match.
The cleanest fix is to use weight.
Weight is the cleanest method
A kitchen scale removes the cup confusion completely. Measure the rice in grams, then measure the water in grams, and the container size stops mattering. That is the simplest way to get rid of the hidden error that happens when someone scoops rice with one cup and fills water with another.
For white rice, a good starting point is 100 g rice to 150 g water. For brown rice, start at 100 g rice to 200 g water. From there, adjust a little based on your rice, your cooker, and the texture you like.
I recommend this most strongly to anyone who keeps saying, "I followed the ratio and it still came out wrong." In many kitchens, the ratio was never the issue. The measuring system changed halfway through.
When a small adjustment helps
Once measurement is consistent, these are the main things worth adjusting for:
- Broth or coconut milk: Rice often finishes richer, heavier, and a little stickier. The liquid amount may stay close to your usual baseline, but the texture will not feel identical to water-cooked rice.
- Vegetables or proteins in the pot: Mushrooms, onions, frozen vegetables, and marinated proteins release water as they cook. If the rice keeps coming out softer than expected, the add-ins are often part of the reason.
- A new bag of rice: Even within the same category, one brand or harvest can absorb a little differently. Good notes save a lot of frustration.
- A different cooker: One machine may run hotter, trap steam more aggressively, or switch to warm earlier. The ratio can stay the same on paper and still cook differently in practice.
What not to adjust too quickly
Do not chase every imperfect batch by making a big change. That is how people go from slightly firm rice one night to mush the next.
Change one thing at a time. If the rice is just a touch firmer than you want, add a small amount of water next time, not a large splash. If it is slightly soft, pull back modestly. Big corrections usually create a new problem instead of solving the first one.
Keep a simple rice log
A short note on your phone is enough. After years of making rice, this is what helped me stop repeating the same mistakes.
| What to note | Why it matters |
|---|---|
| Rice type | Long-grain, short-grain, brown, parboiled |
| Measuring system | Rice cooker cup, standard cup, or weight |
| Water amount | Makes good batches repeatable |
| Add-ins | Explains unexpected softness or heaviness |
| Result | Too firm, too soft, or just right |
Storage matters too. Rice that has picked up moisture from the air can cook less predictably, so using airtight food storage containers helps keep your starting point consistent.
GrifGlo also publishes practical kitchen and home guides in the same straightforward, comparison-focused style used here.
Troubleshooting Common Rice Tragedies
Most bad rice fits into a short list of problems. Once you know what each one points to, fixes get much faster.

Mushy rice
This usually means too much water, too much residual rinse water left behind, or too much steam trapped after cooking. It can also happen when someone mixes a standard measuring cup with cooker pot lines.
Fix it by reducing the water next time and fluffing sooner after the resting period. If the rice is already cooked and too soft, spread it out briefly instead of leaving it packed in a hot pot.
Hard or undercooked rice
This points to too little water, an interrupted cycle, or opening the lid too early. It also happens when rice hasn't had enough time to finish steaming after the cooker switches modes.
If the rice is only slightly underdone, add a small splash of hot water, close the lid, and let it steam longer. Keep the lid shut.
Hard rice is often fixable. Mushy rice usually isn't.
Here's a quick visual summary of the common failures and what to do about them:
Burned bottom rice
A scorched layer usually means insufficient water, a pot left on warm too long, or a worn interior surface that no longer releases starch cleanly. Some rice cookers naturally create a little colour on the bottom, but bitterness and sticking mean something's off.
Check the ratio first. Then check whether the cooker is holding on warm for too long after the rice is done.
Too sticky when you wanted fluffy
This often comes down to rice type and rinsing. Short-grain rice wants to cling more than long-grain rice. No amount of fluffing will make it behave like basmati.
If you're using the right rice type and still getting clumps, rinse more thoroughly and avoid compressing the rice after cooking. Lift and separate gently instead.
The simple diagnostic checklist
- If it's wet and heavy: Recheck your measuring system first.
- If it's dry in the centre: Increase water slightly or give it more resting time.
- If it's sticky on top and dry below: Make sure the rice was level before cooking.
- If every batch is different: Stop switching between cups, scoops, and pot lines.
Perfect rice usually isn't about talent. It's about removing one source of confusion at a time, and the biggest one is the cup.
If you want fewer kitchen purchases that miss the mark, GrifGlo is a practical place to compare home and kitchen essentials through clear guides, sizing advice, and decision-friendly categories rather than endless product lists.



Leave a comment
This site is protected by hCaptcha and the hCaptcha Privacy Policy and Terms of Service apply.