

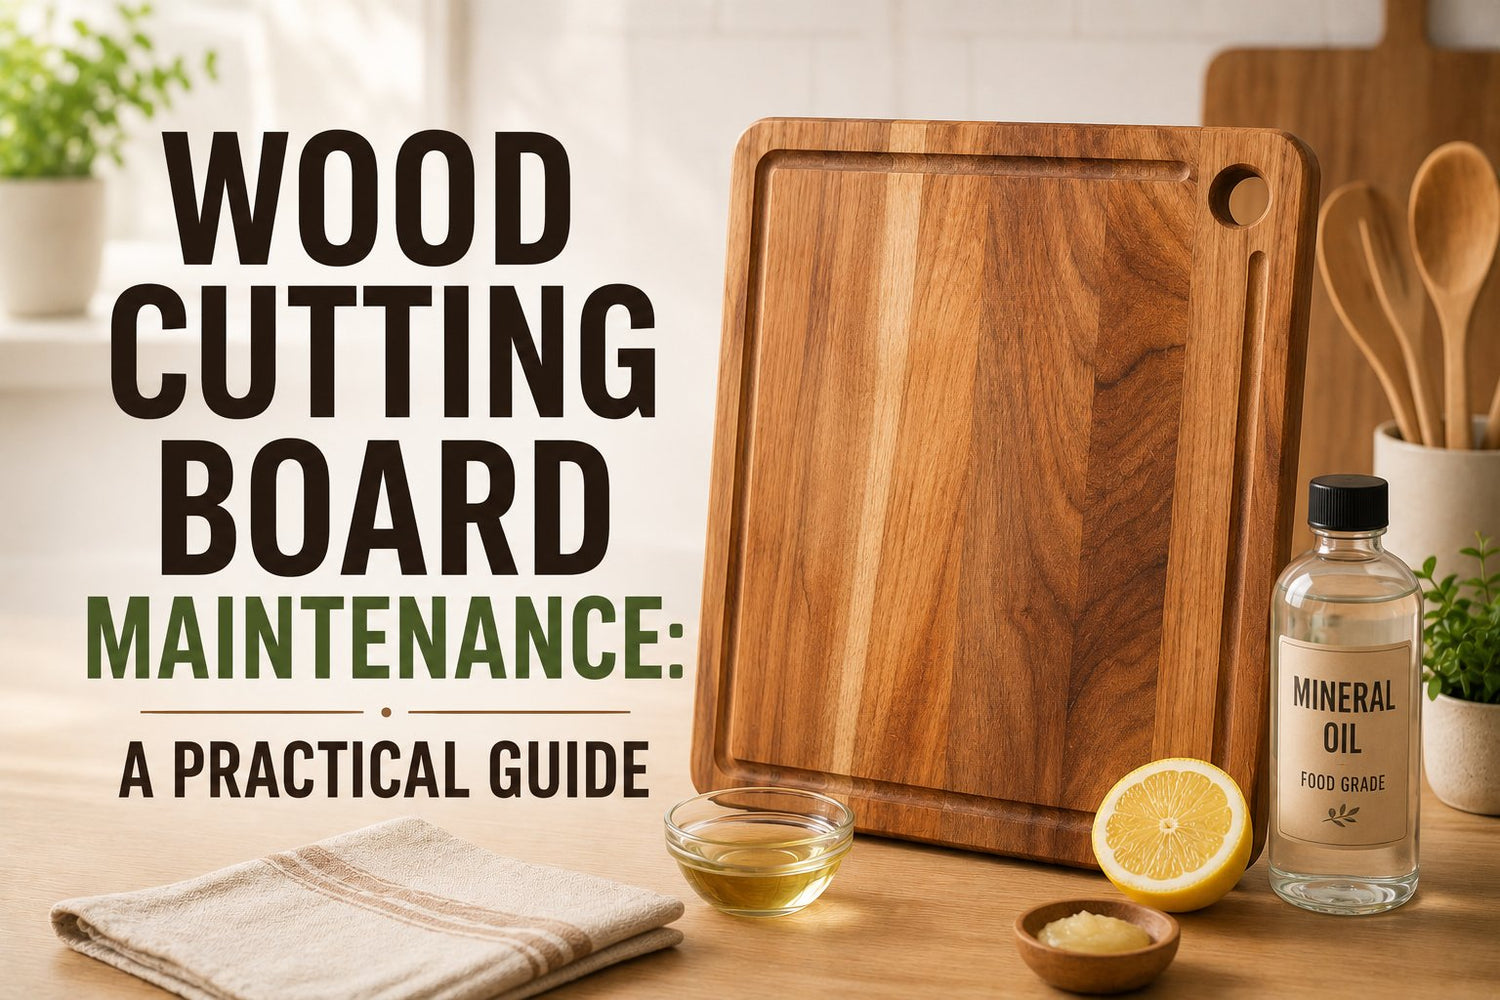
A wood cutting board often starts as one of the nicest things in the kitchen. Then real life happens. You chop herbs on it, slice bread, prep onions, leave it wet for too long, and one day you notice it looks tired. The surface feels rough, the colour has gone flat, and there's a faint smell that soap didn't fix.
That doesn't mean the board is ruined. Most boards don't fail because of age. They fail because small habits go off track for long enough that the wood dries out, swells, stains, or opens up in places that are hard to clean properly. Good wood cutting board maintenance isn't complicated, but it does need rhythm.
A well-kept board should feel smooth, dry, and solid. It should clean up easily, take oil evenly, and stay pleasant to use every day. If you're also weighing material choices in the first place, this comparison of cutting board wood vs plastic helps frame why wood rewards a little upkeep.
Table of Contents
- Your Cutting Board Is More Than Just Wood
- The Daily and Weekly Cleaning Ritual
- Monthly Restoration With Oil and Conditioner
- Seasonal Refresh Through Sanding and Repairs
- Troubleshooting Common Cutting Board Problems
- Your Simple Maintenance Schedule and Product Guide
Your Cutting Board Is More Than Just Wood
A wood board records how a kitchen is used. You can see it in the knife marks, the darker patch where someone always cuts citrus, the corner that's gone pale from too much washing and not enough oil. That wear isn't a flaw by itself. It's normal. The problem starts when the surface shifts from lived-in to neglected.
In a busy kitchen, the board sits at the centre of prep. It holds produce, herbs, bread, cheese, and whatever dinner becomes. That's why maintenance matters. You're not polishing décor. You're caring for a food-contact tool that needs to stay clean, stable, and sealed.
A neglected board usually gives clear warning signs. It looks thirsty. It feels fuzzy in spots. It may smell faintly of garlic or onion even after a wash. If that goes on, the board becomes harder to clean well and less pleasant to use.
Practical rule: If the board looks dry, feels rough, or darkens unevenly when damp, it's asking for maintenance, not replacement.
The good news is that keeping a board in good condition doesn't require a shelf full of products or a fussy ritual. It works better as a simple cycle. Clean it properly after use. Keep water exposure short. Oil it on a regular schedule. Sand it when wear starts to build up instead of waiting until the surface is severely damaged.
That rhythm is what keeps a board looking good and working safely for the long haul. It also makes the job easier. A board that's maintained steadily needs less scrubbing, less rescue work, and fewer big interventions.
The Daily and Weekly Cleaning Ritual
A wood board usually gets damaged in the quiet minutes after prep. It sits with onion juice in the knife marks, a damp underside against the counter, and rinse water still pooled at the edge. Do that often enough and the board starts to smell, roughen, and shift.

If you keep more than one prep surface in rotation, treat each one by its material. The Combekk Recycled Paper Cutting Board 20x30 cm ($73, in stock) is made from 100% recycled paper and is described as dishwasher-safe. Wood is different. It lasts longer with a simple, lower-water routine.
What to do right after use
Good daily care should be quick enough that you never skip it.
- Scrape off debris before it dries into the grain.
- Wash with mild soap and warm water using a soft sponge or cloth.
- Towel-dry immediately instead of letting rinse water sit.
- Stand the board on edge until both sides are fully dry.
The point is even drying. A board left flat on a damp counter absorbs moisture from one face while the other face dries faster. That uneven pull is what leads to cupping and small stress cracks over time.
Two habits shorten a board's life fast.
- Soaking the board: Water gets deep into the fibers, the wood swells, and the surface often dries back unevenly. Superior Cabinets notes that soaking can lead to cracking and grooves where pathogens can collect.
- Putting it in the dishwasher: High heat, long water exposure, and forced drying are harsh on wood. One cycle can raise the grain. Repeated cycles can warp the board or open glue lines on laminated boards.
If you already clean kitchen tools promptly instead of letting residue sit, the same habit applies here. This guide on how to clean food storage containers without residue buildup follows the same logic. Clean soon, rinse cleanly, and dry thoroughly.
The weekly clean that prevents buildup
Weekly care is less about scrubbing hard and more about catching small problems before they turn into repair work. In a home kitchen, that usually means checking for lingering smells, tacky spots, or rough patches after the normal wash. In a busy kitchen, I do that check by feel. If the board feels slightly fuzzy or carries yesterday's garlic, it needs more than soap.
Routine washing removes surface mess. It does not always clear odours from alliums, fish, or heavily spiced prep.
Knivesandtools guidance on maintaining a wooden cutting board recommends a deeper refresh with lemon juice or white vinegar and coarse salt every 2 to 4 months, depending on use, with the mixture left on for 15 minutes before the board is dried thoroughly and oiled. For a weekly reset on a heavily used board, use the same ingredients more lightly and do not overwork the surface.
A practical version looks like this:
- For odours: Sprinkle coarse salt over the board, add lemon juice or a small amount of white vinegar, and rub gently.
- For stubborn smell: Let it sit briefly, then wipe it off before the acid has time to dry on the wood.
- For a clean finish: Rinse or wipe clean, then dry the board fully and stand it upright.
A clean board should smell like wood, not last night's aromatics.
Use this step with restraint. Acid and salt are useful for resets, but they are still abrasive. On a dry board, too much of this treatment can leave the surface looking chalky and feeling stripped. That is why board care works best as a rhythm. Fast cleaning after each use, a lighter weekly check-in, and less frequent restoration only when the board shows it needs it.
Monthly Restoration With Oil and Conditioner
A board usually does not fail all at once. It starts looking a little pale near the edges. The surface stops feeling satiny. Water darkens the grain instead of sitting on top for a moment. That is the point to oil it, not six weeks later after the board has already started drying out.

Why oil matters so much
Washing and drying protect a board from yesterday's mess. Oiling protects it from next month's damage. Wood is always trading moisture with the room around it, and kitchen boards have it harder than most wood surfaces because they get wet, dry out, and get handled over and over.
Regular oiling slows that cycle. It helps the board resist taking on water too fast, keeps the grain from feeling brittle, and lowers the chance of warping or small cracks opening up around the edges or seams.
You can usually spot a board that has been neglected. The color looks flat, the grain feels thirsty, and the board seems to drink in every drop it touches.
How to oil a board properly
This job is simple, but it works better if you do it with a little patience.
- Use food-grade mineral oil: It is inexpensive, stable, easy to find, and it does the job without the confusion of specialty products.
- Apply more than you think you need: Use a clean cloth or your hand and cover the face, back, sides, and any handle cutout. Dry edges are often where trouble starts.
- Let the wood absorb it: A few hours is good. Overnight is better for a board that looks very dry.
- Wipe off the excess: The finish should feel conditioned and smooth, not slick.
For many home kitchens, once a month is a solid rhythm. Heavy use, dry indoor heat, or frequent washing may push that closer to every few weeks. Humid climates and lighter use may stretch it longer. I do not rely on the calendar alone. I look at the board. If the color has faded and the surface feels dry after washing, it is ready.
Here's a useful visual walk-through of the process:
Mineral oil versus conditioner
This is where many guides make board care sound more complicated than it is. Mineral oil handles the maintenance. Wax conditioners and board creams are optional topcoats.
A conditioner can add a softer sheen and a slightly more polished feel. That can be useful on serving boards or on a board that lives out on the counter. It does not replace oil, and it does not rescue a dry board on its own. The board still needs to be fed first.
That trade-off matters because readers often spend too much on products and too little on routine. A cheap bottle of food-grade mineral oil used consistently will protect a board better than an expensive conditioner used once in a while. If you use serving pieces and prep boards interchangeably, this guide to wooden pizza boards and food-safe wood care follows the same basic rule. Keep the wood dry between uses and keep the surface regularly sealed.
Oil is the routine. Conditioner is the extra coat.
Skip vegetable oil, olive oil, and other cooking oils. They can turn stale and leave a smell that no amount of scrubbing fixes. For a low-cost, repeatable maintenance rhythm, food-grade mineral oil is still the clearest choice.
Seasonal Refresh Through Sanding and Repairs
A board can look clean and still feel worn out. You run a towel across it and it snags on raised grain. The knife starts catching in old cut marks. That is the point of a seasonal refresh. It is preventive maintenance, not a rescue job.

When sanding helps
Sanding fixes surface problems that oil cannot. Oil restores moisture balance and slows future drying. It does not flatten swollen fibers, erase shallow knife tracks, or remove a stained top layer.
For most home boards, light hand sanding is enough. Use a fine grit, sand with the grain, and stop once the surface feels even under your palm. Taking off more wood than necessary only shortens the life of the board.
Raised grain is the most common reason to do this. After months of washing and drying, the surface can turn slightly fuzzy even if you have kept up with oiling. A few controlled passes smooth it back down, and a fresh coat of mineral oil reseals the exposed wood.
This seasonal rhythm matters because it prevents small wear from turning into sanitation and comfort problems. A board with shallow marks is usually manageable. A board full of deep channels is harder to clean well and less pleasant to work on.
When to repair and when to retire the board
Use your fingertips, not just your eyes. If you can clearly feel the groove, the board deserves a closer look.
| Surface issue | What to do | Why |
|---|---|---|
| Light scratches | Hand-sand and re-oil | Surface wear usually comes out cleanly |
| Rough raised grain | Fine sanding, then oil | Smooths fibers and closes the surface again |
| Moderate wear across the whole board | Use a random orbit sander if you have one | Saves time and keeps the resurfacing more even |
| Deep grooves you can feel clearly | Assess depth before sanding | Some cuts hold residue too deeply to be worth chasing |
| Cracks or seam separation | Replace the board | Structural damage creates stability and cleaning problems |
Deep damage changes the decision. A board with shallow knife wear is worth resurfacing. A board with splits, moving glue lines, or grooves that would require aggressive sanding to remove is usually at the end of its safe working life.
Power sanding can help on thick boards with broad wear, but it is easy to get carried away. I keep it simple. If a few minutes of careful sanding will not restore the surface, I stop and reassess instead of grinding the board thinner and hoping for the best. Good board care is about preserving useful life, not forcing every board to last forever.
If you already maintain your edge tools, the same mindset applies here. Remove only what needs to go, work evenly, and protect the tool after the repair. Readers who want that side of the setup dialed in can look at these knife sharpening tools and edge-maintenance basics.
A seasonal refresh does not need expensive products. Sandpaper, a cloth, and the same food-grade mineral oil used in your monthly routine will handle most boards just fine. That is the pattern worth keeping. Daily cleaning, monthly oiling, and occasional sanding before damage gets ahead of you.
Troubleshooting Common Cutting Board Problems
Preventive care does most of the work, but a few problems keep showing up in real kitchens. The useful way to handle them is simple. Identify the problem, identify the cause, then pick the least aggressive fix that solves it.
Warping
Warping usually comes from uneven moisture exposure. One face gets wetter than the other, or one side dries faster. The board moves because the wood is reacting unevenly.
If the warp is slight, start with habit correction before trying anything drastic. Clean the board quickly, dry it straight away, and store it upright so both faces get airflow. Some mildly warped boards settle back once moisture exposure becomes consistent.
If it stays bent, don't keep forcing it flat with heavy pressure unless you know the board is structurally sound. A board with glue-line stress or early cracking can get worse that way. In a working kitchen, a slightly warped board that still sits safely may be tolerable. A rocking board that creates an unstable cutting surface isn't.
Stability matters more than looks. If the board shifts under the knife, stop using it until you've fixed or replaced it.
Stubborn odours
Odours usually mean one of two things. Either the board needs the acid-and-salt deep clean covered earlier, or residue has settled deeper into cuts and open grain.
For everyday smells, the earlier lemon-or-vinegar method is usually enough. For a smell that keeps returning, use a baking soda paste, scrub lightly, wipe clean, and let the board dry completely before re-oiling. The point isn't to perfume the wood. It's to neutralise what's sitting in the surface.
If odour keeps coming back from one exact area, inspect that patch closely. It may not be a cleaning problem. It may be a groove problem. Once cuts become deep enough, smell is often the first clue that the surface is no longer easy to clean thoroughly.
Sharp knives help here more than people expect. A dull knife drags and tears at the surface instead of cutting cleanly, which can leave rougher marks over time. If your prep setup needs attention, this guide to knife sharpening tools is a practical companion to board care.
Deep stains
Stains aren't always a hygiene issue. Sometimes they're just cosmetic. Berries, beets, turmeric, and wine can leave colour behind even on a clean board.
The first question is whether the stain is flat or accompanied by damage. If the board is smooth and odour-free, the stain may be part of normal use. If it sits inside roughness or cuts, sand the area lightly and reassess.
A sensible sequence looks like this:
- Start mild: Wash and dry the board properly.
- Try a surface refresh: Use a gentle scrub if the stain is recent.
- Sand if needed: For colour that has settled into the upper layer, light sanding often lifts it.
- Re-oil afterwards: Freshly sanded wood needs to be resealed.
Boards don't need to look brand new to be in good condition. They need to be smooth, stable, and cleanable. Some staining is just evidence of use. Cracks, deep channels, and recurring smell are the bigger concerns.
Your Simple Maintenance Schedule and Product Guide
Good board care works best as a rhythm, not a rescue plan. The boards that stay flat, smooth, and easy to clean usually get a few small habits done on time instead of one big overhaul after problems show up.

A routine you can actually keep
A workable schedule should fit into normal kitchen use. If maintenance feels fussy, it gets skipped. The simpler approach is to tie each task to what the wood is doing. Daily care removes moisture and residue before they settle in. Monthly oiling replaces what washing and dry indoor air pull out. Seasonal sanding fixes wear while it is still surface-level.
| Frequency | Task | Purpose |
|---|---|---|
| Daily | Wash briefly, towel dry, air dry on edge | Prevents standing moisture and residue buildup |
| Every 2 to 4 months | Deep-clean with coarse salt and lemon juice or white vinegar | Removes deep-set odours and resets the surface |
| Monthly or more often for heavy use | Apply food-grade mineral oil | Helps resist drying, warping, and cracking |
| Seasonally | Light sanding and inspection | Smooths wear and catches damage early |
That cadence is what saves boards. Expensive products do not make up for inconsistent care.
If you already maintain other hard-working kitchen tools on a schedule, the same habit applies here. GrifGlo's guide to cast iron cookware care follows the same practical idea. Regular upkeep is cheaper and easier than repair.
What to buy and what to skip
This category gets overcomplicated fast. Plenty of products are sold as if wood care requires a special system, but for most home cooks, food-grade mineral oil handles the job well and costs very little. It soaks in, slows moisture swings, and gives dry wood what it needs.
Conditioners that include wax can still be useful. I use them when I want a board to feel a little more finished or when a serving board benefits from a softer sheen. For routine kitchen maintenance, though, they are optional. Mineral oil does the heavy lifting.
Stick with a short kit:
- Food-grade mineral oil: The main product for routine care.
- A soft cloth: For applying oil and wiping off excess.
- Fine-grit sandpaper: For seasonal smoothing and small repairs.
- Optional conditioner: Helpful for finish and feel, not required for basic protection.
That is the whole setup. Keep the rhythm steady, keep the product list simple, and your board will last longer with less guesswork.
If this kind of straightforward maintenance guide is how you like to shop and care for your kitchen tools, GrifGlo organizes home and kitchen essentials around clear comparisons, practical use, and realistic upkeep so you can choose well once and maintain things without wasting money later.



Leave a comment
This site is protected by hCaptcha and the hCaptcha Privacy Policy and Terms of Service apply.