

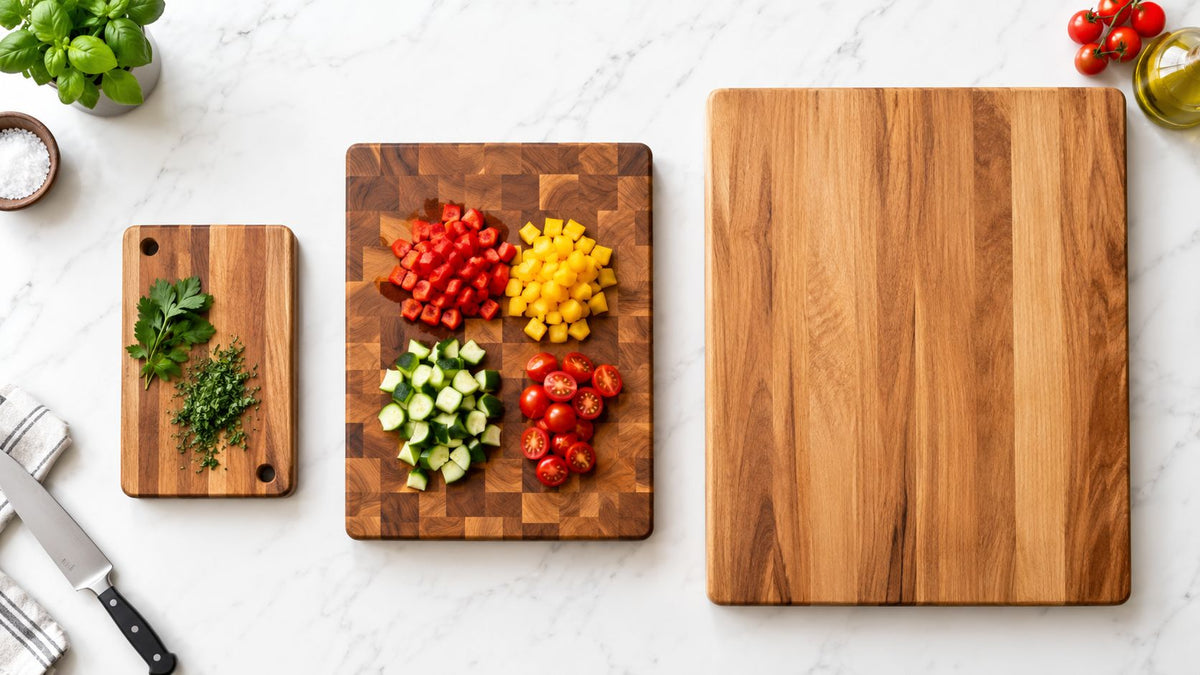
You're halfway through chopping onions when the board runs out of room. The knife handle catches your fingers, diced pieces spill onto the counter, and the next vegetable has nowhere to go. A board can look perfectly adequate on a shop shelf and still be a daily nuisance in your kitchen.
The right cutting board dimensions depend on three things: how much you prepare at once, how much counter space you have, and whether you can wash, dry, and store the board without turning cleanup into a project. Length and width create working room. Thickness determines whether that room stays stable under the knife.
Table of Contents
- Why Most Home Cooks Buy the Wrong Size
- The Standard Cutting Board Dimensions Ladder
- How Thickness Impacts Stability and Knife Control
- Material Choices and Their Effect on Sizing
- Countertop Space and Sink Clearance Realities
- Commercial Standards and Heavy Duty Sizing
- Finalizing Your Cutting Board Purchase Decision
Why Most Home Cooks Buy the Wrong Size
You are halfway through dinner when the board fills up. The onion, chef's knife, guiding hand, and chopped vegetables compete for the same space. Pieces slide onto the counter, the knife handle crowds your fingers, and a board that looked generous in the shop becomes a daily nuisance.
Retail packaging shows the outside dimensions, not the usable cutting area. The centre must hold your ingredients while leaving enough clearance for safe knife movement. A raised rim, thick edge, or oversized handle reduces that working surface further.

Match the footprint to your cooking volume
For dinner for one or two, a compact board can handle a carrot, onion, and a few herbs. It works best when you transfer prepared ingredients to a bowl as you go. That choice also leaves more counter space around the sink and keeps the board manageable in a dishwasher or drying rack.
Batch cooking requires a different footprint. Several vegetables for soup, a large salad, or ingredients prepared before the pan heats need room for both uncut and chopped food. A narrow board creates repeated transfers, spills, and extra knife handling. Choose enough surface to finish a normal prep session without stacking ingredients at the edge.
Practical rule: Buy for your normal workload, not the smallest task you perform.
A rectangular board around 12 by 18 inches is a practical starting point for many kitchens and is supported by Canadian kitchen guidance as a common format for rectangular cutting boards. It provides useful length for everyday chopping without taking over the counter. Check that its footprint clears your sink, fits your dishwasher if you plan to use one, and has a storage spot before buying.
Choose by workload:
- Light daily prep: A compact board suits fruit, herbs, garlic, and small portions.
- Routine family cooking: A mid-size rectangular board keeps ingredients on the surface as you work.
- Meal preparation and entertaining: Choose a larger board only when your counter, sink, dishwasher, and storage can accommodate it.
The right cutting board dimensions give your knife room to travel without disrupting washing, drying, or storage. Size the board for real cooking volume, then confirm the full footprint fits your kitchen logistics.
The Standard Cutting Board Dimensions Ladder
Board size should match the meal, the counter, and the cleanup route. Compact utility boards work for herbs and garlic. Larger surfaces keep chopped food, uncut ingredients, and your knife in place during batch preparation. Canadian assortments range from about 12 by 16 inches to everyday formats near 16 by 12 inches and 17.75 by 13.5 inches, with larger options reaching 21.6 by 13.5 inches and 24 by 15 inches in current board assortments.
| Dimensions (Inches) | Best Use Case | Ideal For |
|---|---|---|
| Around 9 by 14.75 | Quick, contained tasks | Small kitchens, fruit, herbs, garlic |
| Around 12 by 16 | Compact everyday preparation | Smaller prep zones and light cooking |
| Around 12 by 18 | General-purpose preparation | Most routine chopping and slicing |
| Around 16 by 12 or 17.75 by 13.5 | Comfortable daily prep | Home cooks who want room for ingredients |
| Around 15 by 20 | Larger batches | Meal preparation and family cooking |
| Around 21.6 by 13.5 or 24 by 15 | High-volume preparation | Entertaining, large batches, and keeping food on the board |
For general home cooking, start with 12 by 18 inches. It gives vegetables and knife work enough room without consuming the counter space required by a butcher-block surface. Confirm that this footprint leaves clearance beside the sink, fits the dishwasher if you intend to use one, and has a storage position when the meal is finished.
A 15 by 20 inch board suits larger batches. The added length lets chopped ingredients, the knife, and food awaiting preparation stay together, reducing transfers to bowls or plates. Measure the counter and sink first. A board that blocks the faucet or cannot sit securely over the basin creates work instead of removing it.
Food-service and artisan listings also reach 18 by 24 inches, a format suited to heavy preparation when the board serves as a dedicated work surface rather than a small portable accessory. Choose it only if you have a large prep area and a sink that can handle its footprint. Lifting that size into a small sink after every meal is impractical.
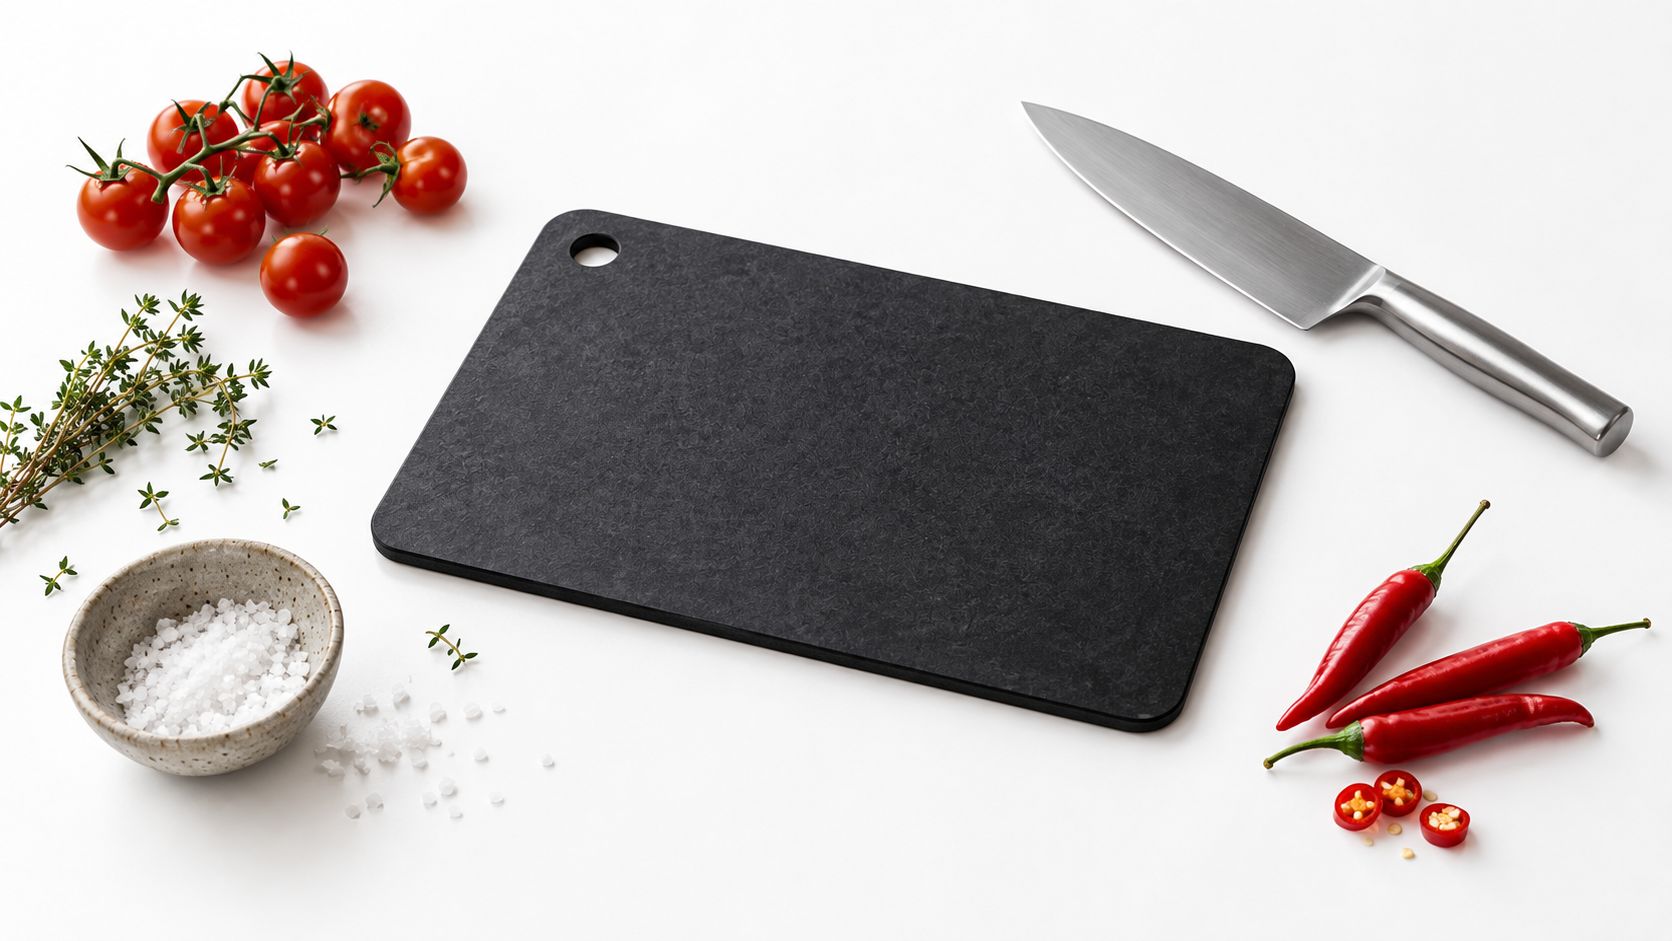
The Combekk Recycled Paper Cutting Board 20x30 cm belongs to the compact category. Its catalogue describes it as made from 100% recycled paper, knife-friendly, and dishwasher-safe. Use it for contained prep, such as fruit, herbs, or a few ingredients, rather than a full batch of vegetables.
How Thickness Impacts Stability and Knife Control
A board's footprint determines how much you can fit on it. Thickness determines how confidently you can use that footprint. Thin boards can flex, shift, and transmit more movement to the counter. That makes repetitive chopping tiring and can force you to slow down to keep the surface in place.
Canadian kitchen guidance places common rectangular board thickness around 0.5 to 1 inch, while heavier professional-style boards can approach 2 inches depending on construction and intended use. Added thickness usually brings more mass, and that mass helps reduce sliding during firm knife work.
Choose thickness by the work you actually do
A thin plastic or composite board makes sense when you need easy lifting, quick washing, or compact storage. It's practical for small tasks and for kitchens where the board must be moved frequently.
A thicker hardwood board is better suited to repetitive chopping, heavy ingredients, and carving. End-grain construction is often favoured for stability because the added mass keeps the board planted and the grain orientation supports a solid cutting feel. You can compare that construction approach in this guide to wood end-grain cutting boards.
Use this simple decision pattern:
- Prioritise portability if the board must be lifted into a sink, dried on a rack, or stored vertically after every use.
- Prioritise mass if you chop hard vegetables regularly or dislike correcting a board that creeps across the counter.
- Prioritise a thicker profile for a dedicated prep station, large-format board, or serious carving work.
- Check the surrounding height because a very thick board can raise your cutting surface and alter your wrist position.
Thickness also affects storage. A board that feels excellent during chopping may become irritating if it won't fit between shelves or under a counter. Measure the storage slot, not just the counter.
This comparison helps show why two boards with the same length and width can feel completely different:
The best thickness is therefore a compromise between stability, lifting effort, drying space, and storage access. Bigger isn't automatically better if you can't handle the board comfortably.
Material Choices and Their Effect on Sizing
Material determines how large and thick a board can be before it becomes awkward to wash, dry, or store. Hardwood generally needs more thickness across a wide span to limit flexing and movement. Plastic and recycled-paper composite boards can weigh less, letting you choose a larger footprint without making sink handling unnecessarily difficult.
Wood and bamboo
Wood provides a substantial cutting surface, but larger boards require a care routine you can maintain. A broad, thin hardwood panel can flex and may respond unevenly to moisture. Choose enough thickness for the board's footprint, then store it with air reaching both faces. If you cannot rinse, dry, or position it safely, the dimensions are wrong for your kitchen.
Bamboo often feels firm without the weight of a thick hardwood board. Judge the finished construction instead of assuming every bamboo board performs alike. Check grain direction, edge treatment, thickness, and care instructions before using a large model as a main prep surface. The guide to wood cutting-board types helps connect material selection with cooking demands rather than appearance.
Plastic
Plastic suits cooks who value quick cleaning and low lifting effort. Thin boards handle small tasks well, while a large flexible sheet can shift under pressure. Choose a grippy base or place the board on a stable surface. For a broad plastic board, rigidity matters across the entire span, especially when chopping dense vegetables or working with several ingredients at once.
Recycled paper composites
Recycled-paper composites sit between lightweight plastic and heavier wood. The Combekk catalogue describes its boards as 100% recycled paper, knife-friendly, and dishwasher-safe. Its 20 by 30 cm format suits smaller preparation jobs, while the 28 by 38 cm format gives more room for involved chopping. Match that footprint to your dishwasher rack and sink basin before choosing the larger option.
Let your cleaning routine set the material choice:
- Frequent dishwasher use: Confirm the product's care instructions before selecting a size.
- Hand-washing in a small sink: Avoid formats you cannot support and rinse comfortably.
- Countertop storage: Choose a profile that stands securely without blocking nearby tools.
- Dedicated heavy prep: Select a stable, substantial board instead of the thinnest option.
Choose the board's home and workload first. Then select the material, footprint, and thickness that make washing, drying, and daily prep straightforward.
Countertop Space and Sink Clearance Realities
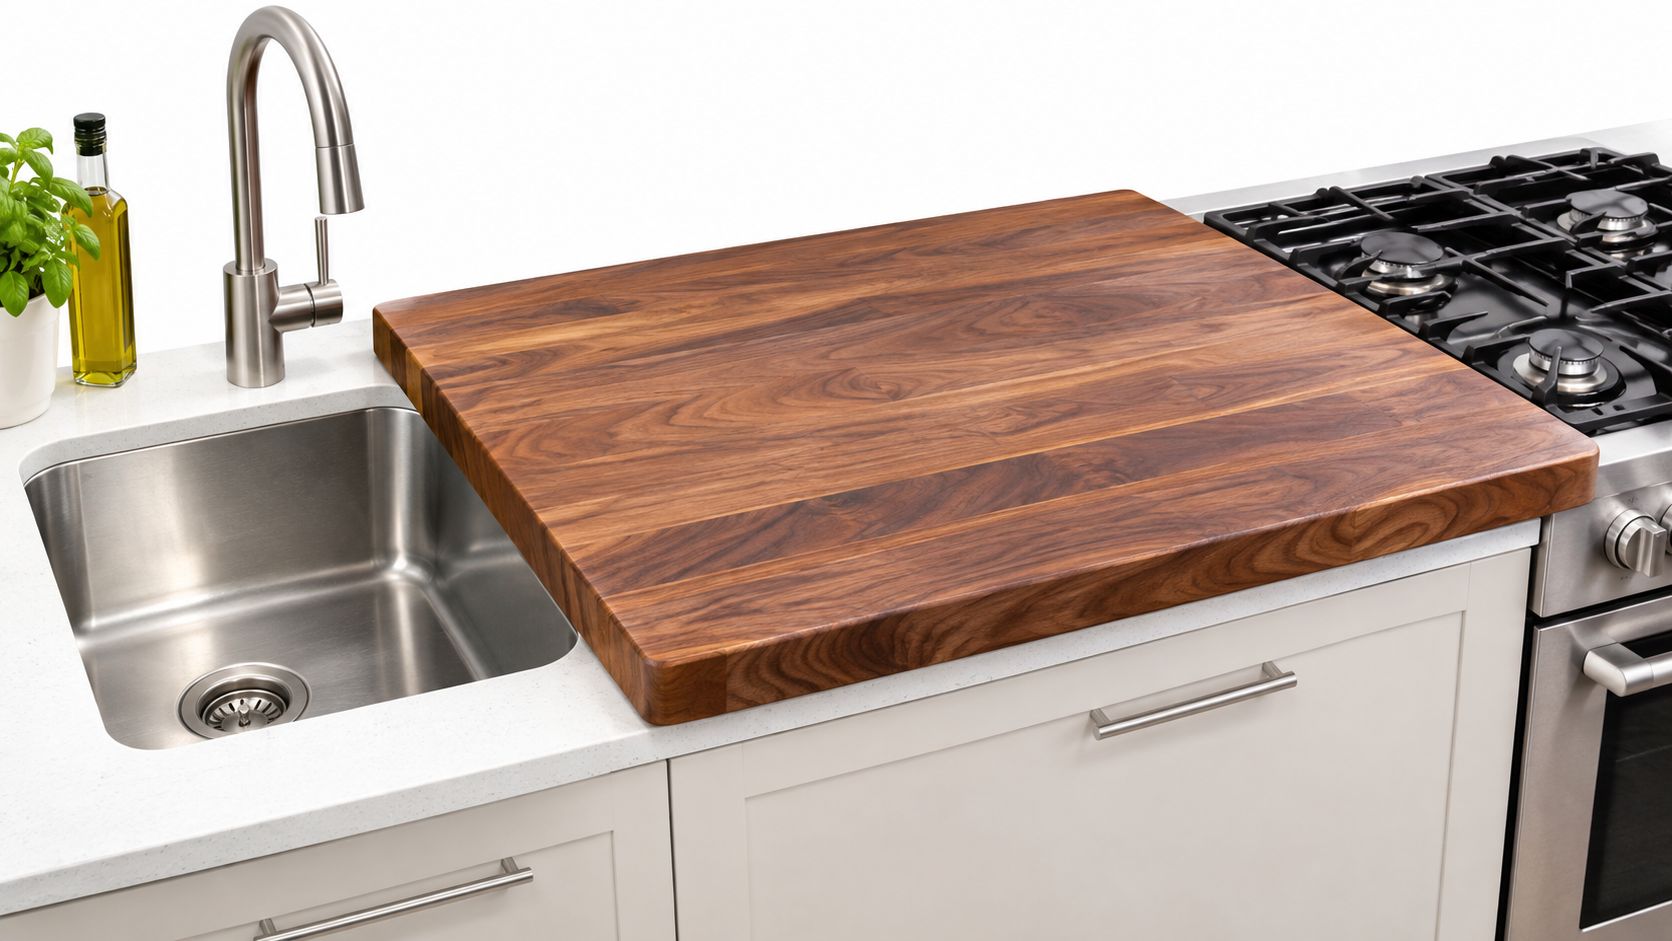
A board can fit your counter and still fail in daily use. Leave room for your hands, a mixing bowl, food scraps, and the knife handle. If the board fills the strip between the sink and stove, cooking becomes cramped because ingredients and tools have nowhere to land.
Measure the whole workflow
Measure the clear prep zone from edge to edge, then subtract the space taken by appliances, taps, and splashback fixtures. Cut cardboard to the board's footprint and place it on the counter. Chop through a normal meal with that outline in place. Your elbows, bowls, knife handle, and discard bowl should all remain clear.
Test the sink before choosing a large footprint. You should be able to lift the board, turn it, and rinse both sides without awkward balancing. A board that heavily overhangs the basin becomes difficult to handle with wet hands. It may also sit poorly on a rack or draining surface while it dries.
A board that fits the counter but not the sink is a storage problem disguised as a prep upgrade.
Board thickness changes this calculation. A thick wooden board can provide a stable cutting surface, but it needs more clearance beneath cabinets, on a drying rack, and inside a dishwasher. For larger cooking volumes, reserve counter space beside the board for a bowl or tray. For small daily prep, a smaller footprint leaves useful landing space and reduces washing effort.
Large boards also require more cleaning and drying space. A thick wooden board needs airflow on both faces, especially after washing. Keep the cutting surface smooth enough to clean and sanitise effectively. If deep scratches or scoring prevent effective cleaning, the board needs resurfacing or replacement, as noted in the applicable food-safety guidance.
Don't overlook storage
A board that stays on the counter should not block the hob or a useful landing zone. Upright storage requires enough height and a stable support. Flat storage requires a shelf deep and strong enough for the board's footprint, with room to remove it without shifting other equipment.
Check these points before ordering:
- Sink entry: Can you lift and turn the board safely over the basin?
- Dishwasher access: If it is dishwasher-safe, does the full board fit without blocking the spray path or rack?
- Drying position: Can both faces dry without touching a wet wall or crowded counter?
- Counter clearance: Is there room for ingredients and a discard bowl beside the board?
- Storage depth: Will it slide into the shelf or stand upright without leaning?
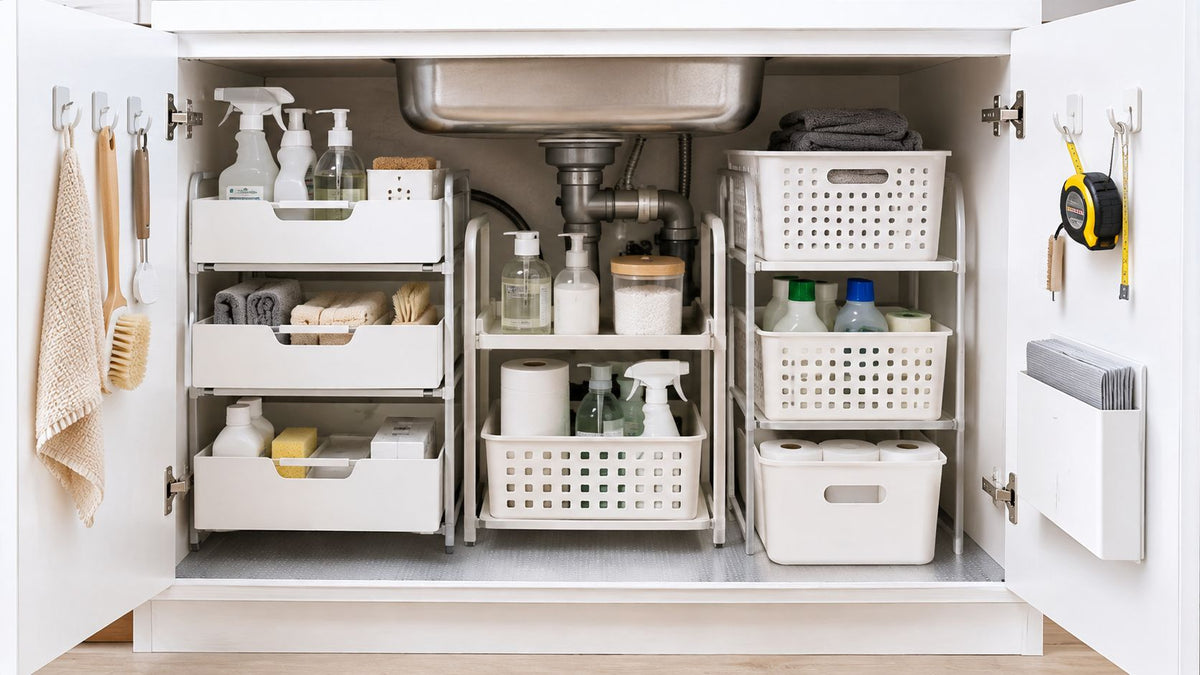
Under-sink space often contains plumbing and cleaning products, so it rarely suits a damp board. A guide to under-sink storage containers can help organise that cabinet, but drying comes first. Choose the board dimensions only after confirming its working footprint, sink access, dishwasher fit, and storage position.
Commercial Standards and Heavy Duty Sizing
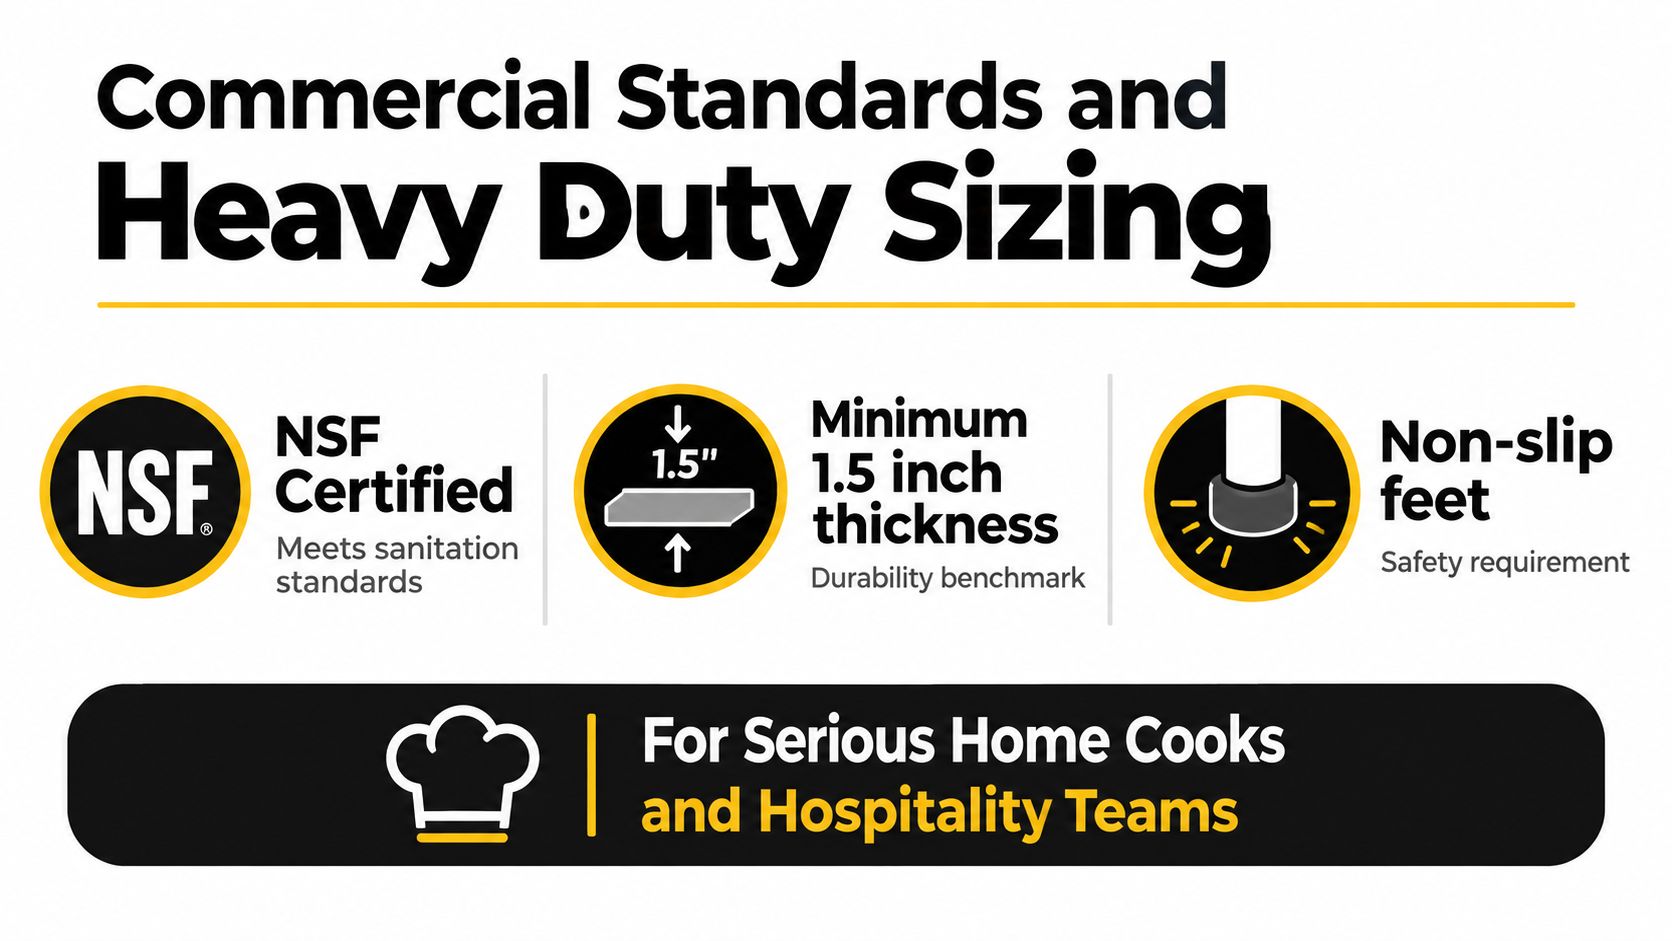
Commercial kitchens size cutting boards around workload, washing, and safe handling, not appearance alone. A board for repeated meal preparation must withstand daily use, fit through the wash process, and stay cleanable throughout its service life. The practical decision involves surface condition, clearance, thickness, and workflow, alongside the board's nominal length and width.
California's Retail Food Code treats cutting boards as cutting surfaces. It requires resurfacing when scratches or scoring prevent effective cleaning and sanitising, or discarding the surface when resurfacing is not possible, as described in the 2025/2026 California Retail Food Code materials. The rule focuses on condition and sanitation rather than prescribing one consumer board size.
Design around clearance and cleanability
The same California materials give a utensil-cleaning compartment benchmark of at least 12 inches wide, 12 inches long, and 10 inches deep, with enough room for the largest utensil. That utility-cleaning benchmark is not a consumer requirement, yet it shows how commercial equipment sizing prioritises clearance over arbitrary labels. Apply the same logic to a board, especially when preparing large batches or handling high daily volumes.
- Surface condition: Choose a material and construction that stays smooth and cleanable.
- Wash access: Confirm that the board can reach the sink, dishwasher, or designated wash area without awkward lifting.
- Handling: Match thickness and footprint to the people using it. A heavy board can steady repetitive chopping, but it must still be manageable at the sink.
- Storage: Allow a dry location with enough space to stand or separate boards.
- Workflow separation: Use separate boards, or clearly managed procedures, for different preparation tasks.
A large board suits batch cooking only when the counter can support its footprint, the sink can accept and turn it, and the dishwasher or drying setup can handle its thickness. Otherwise, the board becomes an obstruction rather than useful work surface.
For organisations buying several boards, standardise dimensions by task instead of mixing random formats. A product standardisation approach simplifies replacement and helps staff identify the correct board for each station.
Finalizing Your Cutting Board Purchase Decision
A reliable purchase starts with the work the board must handle. Quick garnish work, daily family meals, batch cooking, carving, and high-volume preparation each need different working space. Choose for the busiest task, not the smallest one.
- Define the workload. Match the footprint to the ingredients and volumes you prepare most often.
- Measure the prep zone. Record usable counter space, leaving room for your knife handle, hands, bowls, and scraps.
- Run the sink test. Measure the basin opening. Confirm that you can lift, turn, rinse, and support the board without striking the tap or surrounding counter.
- Check dishwasher and drying options. Verify the stated care method and measure the dishwasher rack if machine cleaning matters. For hand-washing, reserve a dry position with airflow.
- Choose thickness after footprint. A thinner board is easier to carry and store. More thickness adds mass for repetitive chopping, but can reduce dishwasher clearance and make sink handling harder.
- Plan storage before checkout. Make sure the board will not block a shelf, appliance, tap, or daily work surface.
The right board gives enough clearance, stays stable, and fits the complete cleaning routine. A large board supports batch cooking only if the counter, sink, dishwasher, and drying area can accept its footprint and thickness. Otherwise, it becomes an obstruction.
Use a decision-making framework to compare workload, dimensions, sink access, cleaning, and storage before checkout. GrifGlo provides practical guidance for comparing kitchen essentials by footprint, material, cleaning needs, and storage fit.

Leave a comment
This site is protected by hCaptcha and the hCaptcha Privacy Policy and Terms of Service apply.