

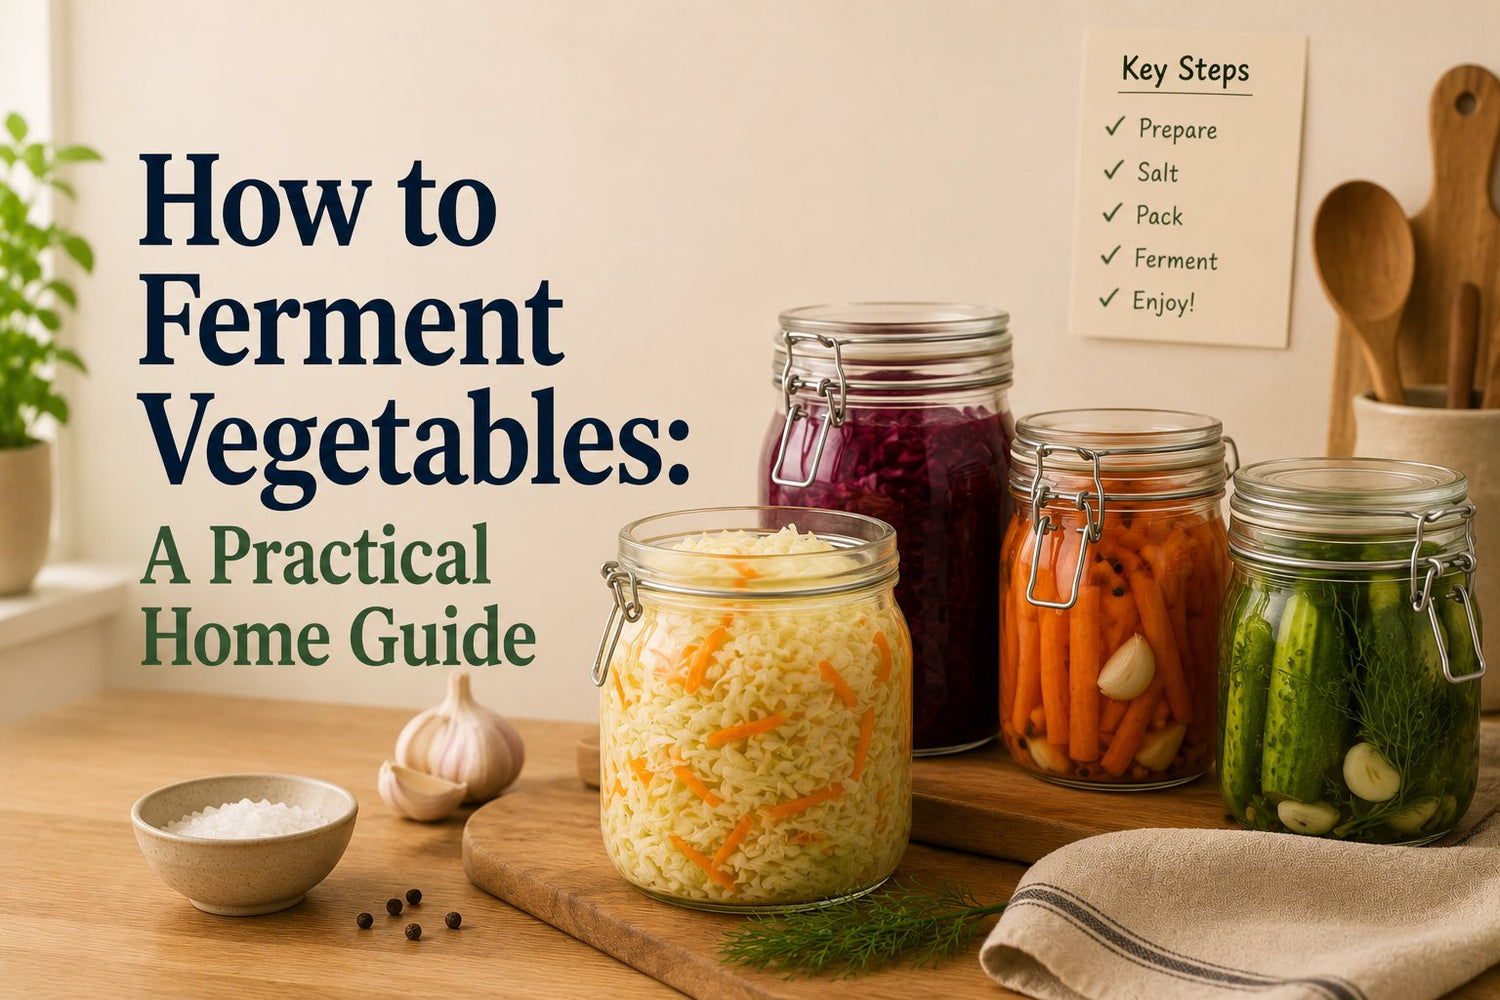
You've probably got a jar, a bag of vegetables, and a small knot of uncertainty right now. Maybe it's a cabbage that looked too good to waste, a bundle of carrots from the market, or cucumbers you bought with the vague idea of “trying fermentation someday”. The usual questions show up fast. How much salt? Does it need special gear? What if it grows something weird?
The good news is that learning how to ferment vegetables isn't about memorising a dozen recipes. It's about understanding a few rules that make the process predictable. Once those rules click, you can work with almost any vegetable in your kitchen and know what you're looking for as it changes day by day.
Table of Contents
- The Simple Science of Safe Fermentation
- Essential Equipment and Brine Basics
- Your First Ferment Step by Step
- Recipes and Ratios for Common Vegetables
- Troubleshooting Mold Kahm Yeast and Other Worries
- Storing Scaling and Using Your Ferments
The Simple Science of Safe Fermentation
Fermentation feels mysterious until you see it for what it is. You're not forcing vegetables to transform. You're creating conditions that favour the microbes you want, while making life harder for the ones you don't.
What fermentation is actually doing
In vegetable fermentation, the key workers are Lactic Acid Bacteria (LAB). They live naturally on fresh produce. When you add the right amount of salt and keep the vegetables under brine, these bacteria start consuming the vegetable's natural sugars and producing acid.
That acid is the whole game. As acidity rises, the environment becomes less friendly to spoilage organisms and safer for the ferment to continue.

A useful way to think about it is this: salt starts the selection process, and acid finishes it. According to research on pathogen reduction during fermentation, studies demonstrate a 5-log reduction of pathogens, or a 99.999% decrease in bacterial load, within the first 4 days of fermentation. That fast change happens because vegetable sugars are converted into lactic acid, which lowers pH and builds a strong barrier against foodborne illness.
Practical rule: Fermentation is less about “adding bacteria” and more about protecting the right environment for the bacteria already present.
Container choice matters too, mostly because you need something non-reactive, easy to clean, and simple to monitor. If you're deciding between materials, this guide to glass vs plastic food storage containers helps explain why many home fermenters prefer glass.
The three conditions that matter most
Beginners often focus on recipes and miss the fundamentals. The process is much easier when you keep your attention on three variables:
- Salt concentration: Enough salt gives LAB an advantage and slows unwanted microbes.
- Submersion: Vegetables need to stay under liquid so air-loving spoilage organisms don't get access to the surface.
- Temperature: Fermentation works best when it's steady rather than hot and erratic.
Here's the reassuring part. If your vegetables are salted correctly, held below the brine, and left in a suitable temperature range, fermentation is doing what it has always done. Nature already knows the sequence. Your job is to make the jar a good home for it.
Essential Equipment and Brine Basics
A first ferment doesn't require a specialist workshop. Many can start with tools already in the kitchen, then add extras later if they enjoy the process.
What you need and what you can skip
You need a jar, salt, water if using brine, a way to weigh ingredients, and something to keep vegetables submerged. That's the core setup.

A few practical options:
- Standard mason jar: Good for small batches, easy to inspect, easy to clean.
- Ceramic crock: Useful for larger batches, especially cabbage, but it takes more space.
- Glass weight or improvised weight: Keeps pieces below the liquid line.
- Loose lid or airlock lid: Either can work. An airlock reduces day-to-day fuss.
If you're building out your kitchen setup over time, a planning guide like this kitchen essentials list can help you decide what belongs in regular rotation and what doesn't.
You don't need fancy gear to make a good ferment. You need accuracy more than equipment.
That's why the one tool I'd prioritise is a digital kitchen scale. Salt percentages are based on weight, not spoonfuls. A volume measure can swing too much from one salt type to another.
A product like the BLACK+DECKER BDC120VA 20V MAX* POWERCONNECT Cordless Drill with 100-Piece Kit belongs in a home toolkit rather than a fermentation kit, but it's a good example of how many households organise practical tools separately from kitchen-specific ones. For fermentation, keep the gear list lean.
How to calculate salt without guessing
This is the part that gives people confidence. Optimal vegetable fermentation relies on precise salt concentrations, generally from 1% to 15% depending on the style, and about 2% to 3% is standard for most general vegetable ferments, while sauerkraut is ideal at 2.25% to 2.5% salt according to guidance on salt percentages for vegetable fermentation.
The simple formula is:
- Weigh the vegetables
- Multiply by the salt percentage you want
- Add that weight of salt
For example, if you have chopped vegetables and want a 2.5% salt level, you multiply the vegetable weight by 0.025. That gives you the amount of salt to add.
A few common uses:
- Cabbage for sauerkraut: Aim for 2.25% to 2.5%
- General vegetable ferments: Often 2% to 3%
- Low-salt pickles: 3% to 5%
- High-salt pickles: 5% to 16%
If you're making a brine rather than dry-salting, weigh the water too and use the percentage against the total weight for the style you're making. That sounds more technical than it feels. After one or two batches, it becomes second nature.
Your First Ferment Step by Step
Carrots are a friendly place to start. They're sturdy, easy to prep, and they give clear feedback as they ferment. You'll hear a crunch when you pack them, see the brine rise, and taste the shift from fresh sweetness to pleasant tang.
To make the prep easier, use a sharp knife. If yours drags or slips, it's worth brushing up on how to sharpen kitchen knives before you start.
A simple carrot ferment from start to finish
Start by washing the carrots and trimming away anything damaged. Then cut them into sticks, coins, or shreds. Thinner cuts ferment faster and pack more tightly, while thicker sticks stay crisp longer.

Now weigh them. If you're working with a denser root vegetable, a stronger brine is often the safer, clearer choice. Add the measured salt to water, stir until dissolved, and keep that brine nearby.
Pack the carrots into a clean jar firmly. You're not crushing them into paste, but you do want to remove obvious air gaps. Press them down so they sit below the shoulder of the jar, leaving room for liquid and fermentation activity.
Then pour in the brine until the carrots are fully covered. Add a weight if needed. The important visual is simple: every solid piece should remain below the surface.
Keep the top of the vegetables below the brine, not just barely wet. Surface exposure is where many beginner problems start.
A short visual walk-through can help if you're someone who learns by watching:
What the jar should look like before it rests
Right before the jar goes to its resting spot, check these details:
- Liquid level: Vegetables should sit 1 to 2 inches below the brine surface. According to USDA-aligned guidance on submersion during fermentation, fermentation failure rates drop significantly when vegetables are submerged 1 to 2 inches below the brine surface because this prevents exposure to aerobic spoilage organisms.
- Headspace: Leave some room at the top because active jars can bubble and rise.
- Clean rim: Wipe away bits of vegetable stuck above the liquid.
- Secure closure: Use your chosen lid setup, either loose enough to manage gas or designed to vent.
Set the jar somewhere out of direct sun. Then leave it alone long enough to work. New fermenters often poke at the jar too much. Daily observation is useful. Daily interference usually isn't.
Recipes and Ratios for Common Vegetables
Different vegetables behave differently in salt. That's why a cabbage method won't always translate neatly to radishes, beans, or cucumbers.
Why different vegetables need different handling
Cabbage is full of water and responds beautifully to dry salting. You shred it, add the right amount of salt, and massage or press until it releases enough liquid to make its own brine. Carrots and other roots are firmer, so they often do better with a measured external brine. Cucumbers contain plenty of water but can soften if conditions drift too warm or if the salt level is off.
This difference matters more than most beginner guides admit. A USDA ARS study on failed home fermentation batches found that 38% of failed home batches resulted from improper salt concentration due to vague guidance. The same source notes that leafy greens like cabbage often require a 2.5% brine, while dense root vegetables might need 3.5%. That's exactly why a flexible principle-based approach works better than copying one recipe over and over.
If you're prepping lots of produce, a good peeler can make root vegetables faster and more uniform. This comparison of the best peelers for vegetables is useful for high-volume prep.
Sample Brine Ratios by Vegetable Type
| Vegetable | Recommended Salt Percentage (by total weight) | Notes |
|---|---|---|
| Cabbage for sauerkraut | 2.25% to 2.5% | Usually dry-salted rather than covered with a separate brine |
| Leafy greens | 2.5% | Delicate texture, needs even distribution |
| Dense root vegetables | 3.5% | Helpful for water extraction and preservation |
| General mixed vegetables | 2% to 3% | A practical range for many non-specialty ferments |
| Low-salt pickles | 3% to 5% | Often used for cucumber-style pickles |
| High-salt pickles | 5% to 16% | Traditional stronger pickle styles |
A few useful pairings:
- Cabbage: shred finely, salt directly, pack tightly
- Carrots: cut into sticks or shreds, use brine, weight them down
- Green beans: trim ends, pack vertically if you want easy removal
- Cucumbers: keep them fully submerged and watch texture as they ferment
The vegetable tells you the method. Watery vegetables can often make their own liquid. Dense vegetables usually need more help.
Troubleshooting Mold Kahm Yeast and Other Worries
Most anxiety happens after the jar is packed and the waiting begins. You see bubbles, cloudy brine, maybe a pale film, and your brain jumps straight to “I've poisoned the kitchen”.
Usually, you haven't.
What is normal and what is not

Cloudy brine is often normal. Small bubbles are normal. A pleasantly sour smell is normal. Brine pushing upward or leaking a little from an active jar can also be normal.
Kahm yeast and mould are where people get mixed up. Kahm yeast tends to look like a thin white film on the surface. It can look dusty, flat, or a bit wrinkled. It's unattractive, but it isn't the same as fuzzy mould. Mould is what deserves real caution. It often looks raised, fuzzy, and coloured.
A warm kitchen makes these distinctions feel more stressful, so it helps to know the boundaries. A UC Davis Extension and California survey summary on warm-climate fermentation safety reports that fermentation remains safe in climates up to 78°F (26°C) if the brine covers vegetables by at least 2 inches and the salt concentration exceeds 3%. The same source notes that 42% of home fermenters abandoned the practice due to fear of spoilage at room temperature.
A quick decision guide for anxious moments
Use this simple check when something looks off:
- Thin white film with no fuzz: Often kahm yeast. Skim it, improve submersion, and monitor.
- Fuzzy green, black, pink, or blue growth: Treat it as mould. Discard the batch.
- Sharp sour smell: Usually part of healthy fermentation.
- Rancid or putrid smell: Discard the batch.
- Soft vegetables: Often linked to warmth, weak salt, or long exposure above brine.
- Floating bits at the top: Remove them quickly so they don't become problem spots.
If you're unsure whether the surface growth is flat and film-like or fuzzy and raised, trust your eyes before your hopes.
Good cleanup habits help too. Jars, lids, and weights should be washed well before use and again after each batch. If you want a practical routine for removing odours and residue from jars and lids, this guide on how to clean food storage containers is handy.
Storing Scaling and Using Your Ferments
A ferment is “done” when it tastes good to you, but cabbage-based ferments need one extra safety rule. According to USDA-validated guidance on cabbage fermentation time and pH, all cabbage-based ferments should continue for a minimum of 21 days to ensure enough acidification, reaching a pH below 4.6. At 68–72°F, that typically takes 3 to 4 weeks.
Knowing when a ferment is ready
Taste is your real finish line after the minimum safe window for cabbage. Early on, vegetables still taste mostly raw with some salt and fizz. Later, the flavour rounds out and becomes more integrated. The acidity tastes deeper, not just sharp.
Once you like the flavour, move the jar to the fridge. Cold storage slows fermentation down dramatically. The vegetables keep changing, just much more slowly.
A simple storage routine works well:
- Label the jar: Write the vegetable and start date.
- Keep solids under liquid: Even in storage, good habits matter.
- Use clean utensils: Don't dip in with a fork that has food on it.
- Close the lid after serving: Limit unnecessary air exposure.
How to keep the habit easy
Scaling up is less about bigger jars and more about rhythm. One small jar every week or two is easier to manage than a giant batch you forget in the back of the fridge.
You can also organise by category:
| Approach | What it looks like | Why it helps |
|---|---|---|
| One-vegetable batches | One jar carrots, one jar cabbage | Easy to learn each vegetable's behaviour |
| Seasonal rotation | Cabbage in cooler months, cucumbers when abundant | Keeps fermentation connected to what you already buy |
| Meal-based rotation | A jar for tacos, one for grain bowls, one for sandwiches | Makes ferments easier to use daily |
Finished ferments are simple to work into meals. Spoon them onto eggs, tacos, grain bowls, roast potatoes, sandwiches, or soups. Add a little brine to dressings if you like a salty, tangy edge.
If you want a practical source for comparing kitchen and storage tools without sorting through huge product catalogues, GrifGlo publishes decision-friendly guides across home and kitchen categories, including storage and organisation topics that fit naturally with a steady fermentation routine.
If you're building your kitchen one useful habit at a time, GrifGlo can help you compare the tools that support that routine, from storage containers to prep essentials, with straightforward guides designed to make buying decisions simpler.



Leave a comment
This site is protected by hCaptcha and the hCaptcha Privacy Policy and Terms of Service apply.