

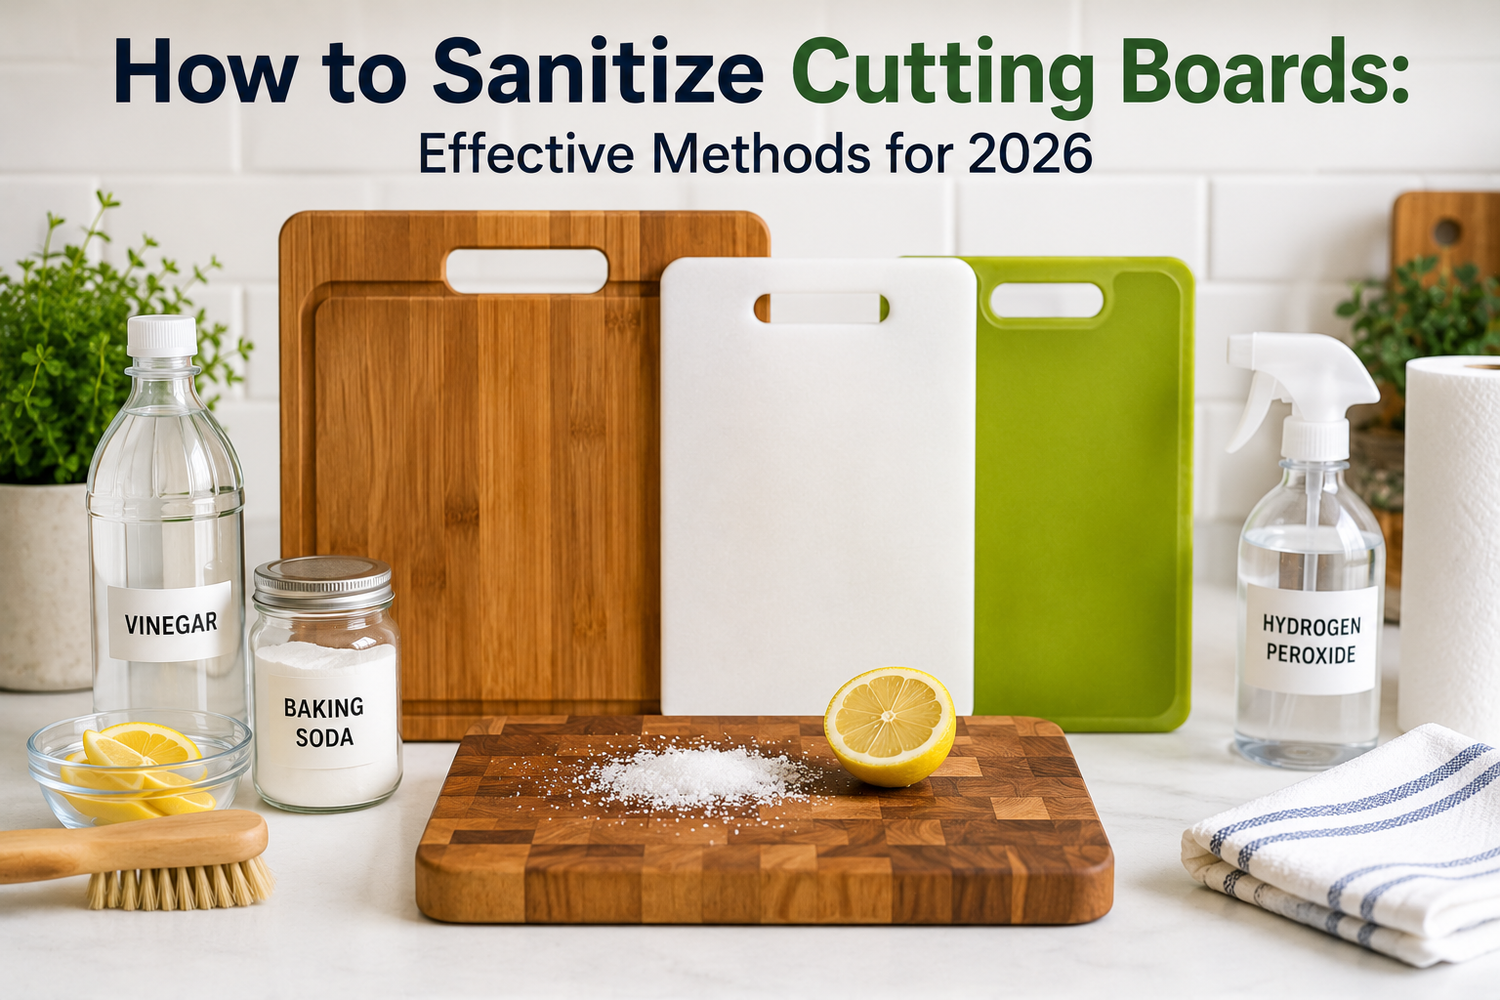
Dinner is nearly on the table. You've moved raw chicken from the cutting board, given the board a quick rinse, wiped it with a tea towel, and started slicing lettuce and cucumber for the salad. The board looks clean, but “looks clean” and sanitised aren't the same thing.
That small gap is where cross-contamination happens. This guide shows how to sanitise cutting boards as a separate, measurable step, using practical targets for concentration, temperature, and contact time from California and Canadian public-health guidance. It also explains what changes for wood, plastic, bamboo, and composite boards, and how to build a routine you'll follow on a busy weeknight.
Table of Contents
- The Moment Most Home Cooks Forget to Sanitise
- What Cleaning and Sanitising Actually Mean
- Daily Sanitising Routine After Normal Prep
- Deep Sanitising After Raw Meat Poultry or Seafood
- Natural and Chemical Sanitisers Compared
- Drying Storage and When to Replace a Board
- Putting It All Together Into a 60-Second Habit
The Moment Most Home Cooks Forget to Sanitise
The chicken is off the board, guests are waiting, and the salad needs assembling. A quick rinse removes the obvious juices, a towel makes the surface look dry, and the board goes straight back into service. That sequence feels sensible because the visible mess has disappeared, yet the knife scars and grooves can still hold residue and microorganisms from the raw food.
The problem isn't usually carelessness. It's the silent habit of treating washing as the finish line. Rushing dinner, assuming dish soap has solved everything, or reaching for the same cloth used on the counter can all shorten the process at exactly the wrong moment.
Practical rule: If raw meat, poultry, seafood, or visibly dirty produce touched the board, washing is only the first half of the job.
A clean-looking board can still transfer what the previous ingredient left behind to the next food. That's especially concerning when the next food is ready to eat and won't receive another cooking step. The board doesn't know whether you're preparing a salad, slicing fruit, or portioning cooked chicken. It carries whatever remains in its surface texture.
The same discipline that helps you check whether poultry has reached a safe internal temperature, as explained in this guide to using a meat thermometer, applies here. Food safety depends on a repeatable process, not a visual guess.
The fix is quick once it becomes automatic. Scrape away debris, scrub with hot soapy water, rinse, apply a suitable sanitiser for the required contact time, then let the board air dry. The extra step is measurable, and it can fit into the few minutes while a pan heats or vegetables are being put away.
What Cleaning and Sanitising Actually Mean
Cleaning removes food particles, grease, juices, and other visible soil. Sanitising happens after cleaning and reduces remaining microorganisms to an acceptable level. Soap and scrubbing are essential because organic residue can interfere with a sanitiser, but they don't replace the sanitising step.
California food-safety guidance treats cutting boards as multiuse food-contact surfaces that must be effectively cleaned and sanitised. For manual sanitising in a three-compartment sink, the cited options include water at 171°F for 30 seconds, chlorine at 100 ppm for 30 seconds, quaternary ammonium at 200 ppm for one minute, or iodine at 25 ppm for one minute, as set out in Orange County's sanitizer guidance. Those figures illustrate the important mental model: sanitising is controlled by concentration, temperature, and contact time, not by a quick wipe.

A board's material affects how it behaves during cleaning, but condition matters just as much. Plastic and composite surfaces are generally straightforward to scrub and can often tolerate a dishwasher, while wood requires hand washing and careful drying. Bamboo is also a plant-based material, so avoid assuming that a hard, smooth appearance makes it immune to knife damage or moisture problems.
The Combekk Recycled Paper Cutting Board 20x30 cm is described in the catalogue as a knife-friendly, dishwasher-safe board made from 100% recycled paper. That material detail can inform a cleaning routine, but the manufacturer's care instructions should still take priority over assumptions based on appearance.
| Step | What It Removes | How to Measure Success | Typical Tool |
|---|---|---|---|
| Cleaning | Food residue, grease, and visible soil | No greasy film, odour, or particles remain | Dish detergent and brush |
| Sanitising | Remaining microorganisms after cleaning | Correct concentration, temperature, and contact time | Measured sanitiser solution |
| Drying | Surface moisture that supports persistence and odours | Board is fully dry before storage | Upright rack or ventilated slot |
For households that also manage broader food-contact surfaces, Arelli Cleaning's commercial disinfection services offer useful context on why professional sanitation relies on controlled procedures rather than casual wiping. At home, you can apply the same principle with simpler equipment. Keep suitable commercial cleaning supplies organised so the brush, measuring vessel, sanitiser, and drying space are easy to reach.
Daily Sanitising Routine After Normal Prep
For ordinary preparation, use a sequence that separates soil removal from microbial reduction. Start as soon as practical after chopping so juices and starches don't dry into the board's knife marks.
Scrub before reaching for sanitiser
- Scrape first. Push scraps into the bin rather than rinsing them into the sink. Remove skin, fat, seeds, and stuck-on fragments with a scraper or the edge of a suitable utensil.
- Wash with hot soapy water. Use dish detergent and a brush or non-abrasive pad. Work across the whole surface, including edges, handles, corners, and visible grooves.
- Rinse thoroughly. Clear away detergent and loosened residue with hot running water. If the board still feels greasy or smells strongly of food, wash it again before sanitising.
The California home method described by UC Agriculture and Natural Resources uses 1 tablespoon of unscented bleach per gallon of water, with the solution left on the board for several minutes before rinsing and air drying. UC guidance on cleaning and sanitising food-contact surfaces also describes boiling water over clean wood or plastic boards for 20 seconds, rinsing with 1 teaspoon of chlorine bleach per quart of water, or placing plastic boards in a dishwasher on a normal cycle.
Apply, wait, and let the board dry
After washing, apply the chosen food-contact sanitiser evenly. Don't spray one patch and spread it around with a cloth that may already be contaminated. The surface needs to remain visibly wet for the product's stated contact time, and the label must be suitable for food-contact surfaces.

Rinse when the product instructions require it, then stand the board upright. Don't finish by wiping with the tea towel hanging beside the sink. That towel may have touched hands, counters, or raw-food packaging, and it can put contamination straight back on the board.
If you're blending a dressing or smoothie while the board dries, the HAMILTON BEACH 51182JC Blend Now Portable Cordless Blender is listed as having a shatterproof 16 oz. jar and sip-through travel lid. The appliance doesn't change the board routine, but separating prep tasks gives the sanitiser time to work without delaying the meal.
Deep Sanitising After Raw Meat Poultry or Seafood
Raw animal products deserve their own workflow. The board may look spotless after washing, but poultry juices and seafood residue can settle into knife scars, seams, and textured areas. Use a measured sanitising step every time these foods touch the surface, especially before the board is used for salad ingredients, bread, fruit, or cooked food.
Use the full sequence
- Scrape debris into the bin. Don't push raw scraps around the sink or leave them on a nearby counter.
- Wash with hot water and dish detergent. Scrub both faces, the perimeter, and any grooves. Rinse until no detergent or food residue remains.
- Apply a chlorine solution. California guidance identifies 100 ppm chlorine for 30 seconds as a manual sanitising option, while its home formula uses 1 tablespoon of unscented bleach per gallon of water and several minutes of contact. Health Canada's food-safety guidance gives a household alternative of 5 mL, or 1 teaspoon, of unscented bleach in 750 mL, or 3 cups, of water, followed by rinsing.
- Keep the surface wet for the required time. Don't spray and immediately wipe. Contact time only counts while the sanitiser is touching the board.
- Rinse and air dry. Follow the product directions for rinsing, then stand the board on its edge.
Canada's guidance says to sanitise cutting boards before and after preparing food, and it also recommends separate boards for raw animal products and ready-to-eat food. That separation reduces the number of times you need to move between raw and ready-to-eat tasks with the same board.

For another practical discussion of separation and cross-contamination, see these food safety tips for cutting boards. A dishwasher's sanitising cycle can be a strong option for a plastic board that fits comfortably with room around its edges. Wood, however, shouldn't be treated as dishwasher-safe unless its care instructions explicitly allow it.
Watch the embedded demonstration for a visual reminder of the sequence:
Avoid the shortcuts that undermine the process. Don't reuse a sponge or cloth that touched raw meat, don't skip sanitising because the board “looks clean”, and don't give a wooden board a fast wipe when raw poultry has contacted its grain. If the surface has deep scoring, replacement may be safer than trying to force a sanitiser into every groove. Guidance on choosing and maintaining a cutting board for meat can help when one board is doing too many jobs.
Natural and Chemical Sanitisers Compared
The useful question isn't whether a sanitiser sounds natural. It's whether the product is appropriate for a food-contact surface, reaches a suitable concentration, and stays wet for the required contact time.
Chlorine bleach is practical because it's inexpensive, broad-spectrum, and measurable. California and Canadian guidance provide household bleach formulas, but bleach can irritate scent-sensitive households and damage some metals or finishes. Never mix it with vinegar, ammonia, or another cleaning product.
Hydrogen peroxide can be a convenient alternative where the product label permits food-contact use. A household 3% solution is commonly used with a longer dwell, but the bottle's condition and label directions matter. Peroxide breaks down with exposure to light, heat, and contamination, so don't assume an old bottle remains equally effective.
White vinegar has a place for odour and mineral residue, but it shouldn't be your only response after raw meat. Its acidity and smell can make a board feel fresh without providing the controlled pathogen reduction expected from a food-contact sanitiser. Repeated acidic soaking can also be hard on wood glue and bamboo fibres.
Commercial quaternary ammonium and peroxide sanitisers can simplify measuring, particularly in a rental property or shared kitchen. Choose a product labelled for food-contact surfaces, verify whether rinsing is required, and follow the label's contact time. Toronto Public Health lists chlorine at 100 to 200 mg/L and quaternary ammonium at up to 200 mg/L, while its cleaning guidance emphasises keeping the surface wet and allowing it to air dry when possible. Regional Canadian guidance also recommends at least 45 seconds of contact time for bleach or quaternary ammonium solutions and preparing fresh bleach solution daily, as outlined in this Canadian public-health cleaning and sanitation resource.
| Sanitiser | Effective Concentration | Contact Time | Best Use |
|---|---|---|---|
| Chlorine bleach | Use the applicable household or label formula | Follow the cited guidance or label | Raw-food contact when measured correctly |
| Hydrogen peroxide | Use a food-contact-approved product at label strength | Follow the label | Homes avoiding chlorine odour |
| White vinegar | No reliable raw-food sanitising target in this routine | Not a substitute for validated contact time | Odour and mineral residue |
| Commercial quat or peroxide | Label strength | Label contact time | Repeatable routines in shared kitchens |
The wood versus plastic cutting board comparison is useful when the choice of sanitiser is tied to material, dishwasher access, and board condition. Natural doesn't automatically mean safer, and chemical doesn't mean careless. The method matters more than the marketing language.
Drying Storage and When to Replace a Board
Sanitising ends with drying. A wet board placed flat on the counter traps moisture against one face, while a damp board shoved into a drawer stays in a low-airflow environment. Both situations make it harder for the surface to dry completely and can contribute to odours, warping, and deterioration.
Stand the board upright on its long edge, with enough space for air to move across both faces. A ventilated cabinet slot or standing rack works better than a crowded drawer, and the board should stay away from the sink's splash zone. If you own several boards, avoid stacking them until every surface is dry.
Separate boards by job
Colour coding is a workflow tool, not decoration. Mark one board for raw meat, poultry, and seafood, and reserve another for produce and bread. A third board for cooked food is useful in shared kitchens, rental properties, or any household where several people prepare food at different times.
Canadian occupational guidance accepts both plastic and wood boards, notes that plastic can go in the dishwasher, and advises discarding boards once they become deeply scored or difficult to clean. Canadian Centre for Occupational Health and Safety kitchen hygiene guidance supports the practical conclusion that condition, use pattern, and cleaning access matter as much as material.

Replace a board when you find:
- Deep knife scars: Grooves that remain difficult to scrub are a sanitation liability.
- Soft or spongy areas: These indicate the material is breaking down.
- Persistent odours: A sour or fishy smell that remains after proper washing signals trapped residue.
- Dark mould or black specks: Don't keep chasing contamination through the grain.
- Warping: A board that rocks on the counter is harder to use safely and may no longer dry evenly.
Wood boards can sometimes be lightly sanded and treated with food-grade mineral oil to refresh the surface. Plastic boards with deep scoring should be retired rather than sanded, because sanding can create an uneven surface without reliably removing every contaminated groove. For more detail on preserving a wooden board, use this wood cutting board maintenance guide.
Putting It All Together Into a 60-Second Habit
The routine works when you can run it without negotiating with yourself after every meal. Keep a dedicated brush, dish detergent, measuring vessel, suitable sanitiser, and drying space together. That removes the most common friction, which is having to search for supplies while raw-food juices are still on the counter.
The repeatable sequence
- Scrape. Remove food scraps into the bin.
- Hot soapy scrub. Clean the board's face, edges, underside, and knife marks.
- Rinse. Remove loosened soil and detergent.
- Sanitise and dry. Use the approved product and concentration for the board, respect its contact time, rinse if directed, and stand it upright to dry.
For plastic or composite boards, follow the applicable chlorine guidance or a food-contact product label. For wooden boards, choose a method specifically compatible with the material and avoid casually combining products. The correct choice depends on the board's care instructions, the sanitiser label, and whether the board handled raw animal products.

Three mistakes undo otherwise careful work:
- Reusing one sponge across tasks: Keep raw-food cleanup tools separate from tools used on ready-to-eat prep areas.
- Wiping sanitiser away too soon: The surface must stay wet for the stated contact time.
- Stacking boards while damp: Stand them apart until both faces are fully dry.
Use a short scrub after every prep session, take the full sanitising step after raw meat, poultry, or seafood, and inspect boards regularly for scoring, soft areas, odours, or mould. Once you treat cleaning, sanitising, and drying as separate actions, the process becomes routine rather than something you remember only after the salad is already plated.
GrifGlo helps households, renters, rental-property hosts, and small hospitality teams compare practical kitchen essentials, including cutting boards and related cleaning supplies, through decision-friendly guides. Visit GrifGlo to organise a safer, more reliable prep routine and choose tools that fit how you cook.



Leave a comment
This site is protected by hCaptcha and the hCaptcha Privacy Policy and Terms of Service apply.