

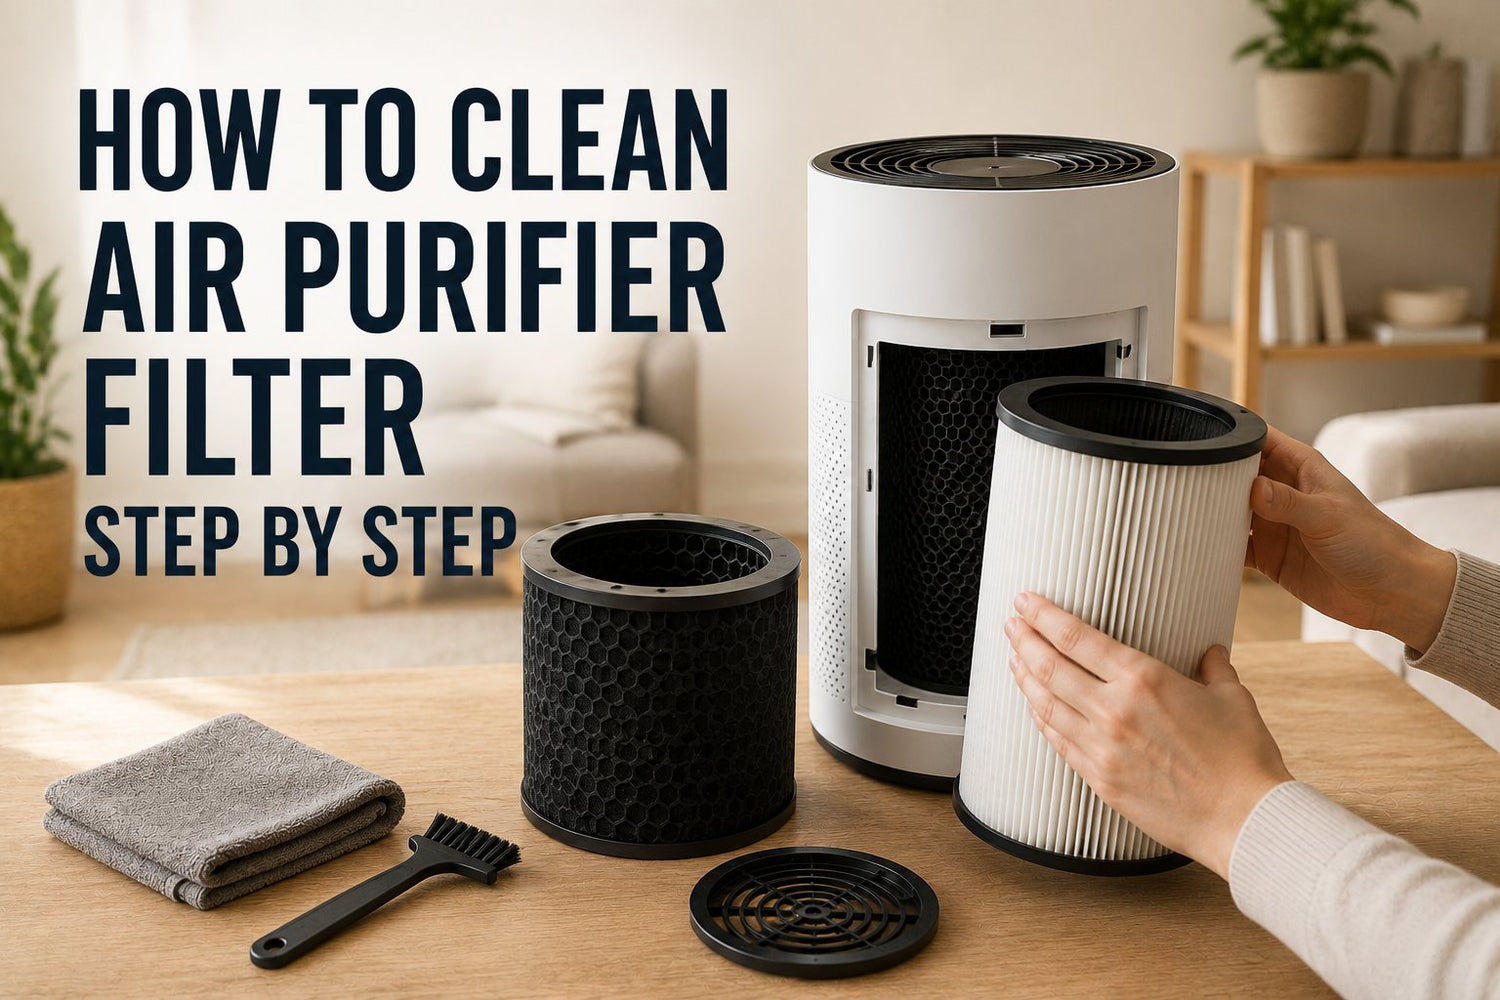
You notice it when the room doesn't feel as fresh as it used to. The purifier is still running, but the airflow seems weaker, the fan sounds strained, or a stale smell shows up right when you switch it on. In homes, that usually means dust load, pet hair, cooking residue, or smoke has caught up with the filter. In a small office, it often shows up faster because the unit runs longer and more people are moving particles through the room all day.
That's the point where many people make the wrong call. Some wash a filter that should never get wet. Others keep vacuuming a carbon layer that's already spent. The most common mistake I see in California is simpler than that. People clean a washable filter properly, then reinstall it before it's fully dry.
If you want a practical answer to how to clean air purifier filter components without damaging the unit, the job starts with identifying what kind of filter you have. After that, it's a matter of using the right cleaning method, letting parts dry long enough for your local conditions, and knowing when replacement makes more sense than more cleaning.
Table of Contents
- Introduction to Filter Cleaning
- Understanding Filter Types and Maintenance Schedules
- Gathering Tools and Preparing Safely
- Cleaning Washable Pre Filters and Electrostatic Filters
- Maintaining Non Washable HEPA Filters
- Refreshing Activated Carbon Filters
- Drying Reinstallation Troubleshooting and Maintenance Plan
Introduction to Filter Cleaning
A neglected purifier usually tells on itself. The fan ramps up, the intake grille looks dusty, and the room doesn't clear out the way it did when the unit was new. If the machine has a washable pre-filter, that layer often carries most of the visible mess. If it relies on a non-washable HEPA cartridge, rough cleaning can do more harm than the dirt.
In real service work, the biggest trade-off is speed versus care. You can pull a unit apart and rinse parts quickly, but if you skip drying or force a filter back into place, you create a second problem. Moisture, poor fit, and damaged filter media all reduce performance. Some units start rattling after reassembly because the frame isn't seated correctly. Others smell musty because the cleaned filter went back in damp.
Practical rule: Clean only the parts designed to be cleaned. Replace the parts designed to be replaced.
Small businesses need to be stricter than most homes. A purifier in a reception area, break room, treatment room, or short-term rental turns over more air, catches more lint, and gets ignored more often because nobody “owns” the task. A simple maintenance routine beats guesswork every time.
Understanding Filter Types and Maintenance Schedules
Not every filter in an air purifier needs the same treatment. If you treat all of them like they're washable, you'll shorten the life of the expensive ones.

What each filter actually does
A pre-filter catches the larger debris first. Think dust, hair, lint, and the visible material that would otherwise clog the deeper layers. Many are washable or vacuum-safe.
A HEPA or high-efficiency filter handles the fine particle work. This is usually the part you don't want to wash. In the Canadian residential market, HEPA filters must be replaced every 6 to 12 months under typical usage, while activated carbon filters need replacement every 3 to 12 months based on odour breakthrough, and pre-filters require cleaning or replacement every 3 to 18 months according to IQAir's Canadian filter replacement guidance.
An activated carbon or sorbent filter deals with gases and smells. When it stops absorbing cooking odours or pet smells, cleaning won't bring the media back to full capacity. That's replacement time.
If you're using a model like the CLOROX 11031 Alexa Smart Medium Room True HEPA Air Purifier, the useful thing to note is the True HEPA 3-stage filtration, plus Alexa voice control, a real-time air quality display, and auto mode with smart adjustment. Those features help with operation, but they don't change the basic maintenance rules.
For kitchens, filter loading usually happens faster because grease and odours combine with dust. If your purifier runs near cooking zones, it helps to compare that setup with a dedicated air purifier for kitchen use before setting a schedule.
Filter maintenance overview
| Filter Type | Cleaning Frequency | Replacement Frequency |
|---|---|---|
| Pre-filter | Clean or wash as needed within the 3 to 18 month maintenance window | Replace if damaged or if the design calls for replacement within that same 3 to 18 month range |
| HEPA or high-efficiency filter | Usually not washable; some units allow gentle surface vacuuming only | 6 to 12 months under typical usage |
| Activated carbon or sorbent filter | Light surface cleaning only if allowed by the manufacturer | 3 to 12 months, guided by odour breakthrough |
A home with pets, heavy cooking, dust, or smoke exposure won't behave like a low-use spare bedroom. Small business units usually need closer attention for the same reason.
Gathering Tools and Preparing Safely
The job goes faster when everything is laid out before you open the housing. Most delays happen when someone starts rinsing a filter, then realises there's nowhere clean to dry it.

What to set out before you start
Keep the toolkit simple:
- Vacuum with brush attachment: A brush attachment on low suction can remove about 80% of surface debris without damaging the filter according to Aircare's cleaning guide.
- Mild dish soap and water: For washable filters, the same guide notes that submerging the filter in lukewarm water with mild soap for 2 to 3 minutes helps release trapped particles.
- Microfibre cloth: Useful for wiping the housing, grille, and the area around the fan opening.
- Gloves and drying surface: A rack is better than a crowded counter. A clean towel also works.
If you already keep a broader cleaning setup for rentals, offices, or shared spaces, a guide to commercial cleaning supplies can help you standardise what stays in the maintenance kit.
The Eureka Wet & Dry Vacuum Mop – NEW400 Cordless All-in-One is described as a unit that vacuums and mops simultaneously with self-propulsion for hard floors. That's relevant for the floor area around the purifier, not for the filter itself. You still want a soft brush attachment for the actual filter work.
Safety steps that prevent expensive mistakes
Unplug the purifier first. Don't trust standby mode.
Then work through these basics:
- Protect the motor section: Never carry wet filters over the open fan compartment.
- Use a ventilated area: Laundry rooms, garages, and covered outdoor spaces usually make drying easier.
- Check the manual before rinsing anything: “Filter” is too broad a label. Some layers are washable. Some absolutely aren't.
Cleaning Washable Pre Filters and Electrostatic Filters
Washable filters reward careful handling. They also punish shortcuts. Scrubbing, twisting, or reinstalling them damp is where most DIY jobs go wrong.

The cleaning sequence that works
Start by removing the filter gently so the frame doesn't warp. If it's packed with hair or lint, vacuum first before introducing water. That keeps mud-like dust paste from forming on the mesh.
A reliable sequence looks like this:
- Lift the filter out carefully. Don't bend tabs or force a corner free.
- Vacuum both sides first. Surface debris comes off more cleanly while dry.
- Rinse under cold water without scrubbing. For washable pre-filters and electrostatic units, the cited video guidance says rinsing under cold water without scrubbing is essential, followed by a 24-hour air-dry in a ventilated area.
- Use a mild soap bath only when needed. If grime is sticky, a short soak and gentle swishing is better than aggressive brushing.
- Set it aside to air-dry fully. A damp reinstall can reduce efficiency by 40% and introduce moisture into the motor according to that same guidance.
This quick visual helps if you want the sequence in a simple format:
Handling electrostatic filters properly
Electrostatic filters need a lighter touch than basic mesh pre-filters. The goal is to remove debris without driving it deeper into the material.
Brush from the clean side toward the dirty side. That pushes debris out instead of packing it in.
That direction matters on reusable electrostatic filters because the media structure is easy to stress with rough handling. If the filter looks clean but still smells off after drying, the issue may be elsewhere in the purifier housing.
In cooking-heavy homes, greasy airborne residue can build up on nearby surfaces and then get pulled back through the purifier. If your unit sits near a fryer or range, this is similar to the residue pattern you see when you clean an air fryer properly. The airborne source matters almost as much as the filter cleaning itself.
Maintaining Non Washable HEPA Filters
This is the filter type people damage most often. If it says non-washable, do not wash it.

How to vacuum a HEPA filter without wrecking it
In California, non-washable HEPA filters make up 85% of purifiers sold, and they must never be washed. The approved cleaning method is gentle vacuuming with a soft-bristled brush held 6 inches away, which can restore 75 to 80% of original airflow when done quarterly. The same source notes that water or scrubbing can cut particle capture by over 50% according to Carbon Wellness MD's HEPA cleaning guidance.
That means the right technique is controlled and light:
- Keep distance: Hold the brush roughly 6 inches away.
- Use short passes: Don't grind the brush into the pleats.
- Work around the surface evenly: Especially on cylindrical filters.
If the purifier also uses other replaceable filtration parts in the appliance category, the logic is similar to managing a refrigerator water filter replacement schedule. You can maintain performance for a while, but there's still a point where the cartridge has reached the end of useful service.
When cleaning stops being enough
A HEPA filter that stays discoloured, smells stale, or leaves the unit struggling after careful vacuuming probably needs replacement. So does one with torn pleats, softened media, or distortion from earlier water exposure.
If somebody washed the HEPA once, I don't assume it's fine just because it dried out. The fibre structure may already be compromised.
Refreshing Activated Carbon Filters
Carbon filters are useful, but they're often misunderstood. People expect them to behave like a washable dust screen. They don't.
What carbon can and cannot recover from
Activated carbon deals with odours and gases. Light surface dust can sometimes be vacuumed off the outside if the purifier design allows it, but that doesn't regenerate saturated carbon. Once the media hits odour breakthrough, it stops doing the job you bought it for.
That's why soaking is usually a waste of effort. Water doesn't reliably restore adsorption capacity, and in some designs it creates a drying problem you didn't have before.
A practical approach:
- Dust on the outer layer: Light vacuuming may help with surface buildup.
- Persistent cooking or pet smells: Replace the carbon layer if the smell is coming through the unit.
- Smoke season exposure: Expect shorter useful life, especially if the purifier ran constantly.
Replacement cues for homes and small businesses
In homes, the most obvious cue is simple. If the purifier still moves air but no longer controls smells, the carbon filter is likely spent.
In small businesses, this shows up in break rooms, reception zones, treatment spaces, and washrooms near shared corridors. Staff often assume the unit is “working” because the fan is on. For carbon filters, fan noise means almost nothing. Odour control is the true test.
Don't scrub a carbon filter trying to save it. If odour breakthrough has happened, replacement is usually the efficient choice.
Drying Reinstallation Troubleshooting and Maintenance Plan
A careful cleaning job can still fail at the last step. California homes make this tricky because drying conditions vary a lot. A filter that dries quickly inland may stay damp much longer near the coast.

How to verify dryness in California conditions
This is the gap most generic guides miss. They say “dry completely” and leave it there.
A cited claim tied to Aire Serv's article on cleaning an air purifier states that a 2025 CA Air Resources Board study found 34% of indoor mold cases stemmed from damp HVAC or purifier components due to insufficient drying verification, and that a paper-towel press test adjusted for local humidity prevents this risk.
The useful part for real-life maintenance is the verification habit:
- Press test: Press a clean paper towel against several spots, especially edges and folds. Any damp transfer means it isn't ready.
- Check the frame, not just the mesh: Plastic rims and thick seams hold moisture longer.
- Use airflow, not heat: A ventilated room is safer than trying to speed things up with harsh direct heat.
If you're running smart devices in the same room, including humidity-aware setups, a broader look at smart home devices with Alexa can help when you're trying to make maintenance routines more consistent across a house or office.
Reinstallation checks and a simple maintenance rhythm
Poor fit is another quiet performance killer. Earlier guidance on washable filters notes that bad fit after cleaning can reduce efficiency significantly, so reinstallation has to be deliberate. Slide the filter into its track evenly, seat the corners, and make sure the panel closes flush.
Use this troubleshooting checklist after reassembly:
- Rattling noise: The filter frame or front cover isn't seated properly.
- Weak airflow: The filter may still be damp, overpacked with residue, or installed backwards.
- Lingering smell: Carbon media may be spent, or the housing itself needs wiping.
- Unit shuts off or throws an alert: Recheck panel alignment and filter orientation.
For a manageable routine, keep it simple:
| Setting | What to monitor |
|---|---|
| Home bedroom or living room | Dust on pre-filter, airflow changes, odours after cooking or pet activity |
| Kitchen-adjacent space | Grease film, faster odour breakthrough, heavier surface debris |
| Small office or shared business space | More frequent visible buildup, longer daily runtime, less obvious ownership of maintenance |
| Rental or hospitality unit | Reset between occupants, inspect after high-use stays, replace exhausted filters promptly |
Drying and fit are not finish-line details. They decide whether the cleaning actually helped.
If you're comparing purifier options, replacement filters, or maintenance-related home essentials, GrifGlo organises those purchases into clearer categories and decision-friendly guides so households, rental hosts, and small business teams can standardise what they buy without digging through oversized catalogues.


Laisser un commentaire
Ce site est protégé par hCaptcha, et la Politique de confidentialité et les Conditions de service de hCaptcha s’appliquent.