


You've chopped vegetables for dinner, rinsed the board, and noticed that the surface looks pale, feels rough, or holds a faint oily smell. Reaching for a bottle of olive oil may seem like the obvious fix, but that common shortcut can leave the wood sticky and rancid. Before you season a cutting board, you need to confirm that the board is suitable for food contact, clean it properly, and let it dry completely.
Seasoning means conditioning the wood with food-safe mineral oil and, optionally, wax. It helps the board resist moisture and remain easier to clean, but it doesn't sanitise the surface or rescue a board with deep cracks and grooves. The safest routine is a loop: choose suitable material, wash after use, sanitise when needed, dry thoroughly, condition when the wood needs it, and replace the board when damage prevents effective cleaning.
Table of Contents
- Why Seasoning Is Part of Board Hygiene
- Choosing the Right Oils and Waxes
- Step-by-Step Seasoning Process
- Cleaning, Sanitizing, and Re-oiling Schedule
- Fixing Sticky Surfaces, Odors, and Drying Cracks
- Ongoing Cutting Board Care Tips
Why Seasoning Is Part of Board Hygiene
The most common seasoning mistake is applying oil to any wooden board without checking what the board is made from. Oil can maintain a suitable hardwood surface, but it doesn't turn softwood, cracked wood, or an unsuitable finish into a compliant food-contact surface.
California's food code generally restricts wood and wood wicker as food-contact surfaces, while expressly permitting hard maple or an equivalently hard, close-grained wood for cutting boards and cutting blocks. The same rule recognises cedar planks for grilling or baking seafood. That distinction matters at home because seasoning should preserve an appropriate board, not replace proper material selection. You can review the material-specific rule in the California food code guidance for wooden cutting boards.
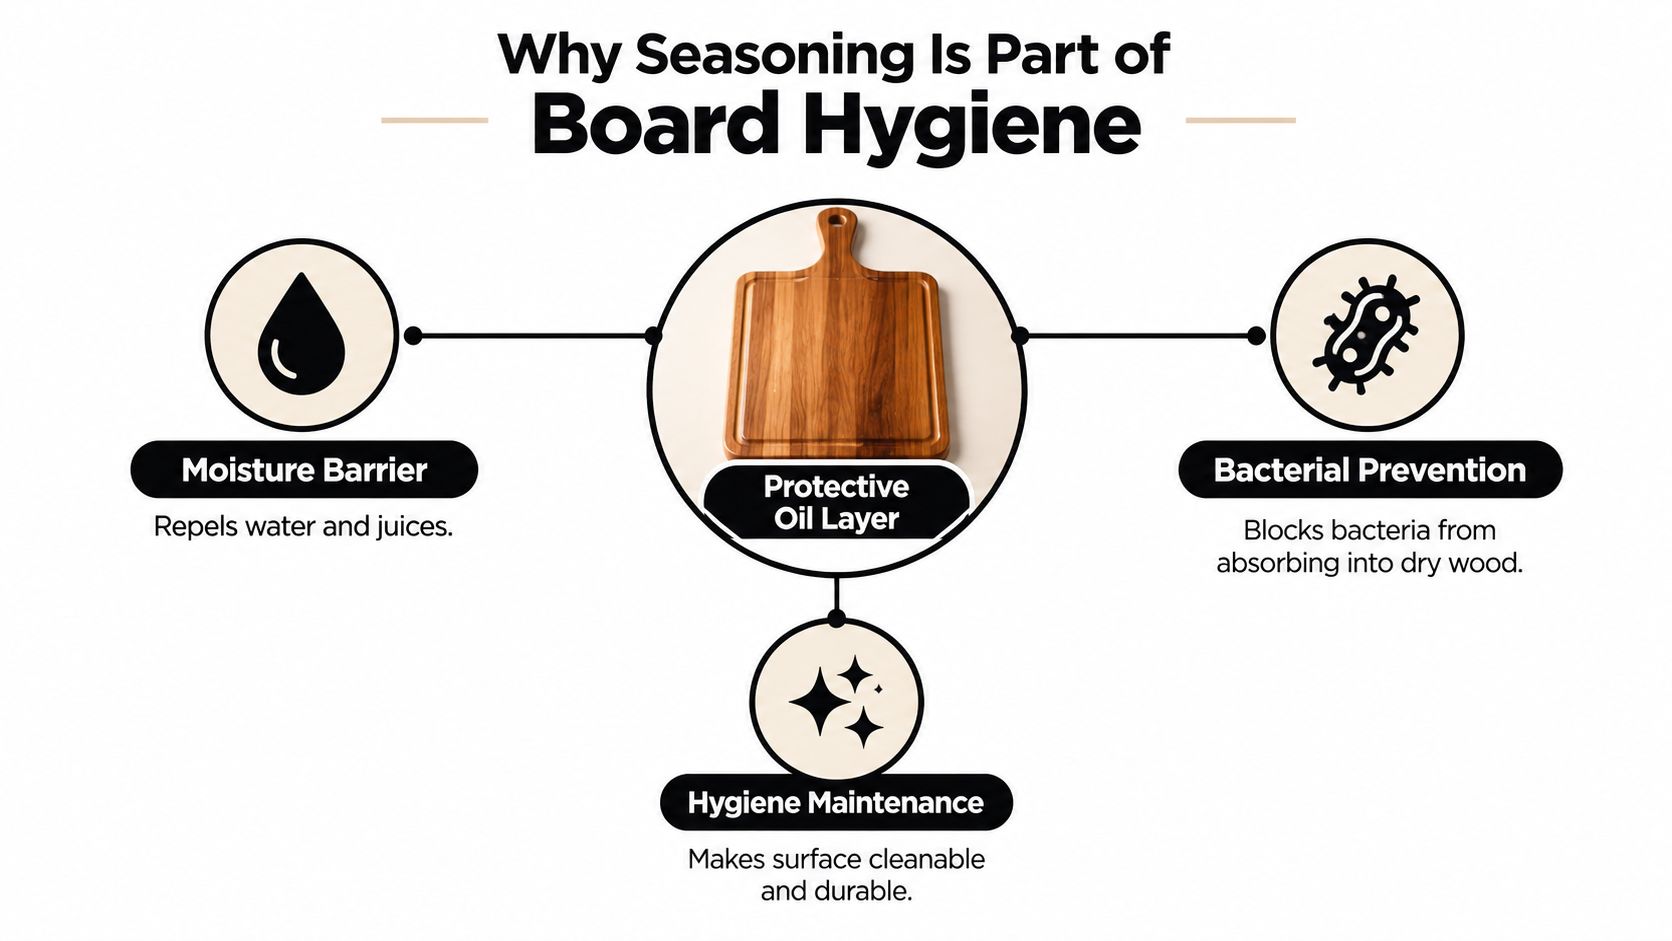
What the oil layer actually does
Dry wood can absorb water, food juices, and residue. A properly conditioned surface absorbs less moisture, remains smoother, and is less likely to dry out and split. That makes ordinary washing more effective, because you're cleaning a surface rather than trying to remove residue from damaged or excessively porous fibres.
Seasoning therefore supports hygiene indirectly. Mineral oil is a maintenance layer, not a disinfectant. It can help protect a board from moisture swings, but it cannot remove bacteria, food particles, or allergens. It also won't seal a deep knife groove well enough to make a damaged board reliably cleanable.
Practical rule: If you can't wash and sanitise the surface effectively, replace the board instead of adding more oil.
Wood and plastic each have different care requirements, and the material alone doesn't settle every safety question. For a broader comparison before you condition an existing board, see cutting board wood versus plastic. Whichever material you use, keep the board smooth, clean, dry, and assigned to the right type of food.
Choosing the Right Oils and Waxes
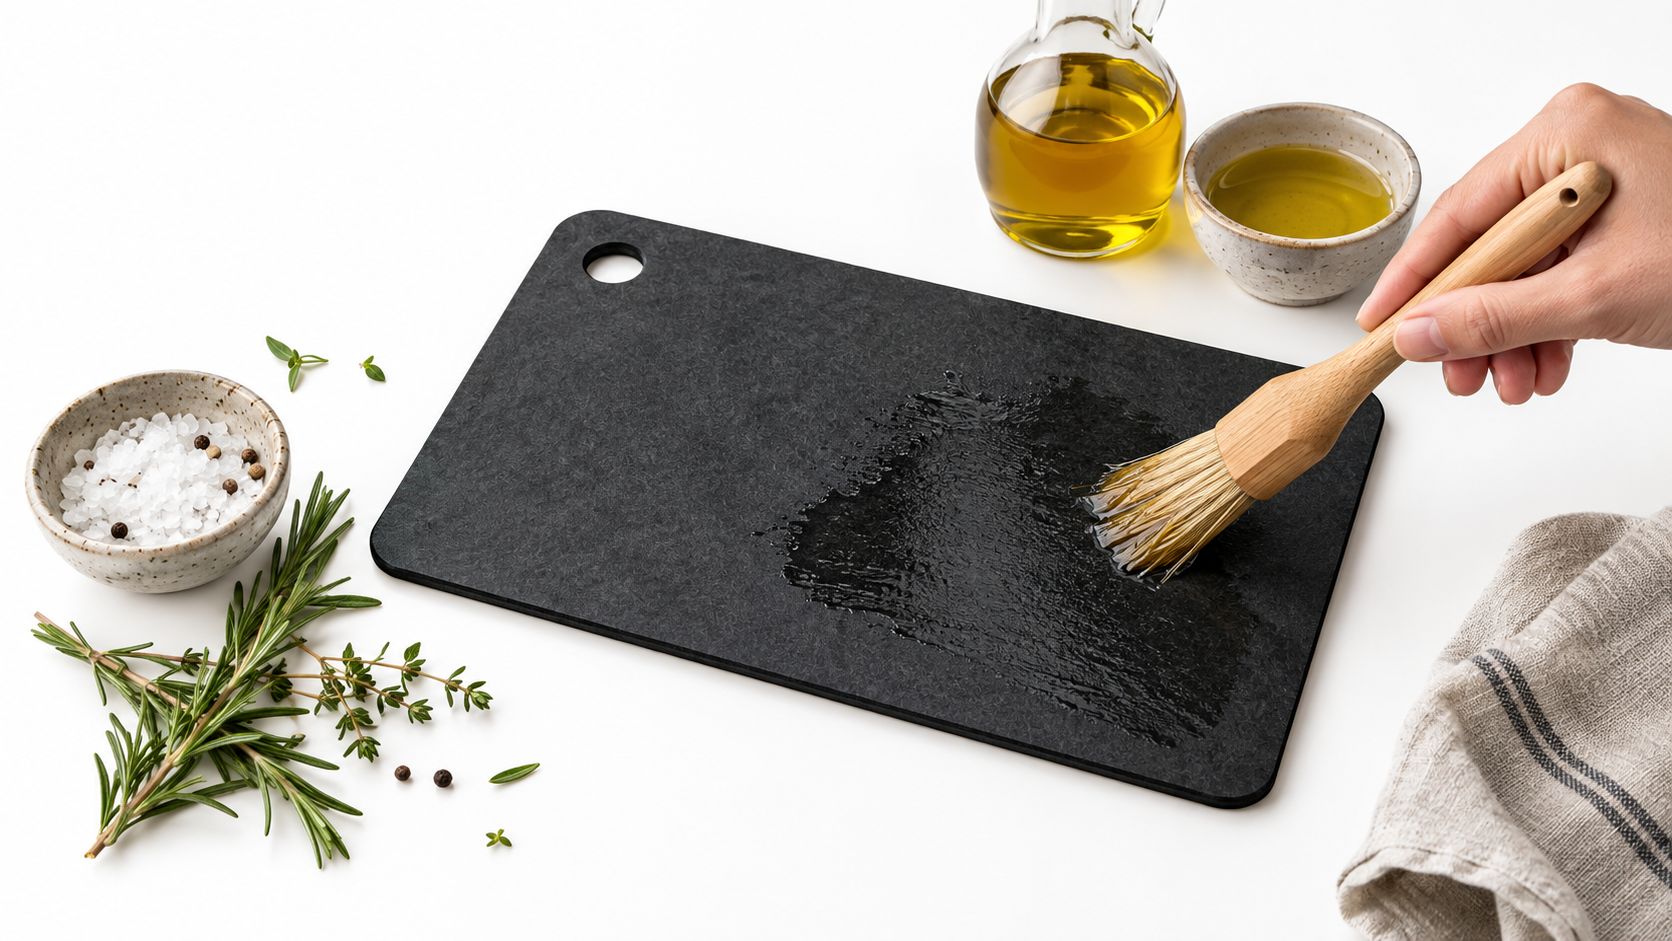
The safest basic supply is food-grade liquid mineral oil. Look for wording such as food-grade or USP on the label, and avoid products containing fragrances, solvents, colourants, or household-polish additives. Mineral oil is preferred because it conditions the wood without the rancidity problem associated with many cooking oils.
Don't use olive oil, vegetable oil, sunflower oil, or other ordinary kitchen oils for routine board seasoning. These oils can oxidise over time and leave a sticky film, unpleasant odours, or rancid residue. A food-safe beeswax and mineral-oil blend can be applied after the oil has absorbed if you want additional moisture resistance, but wax is a finishing aid, not a substitute for the oil beneath it.
A simple supply list
Gather the following before you start:
- Food-grade liquid mineral oil: Choose a product intended for food-contact surfaces.
- Clean, lint-free cloth: Use it to spread a thin coat and remove residue.
- Mild washing-up liquid: You'll need this before conditioning, not after.
- Optional board wax: Select a food-safe beeswax and mineral-oil blend.
- Dry towel or rack: The board must be completely dry before oil touches it.
| Oil Options Compared | Rancidity Risk | Best Use |
|---|---|---|
| Food-grade mineral oil | Doesn't go rancid in the way cooking oils can | Primary conditioning for suitable wooden boards |
| Mineral oil and beeswax blend | Low when made for food-contact use | Optional finishing layer for moisture resistance |
| Olive, vegetable, or other cooking oil | Can oxidise and become rancid | Don't use for board seasoning |
| Household polish or scented finish | May contain unsuitable additives | Don't use on food-contact surfaces |
A recycled paper board is a different category from a wooden board, so it shouldn't automatically be treated with mineral oil. For example, the Combekk Recycled Paper Cutting Board 20x30 cm is described as made from 100% recycled paper, with a knife-friendly and dishwasher-safe construction. Follow the care instructions for that material rather than applying a wooden-board treatment.
For more guidance on washing, drying, oiling, and inspecting wood, use this wood cutting board maintenance guide. The right product matters, but applying a suitable oil to a damp or dirty board still creates the wrong result.
Step-by-Step Seasoning Process
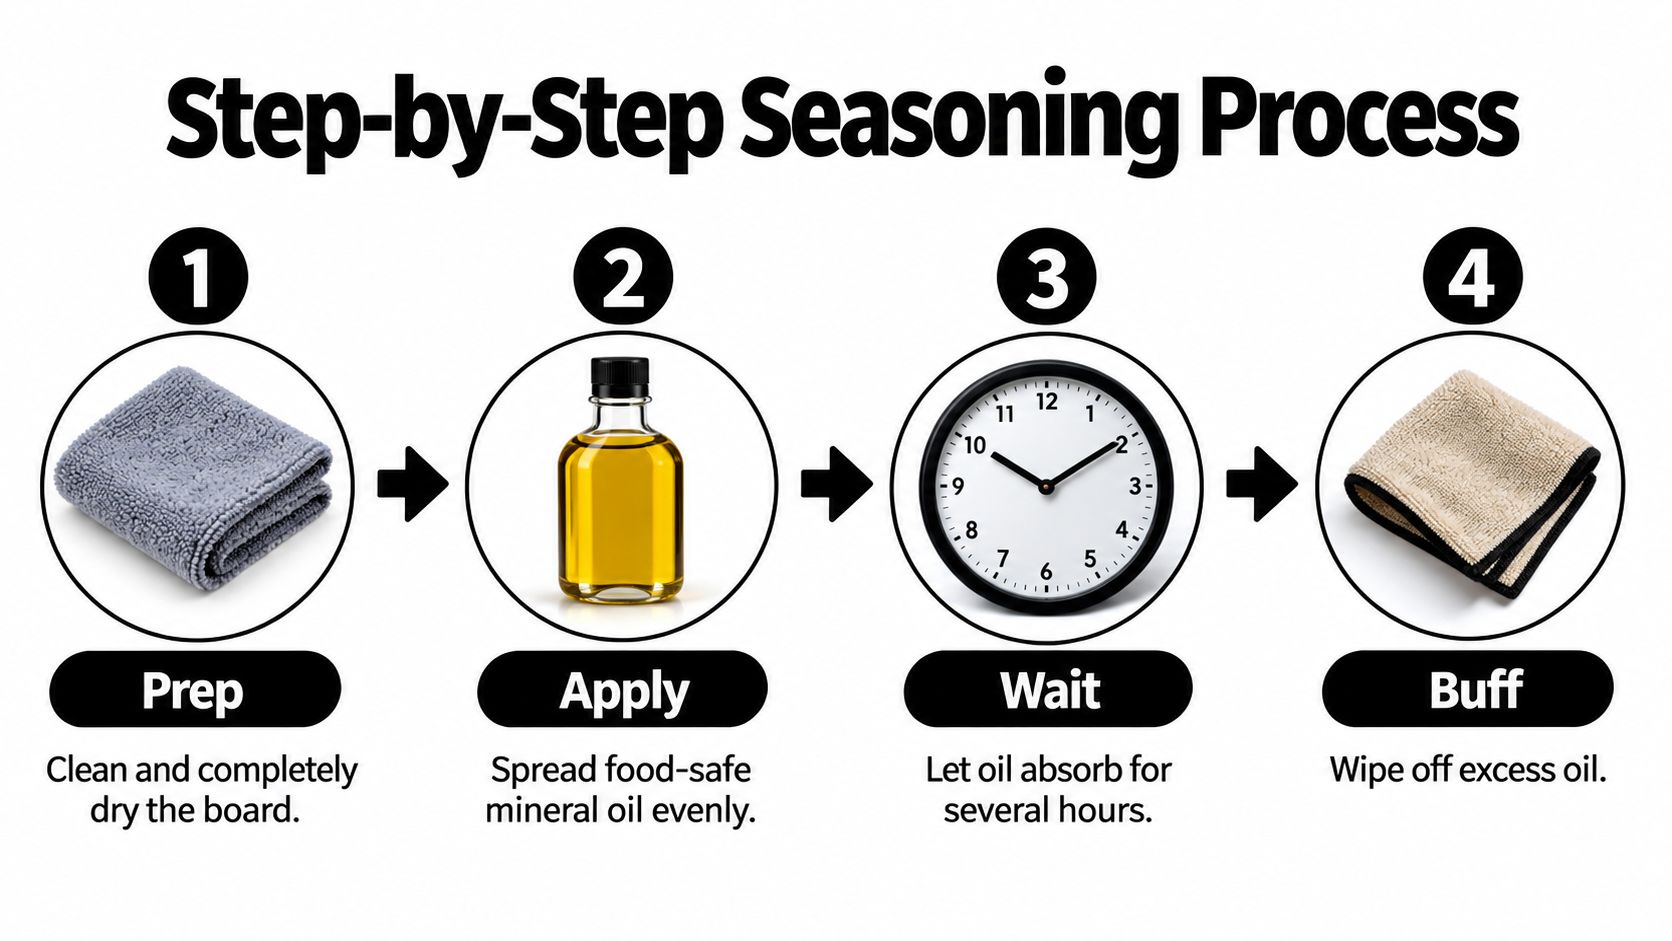
Start with the board itself. Check that it's a suitable, intact hardwood board, then remove loose food particles and wash it with hot, soapy water. Rinse away the soap and stand the board upright until it's fully dry. The surface should feel dry to the touch, with no cool dampness around the edges or end grain.
Oil won't protect a board if it traps moisture underneath. Applying it too soon can slow drying and encourage a tacky surface, while oiling over food residue can lock that residue into the grain. Clean first, dry second, oil third.
Apply a thin, even coat
Pour a modest amount of food-grade mineral oil onto a cloth rather than flooding the board. Rub it over the top, bottom, edges, and especially the end grain. End grain can absorb oil more quickly because the wood fibres run towards the surface, so give those edges careful attention without leaving pools of liquid.
Work in the direction of the grain where practical. You're aiming for an even sheen, not a glossy puddle. If the board immediately absorbs the oil and still looks pale, add a little more to that area. If oil sits on the surface, you've applied more than the wood can take at that moment.
Stand the board upright so air can reach both sides. Let the oil absorb for several hours or overnight, then use a clean cloth to remove every visible trace of residue. A properly finished board should feel smooth and conditioned, not wet or sticky.
For boards with exposed end grain, the cutting board end grain guide can help you understand why those areas may need more attention. Don't confuse faster absorption with a need to leave excess oil sitting on the surface.
Build the condition gradually
A new or very dry board may need repeated applications before the surface becomes consistently resistant to moisture. During the first week, apply another thin coat every couple of days if the board continues to absorb the oil quickly. Continue with weekly applications during the first month, then move to approximately monthly conditioning or apply oil whenever the wood looks dry or feels rough.
That schedule is a starting point, not a rule that overrides the board's condition. A frequently used board near a sink may need attention sooner than a rarely used board stored in a dry cupboard. Canadian households may also notice greater dryness during heated winter conditions, so use the surface as your guide.
After the mineral oil has absorbed, rub on a very thin layer of food-safe beeswax and mineral oil if you want extra moisture resistance. Buff away excess wax so the board remains smooth and easy to clean.
A heat-safe cotton item such as the HOME AESTHETICS HA-4121 2pc Oven Mitt & Pot Holder Set can sit in the kitchen as part of a wider prep and safety setup, but it has no role in applying or sanitising the board.
Cleaning, Sanitizing, and Re-oiling Schedule
Seasoning only works safely when it sits inside a sanitation loop. The daily action is washing. After every use, scrub the board with hot, soapy water, rinse it with clear water, and dry it thoroughly. That removes food residue before it can remain in the grain or around knife marks.
Use separate boards for raw meat, poultry, and seafood versus fruit, vegetables, herbs, and bread. Clean and sanitise the board before changing food categories, particularly if the same board has handled raw animal products. The California household cutting board sanitation guidance specifies a sanitising solution of 1 tablespoon of unscented household bleach per 1 gallon of water. The solution should remain on the surface for several minutes before the board is rinsed and air-dried or dried with clean paper towels.
Match the routine to the task
A practical routine looks like this:
- After every use: Wash with hot, soapy water, rinse, and dry the board completely.
- After raw meat, poultry, or seafood: Sanitise using the appropriate solution and contact time, then rinse if required by the guidance and air-dry fully.
- Before oiling: Inspect the board for residue, dampness, deep cuts, cracks, or a tacky film.
- When the wood looks dry: Apply a thin layer of food-grade mineral oil to all surfaces.
- When damage prevents cleaning: Retire the board instead of trying to fill the defects with oil or wax.
Oil belongs at the end of the process, never at the beginning. Washing removes residue, sanitising addresses the hygiene risk, and drying prevents moisture from being trapped beneath the conditioning layer. If the board still feels damp, wait longer.
Never leave a wooden board submerged, soak it in a sink, or put it in a dishwasher unless the manufacturer specifically confirms that the board is designed for that treatment. Excess water and uneven drying can swell, warp, split, or delaminate wood. California guidance also recommends monitoring deep grooves and cut marks because damaged areas can harbour contamination.
Canadian food-safety advice follows the same basic principle: keep raw and ready-to-eat foods separate, wash utensils before reuse, sanitise when needed, dry thoroughly, and replace boards with deep scars or damage. A useful cutting board sanitising guide can support the cleaning side of the routine, but no sanitiser makes a visibly damaged board suitable for continued use.
Fixing Sticky Surfaces, Odors, and Drying Cracks
A sticky board usually has too much oil on top, or it was oiled before it had dried. For example, you apply a generous coat after washing, leave the board flat overnight, and discover a tacky film the next morning. The problem isn't that the board needs more oil. Wash it thoroughly, let it dry upright, and remove any remaining residue with a clean cloth.
If the surface remains rough after cleaning and drying, a light, careful sanding may help restore smoothness, provided the board is otherwise sound. Remove all dust before applying a much thinner coat. Don't sand away deep structural damage and assume seasoning has repaired it.
Diagnose the source before treating it
Musty or sour odours often point to trapped moisture, inadequate drying, or cross-contamination between food types. Wash and sanitise the board using the appropriate method, then give it full air exposure. If the smell persists or comes from a crack that you can't clean, replacement is safer than another coating.
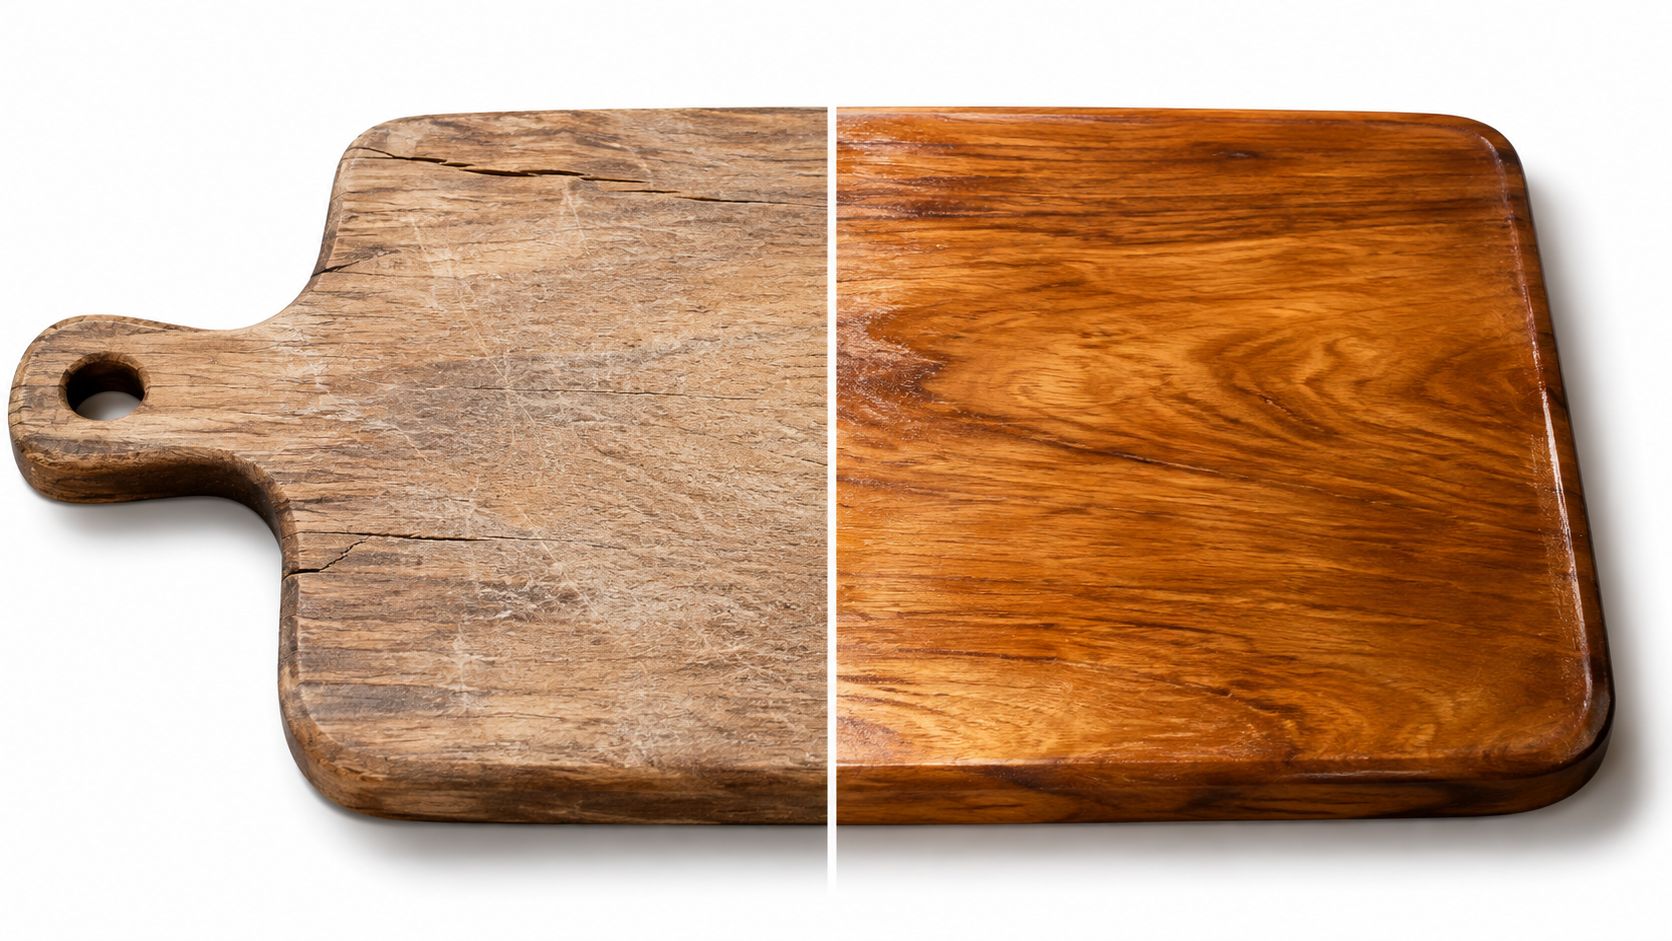
Dry, pale wood usually signals that the board needs conditioning. Cracks, deep knife grooves, and areas that remain difficult to clean signal a more serious problem. Seasoning can slow drying and moisture absorption, but it can't reliably seal defects that prevent effective washing and sanitising.
A smooth appearance isn't proof of safety. A board can look attractive after oiling while still holding contamination in a deep scar.
Warping and splitting commonly follow soaking, dishwasher exposure, or uneven drying. Don't try to flatten a badly distorted board by adding oil. Once the structure has changed or the board no longer rests securely, it's time to retire it. The cutting board wood types guide can help you assess material and construction before choosing a replacement.
Ongoing Cutting Board Care Tips
Keep boards upright or otherwise positioned so air can reach both sides after washing. Rotate between suitable boards when possible, and reserve separate boards for raw proteins and ready-to-eat foods. In dry heated indoor air, condition the wood when it looks pale, feels rough, or absorbs water unusually quickly, rather than relying only on a fixed calendar.
Avoid storing a wooden board beside a dishwasher, against a constantly wet sink area, or under objects that prevent airflow. A Magnet Shelf Rack for Refrigerator - Kitchen Organizer can organise seasoning bottles and kitchen tools, but keep the board itself in a dry location where it can air out.
Replace the board when deep grooves, cracks, or other defects prevent effective cleaning. Conditioning extends the useful life of a sound board. It doesn't make an unsafe board safe again.
Build this routine around the board you actually use: choose suitable material, wash after every task, sanitise when food risk requires it, dry completely, and apply food-grade mineral oil only when the wood needs conditioning. For practical guidance on cutting boards, kitchen organisation, and everyday home essentials, visit GrifGlo and make your next kitchen purchase with clear care criteria in mind.

Laisser un commentaire
Ce site est protégé par hCaptcha, et la Politique de confidentialité et les Conditions de service de hCaptcha s’appliquent.