

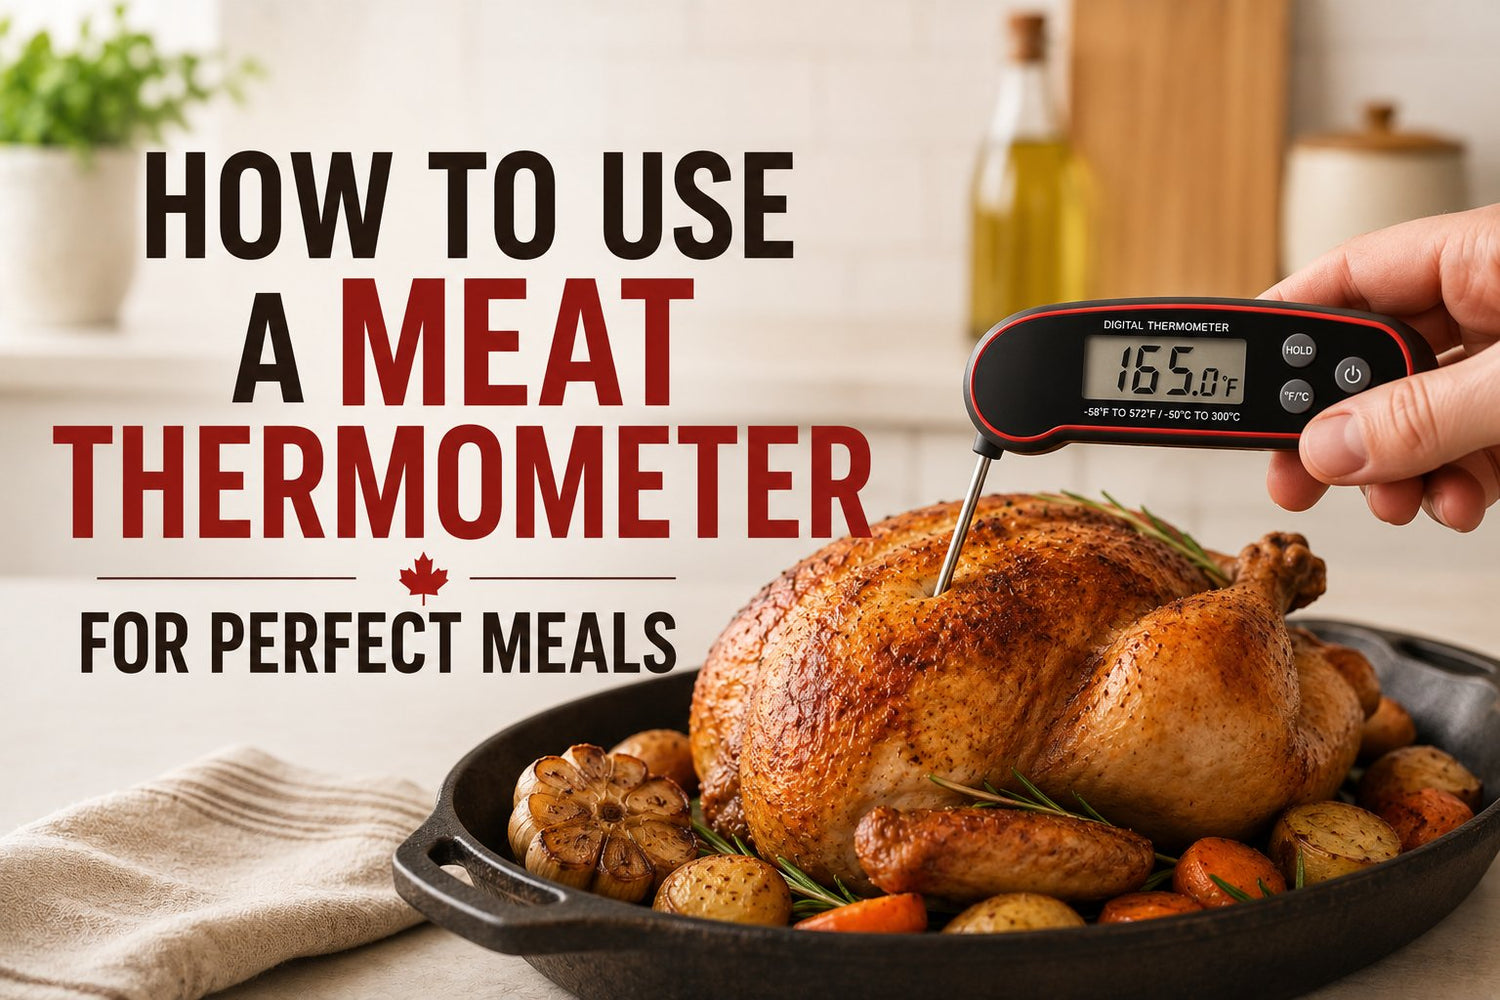
You're probably standing over a roast, a tray of chicken, or a few burgers on the grill, doing the same thing most home cooks do. You press the meat, look at the juices, maybe cut into the middle, and hope you're right. That's the moment meals go sideways. Chicken dries out because it stayed on too long. Pork comes off early because the outside looked done. Burgers fool you because the centre was cooler than the surface.
A meat thermometer fixes that, but only if you use it properly. Most mistakes don't come from buying the wrong tool. They come from bad placement, rushing the reading, or trusting a spot near bone instead of the actual centre. If you want fewer dry dinners and fewer food safety doubts, learning how to use a meat thermometer is one of the most useful kitchen skills you can build.
If you're still sorting out your core setup, a practical kitchen essentials list helps put a thermometer in the same category as a sharp knife and a decent pan. It isn't a niche gadget. It's one of the tools that stops guesswork from ruining good food.
Table of Contents
- The End of Guesswork in the Kitchen
- Choosing the Right Thermometer for Your Cooking Style
- The Core Technique for an Accurate Reading
- Essential Temperatures for Doneness and Safety
- Calibration Care and Troubleshooting
- Cooking with Confidence Every Time
The End of Guesswork in the Kitchen
The usual failure point isn't seasoning or even cooking method. It's uncertainty at the end. A beautiful roast can look ready and still need more time in the centre. Chicken can look done on the outside while the area near the thigh joint is lagging behind. Thick pork chops are especially good at misleading people because the outside browns long before the middle catches up.
That's why experienced cooks stop treating doneness as a visual judgement call. They measure it. Once you start doing that consistently, two things happen. Your food gets safer, and it gets better.
Practical rule: Doneness is a temperature decision, not a colour decision.
A thermometer also changes how you cook emotionally. You stop hovering. You stop slicing into meat to check. You stop leaving food on “just another few minutes” because you got nervous. That extra time is exactly how juicy chicken turns chalky and how a good steak slips past the doneness you wanted.
There's also a quality difference between guessing and measuring. Guessing produces occasional wins. Measuring produces repeatable results. If you roast chicken often, grill steaks on weekends, or cook burgers for a crowd, that consistency matters more than any single recipe trick.
Here's what doesn't work well:
- Touch alone: It can tell you something about firmness, but not whether the centre is safe.
- Colour alone: Meat can mislead you, especially near bone or in thicker cuts.
- Cooking by time alone: Ovens, grills, pan thickness, and meat size all vary.
What works is simple. Use the right thermometer, place it properly, wait for the reading to settle, and trust the number more than your instincts. Once that becomes habit, you stop cooking on hope.
Choosing the Right Thermometer for Your Cooking Style
The best thermometer is the one that matches the way you cook. A person who pan-sears steaks and cooks weeknight chicken pieces needs something different from someone who roasts whole birds or tends a long barbecue cook outside.
Instant-read models for quick decisions
An instant-read thermometer is the most useful option for everyday cooking. It's built for spot checks. You open the oven, test a chicken breast, confirm a pork chop, or check a burger just before it comes off the heat.
This style suits people who cook smaller cuts and want speed. You insert it, wait for the reading to settle, and remove it. It doesn't stay in the meat while cooking.
Good uses include:
- Steaks and chops: Quick centre checks near the end.
- Chicken breasts and thighs: Fast confirmation without cutting into the meat.
- Burgers: Side-entry checks in the middle.
If you also cook by weight for baking, coffee, or portioning, small measuring tools can live in the same drawer. The Mini Digital Pocket Scale 200g is a separate tool, but its compact format shows the same idea. Small precision tools are often the ones you keep close and use.
Leave-in probes for longer cooks
A leave-in probe thermometer is better for roasts, whole poultry, and slower cooks. You place the probe before or during cooking and monitor the temperature over time. Some versions are wired. Some are wireless.
This is the practical choice when opening the oven or grill repeatedly would cost heat and slow the cook. It also helps if you're multitasking. If you're curious how people chase tight control in another cooking method, sous vide bags are part of that same broader mindset of temperature-led cooking.
If you cook large cuts often, a leave-in probe is less convenient to store and more convenient to use.
Oven-safe dial thermometers for simple roasting
An oven-safe dial thermometer is the old-school option. No battery. No app. No extra screen. For some cooks, that simplicity is useful.
The trade-off is speed. Analog dial models generally take longer to settle than digital tools, so they're less nimble for quick checking. They make more sense in a roast than in a pan of thin cutlets.
Choose by habit, not hype:
| Thermometer type | Best for | Main trade-off |
|---|---|---|
| Instant-read | Weeknight meats, burgers, steaks, chops | Doesn't monitor continuously |
| Leave-in probe | Roasts, turkey, barbecue, slow cooks | More setup and more parts |
| Oven-safe dial | Simple oven roasting | Slower reading |
The Core Technique for an Accurate Reading
A roast can look finished on the outside and still be under at the centre. A chicken breast can read done if the probe lands a little too shallow, then dry out because you keep cooking to fix a number that was wrong in the first place. Accurate thermometer use comes down to one job. Find the coldest point inside the meat.
That is why the most useful technique is not “aim for the thickest part.” It is overshoot and pull back. Push the probe past where you think the centre is, then draw it back slowly. Watch the display as you withdraw the probe. The lowest reading you pass through is the thermal centre, and that is the number that matters.

A Serious Eats video demonstration of the overshoot and back-out technique shows the temperature dropping as the tip reaches the middle, then changing again once it moves beyond it. That single habit fixes a lot of the bad readings home cooks get from guessing.
The supporting rules matter because they help you use that method properly. The sensor tip has to be fully buried in the meat, and you need enough depth to reach the centre cleanly. As explained in this guide to probe placement and thermometer depth, thick cuts need proper insertion depth, thin cuts often need side entry, and the thermometer needs time to settle before you trust the display.
Side entry is often the difference between a true reading and a useless one. Burgers, pork chops, boneless chicken breasts, and thinner steaks rarely give you much room from the top. Come in horizontally from the side so the sensing tip travels through the middle, not the upper half of the meat.
I use the same rule for uneven cuts. If the shape is awkward, check more than one path. On a roast or bone-in chicken piece, one area can run hotter than another, and the centre is not always where your eyes tell you it is.
If you only stab once and accept the first number, you are still guessing.
Here's the video version of the basic handling process:
How to place the probe in common cuts
-
Whole chicken or turkey
Insert into the innermost thigh area and keep the tip in meat, clear of bone. -
Roasts
Enter through the thickest muscle, overshoot the centre, then pull back slowly to catch the lowest reading. -
Steaks and pork chops
Use side entry on thicker pieces so the tip crosses the middle instead of stopping short. -
Burgers
Insert from the side to keep the sensor in the centre mass. -
Thin chicken breasts
Horizontal side entry is the reliable option. Top-down checks are often too shallow.
A few mistakes ruin otherwise good technique. Hitting bone can skew the reading. Measuring near the surface tells you more about the exterior than the interior. Touching the pan or grill grate with the tip gives a false high. Checking one random spot on an irregular cut leaves too much to chance.
Clean handling matters too. If you are tightening up your raw-meat prep routine, this guide to wood versus plastic cutting boards helps you set up a safer workflow around the thermometer.
Essential Temperatures for Doneness and Safety
Dinner usually goes wrong in the last few degrees. Chicken dries out because it stays on the heat too long. Pork gets cut open too early because nobody trusts the reading. A thermometer fixes both problems, but only if you know which number you are chasing.
Separate safety from doneness. Safety is the minimum temperature needed for a risky food to be ready to eat. Doneness is the finish you want, whether that means a pink steak, a just-cooked pork chop, or fish that flakes cleanly instead of turning cottony.
Poultry and ground meat leave less room for interpretation. As noted earlier, poultry needs to reach 74°C (165°F), and ground meats need 71°C (160°F). Those are stop signs, not suggestions.
Intact cuts are different. Beef, pork loin, lamb, and many fish preparations can be cooked to the finish you prefer, as long as you measure the true centre instead of a warmer outer zone. That is why the overshoot-and-pull-back method matters here. The lowest number you find on the way back is the one that decides whether the meat needs more time or should come off the heat now.
Good results come from hitting the right centre temperature, not from cooking until the outside looks convincing.
Meat Temperature Guide
The chart below keeps the two jobs separate. One column covers minimum safe temperatures where a clear official number applies. The other covers the eating result you are aiming for.
| Meat | Minimum Safe Temp | Doneness Target |
|---|---|---|
| Ground meats such as burgers | 71°C (160°F) | Cook through to at least the safe minimum |
| Poultry | 74°C (165°F) | Pull once the true centre reaches the safe minimum |
| Beef steaks and roasts | Use a thermometer and cook to your preferred doneness | Rare to well-done by preference |
| Pork chops and roasts | Use a thermometer and cook to your preferred doneness | Slight blush to fully cooked, depending on preference |
| Lamb | Use a thermometer and cook to your preferred doneness | Rare to well-done by preference |
| Fish | Cook until the centre is properly done | Opaque and flaky, but still moist |
The trade-off is simple. The higher the final temperature, the wider the margin for overcooking. That matters most with lean cuts, which go from juicy to dry fast.
Carryover cooking matters too. Meat keeps climbing after it leaves the oven, grill, or pan. Large roasts rise more than thin pieces, but thick steaks and chops can still drift past the doneness you wanted if you wait for the exact final number before pulling them. In practice, I watch the centre closely near the end and remove larger cuts a little early so the rest finishes the job.
This is also where cookware changes the outcome. Heavy pans can keep pushing heat into meat even after the burner is off. If you are trying to understand why one skillet gives you more carryover than another, this guide to the best cookware for gas stoves gives useful context.
One last rule. Do not rely on one reading from one spot, especially on a roast, bone-in chicken piece, or thick chop. Check the centre properly, use the lowest reading you find, and pull based on that number. That is how you get meat that is safe without cooking past its best point.
Calibration Care and Troubleshooting
A thermometer that reads a few degrees off can ruin dinner in both directions. Chicken stays undercooked if the reading runs high. Pork and steak dry out if the reading runs low. Check accuracy often enough that you trust the number before it touches meat.

How to calibrate with ice water
The simplest home check is an ice bath. Fill a glass or jug with plenty of crushed ice, add cold water until it turns slushy, then insert the probe without letting the tip touch the sides or bottom. Wait for the reading to settle. A properly calibrated thermometer should read 32°F, or 0°C.
Do not rush this step. A probe stuck against the container wall can give a false reading, and a thin layer of ice floating in water is less reliable than a packed slurry.
Use this quick process:
- Pack the container with crushed ice.
- Add just enough cold water to make a thick slush.
- Insert the probe into the centre of the slurry.
- Hold it still until the display stops moving.
- Confirm it reads 32°F or 0°C.
Dial thermometers usually let you correct the reading with the calibration nut while the stem stays in the ice bath. Many digital models do not. If a digital unit is off, try a fresh battery, check the manual for a reset function, and replace it if it still drifts.
What to do when the reading looks wrong
Strange readings usually come from one of four problems. The probe is damaged, the battery is weak, the sensor has gone out of calibration, or the thermometer is being used incorrectly.
A few signs are easy to spot:
- The display jumps around: Keep the probe still and give it time. If it still will not settle, test it in ice water.
- Two checks in the same piece of meat are far apart: Use the overshoot and pull back technique again and confirm you found the thermal centre, not a hotter outer zone.
- The reading is clearly off in both ice water and food: Replace the thermometer.
- The thermometer was dropped or left near extreme heat: Test it before the next cook.
Probe care matters too. Grease baked onto the stem can slow response time, and water forced into the body of a digital thermometer can shorten its life. Wash the probe, not the whole unit unless the manufacturer says it is fully waterproof. Dry it before storing it.
If your thermometer seems inconsistent only in the oven, the problem may not be the thermometer at all. An oven that cycles too hot or too cool can make good readings look suspicious. This guide to checking an oven heat sensor helps separate oven trouble from probe trouble.
One last check I rely on: test the thermometer before a big roast or holiday cook, not after something looks wrong. Five minutes at the sink is cheaper than serving dry meat or second-guessing every reading.
Cooking with Confidence Every Time
Using a meat thermometer well comes down to three habits.
First, find the true centre, not a convenient spot. Second, cook to temperature instead of time. Third, check calibration often enough that the reading means something. If you build those habits, you stop guessing and start controlling the result.
That's the key shift. You're no longer cutting into chicken to “see”. You're no longer adding extra minutes out of fear. You're no longer hoping the roast is ready because the outside looks right. You know.
A useful tool source in that process is GrifGlo, which organises practical kitchen and home buying guides so people can compare tools by fit for purpose rather than scrolling through messy catalogues.
If you're tightening up your kitchen setup, GrifGlo is a practical place to compare everyday tools, cookware, and home essentials with decision-focused guides that help you buy what fits your routine.


Laisser un commentaire
Ce site est protégé par hCaptcha, et la Politique de confidentialité et les Conditions de service de hCaptcha s’appliquent.