

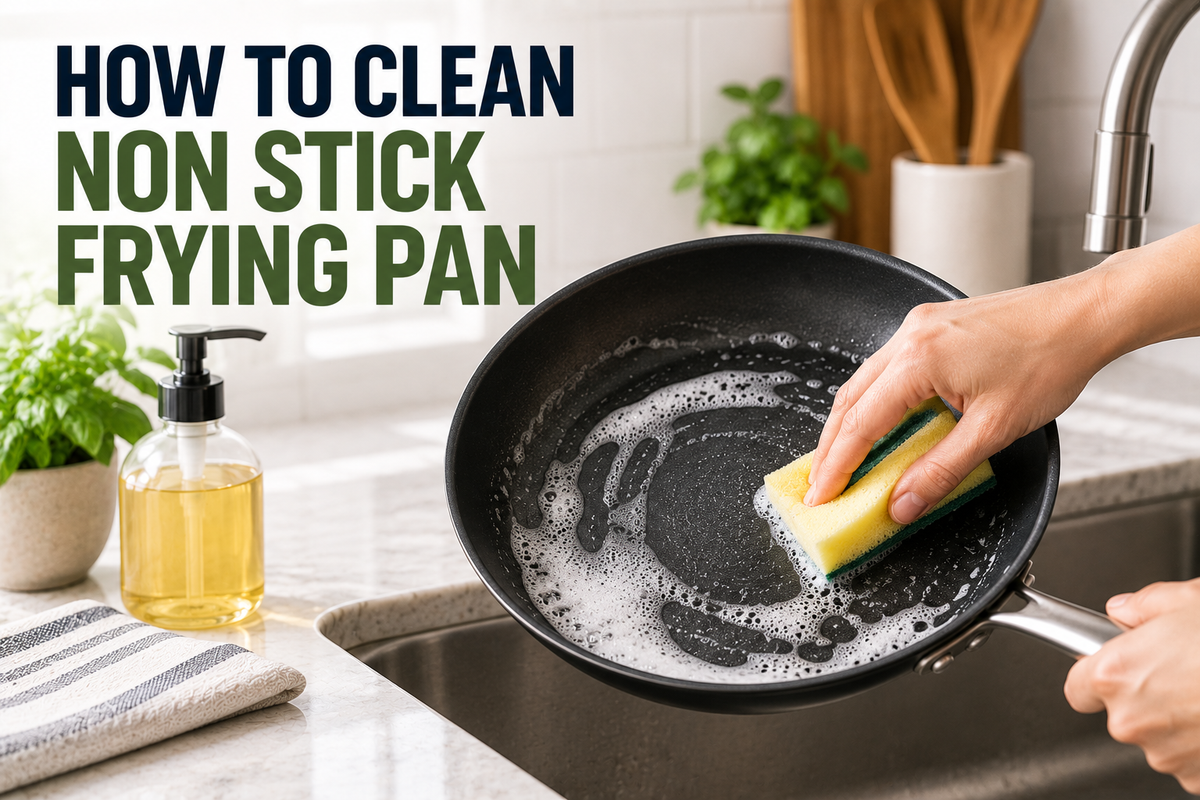
You've just finished frying eggs, and instead of sliding cleanly onto the plate, they've left a rubbery layer welded to the bottom of the pan. The pan is still hot, the sink is right there, and a rough scouring pad looks like the fastest answer. That's how a manageable cleanup turns into a scratched pan.
Learning how to clean a non stick frying pan is less about finding a stronger scrubber and more about protecting the coating before residue becomes a problem. The safest Canadian guidance centres on cooling, gentle hand-washing, and avoiding both excessive heat and abrasion. Follow that order, and most messes need far less effort than they first appear to.
Table of Contents
- Why Your Non Stick Pan Needs Gentle Cleaning
- The Everyday Cleaning Routine After Cooking
- Removing Burnt-On Residue Without Scrubbing
- Tools and Cleaners to Use and Avoid
- Maintaining and Storing Your Pan for a Longer Life
- Common Mistakes and Quick Troubleshooting
Why Your Non Stick Pan Needs Gentle Cleaning
The food stuck to your pan is usually not the main threat. Heat shock and abrasion cause more lasting trouble. Pouring cold water into a very hot pan can stress the pan and its coating, while steel wool, metal pads, and abrasive cleaners can leave scratches that make future cooking and cleaning harder. Health Canada advises against preheating empty nonstick cookware and against using it above 260 °C (500 °F), as described in this Canadian guidance on cleaning a burnt non-stick pan.
A nonstick surface works by giving food a smooth, low-adhesion layer between the ingredients and the pan body. That layer doesn't need force to stay clean. It needs the right temperature, enough moisture to loosen food, and a soft tool that lifts residue without cutting into the finish.
The two golden rules: Let the pan cool before washing it, and never use anything that can scratch the cooking surface.
That doesn't mean you have to treat every mark as a crisis. A faint cooking stain can be cosmetic, while a deep scratch, bubbling, or peeling coating is a sign that the pan has suffered real damage. The practical approach is an escalation ladder: start with warm, soapy water; move to a soft soak for dried food; use a measured simmer only for baked-on residue; then stop rather than attacking a spot indefinitely.
The same preservation mindset applies to other coated or porous kitchen surfaces. For example, the advice in this resource on Hans Grill pizza stone care is useful because it reinforces a broader lesson: cleaning methods need to match the material, not just the mess. For help comparing pan materials before replacing a worn coating, see this guide to non-stick cookware.
The Everyday Cleaning Routine After Cooking
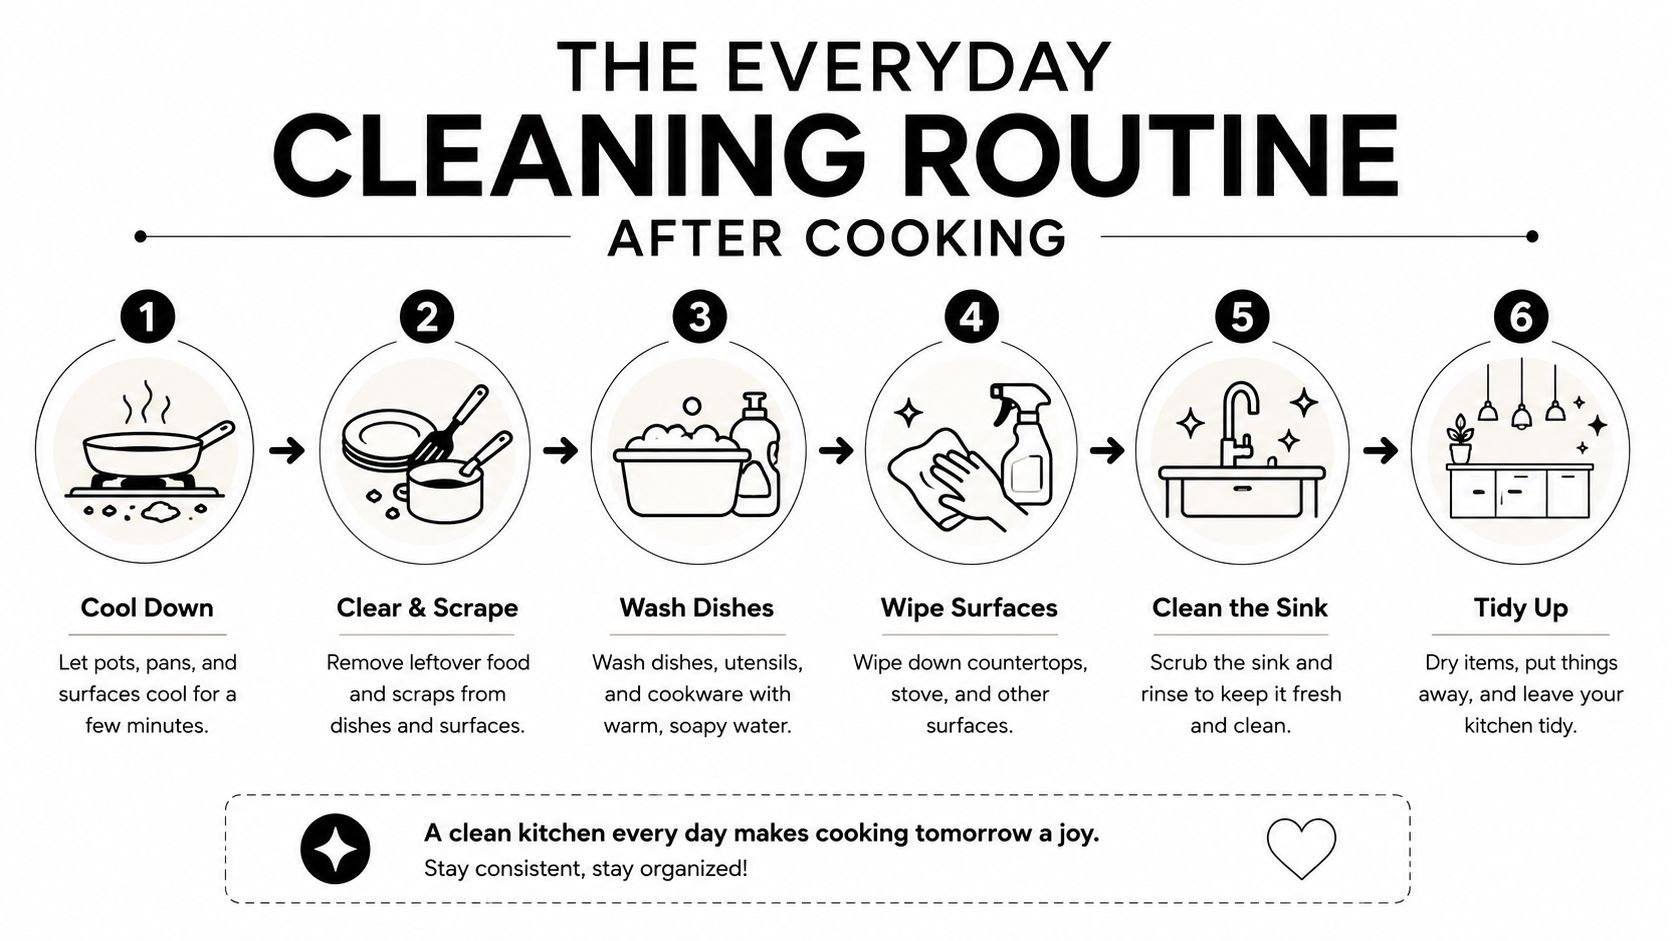
The best daily routine is simple enough to repeat after every meal.
Cool first
Move the pan off the burner and let it cool completely before it reaches the sink. Don't run cold tap water over a hot surface, and don't drop a hot pan into a basin of cold water. Health Canada specifically advises against using nonstick cookware at high heat, including temperatures above 260 °C (500 °F), so cooling the pan is both a sensible safety habit and the first cleaning step. See the Canadian cookware care instructions from Cuisinart for the same cooling-first approach.
If you need to handle the pan while it's warm, use suitable protection rather than grabbing the handle or body with a bare hand. A HOME AESTHETICS HA-4121 2pc Oven Mitt & Pot Holder Set includes a long cotton oven mitt with quilted insulation and a cotton pot holder that can also serve as a trivet.
Wash with mild suds
Fill the cooled pan with hot, sudsy water and use a soft sponge, soft dishcloth, or microfibre cloth. Ordinary mild dish soap is enough for cooking oil, egg residue, sauce, and most food left after a normal meal. Work around the surface with light pressure instead of grinding one spot.
If you've fried an egg, the routine may take only a few gentle passes once the pan has cooled. After searing a chicken breast, let the pan cool while you eat, then loosen the remaining juices with warm water and soap. Don't leave the pan sitting with food drying inside it, because dried residue creates the temptation to scrub harder.
Rinse away all soap and food film, then dry the pan immediately with a clean towel. Leaving it wet in a crowded drying rack can allow water marks and residue film to remain on the surface, especially around the rim and handle joint.
Use this video demonstration of non-stick pan cleaning as a visual reminder of the gentle sequence, not as a reason to add harsher products.
Removing Burnt-On Residue Without Scrubbing
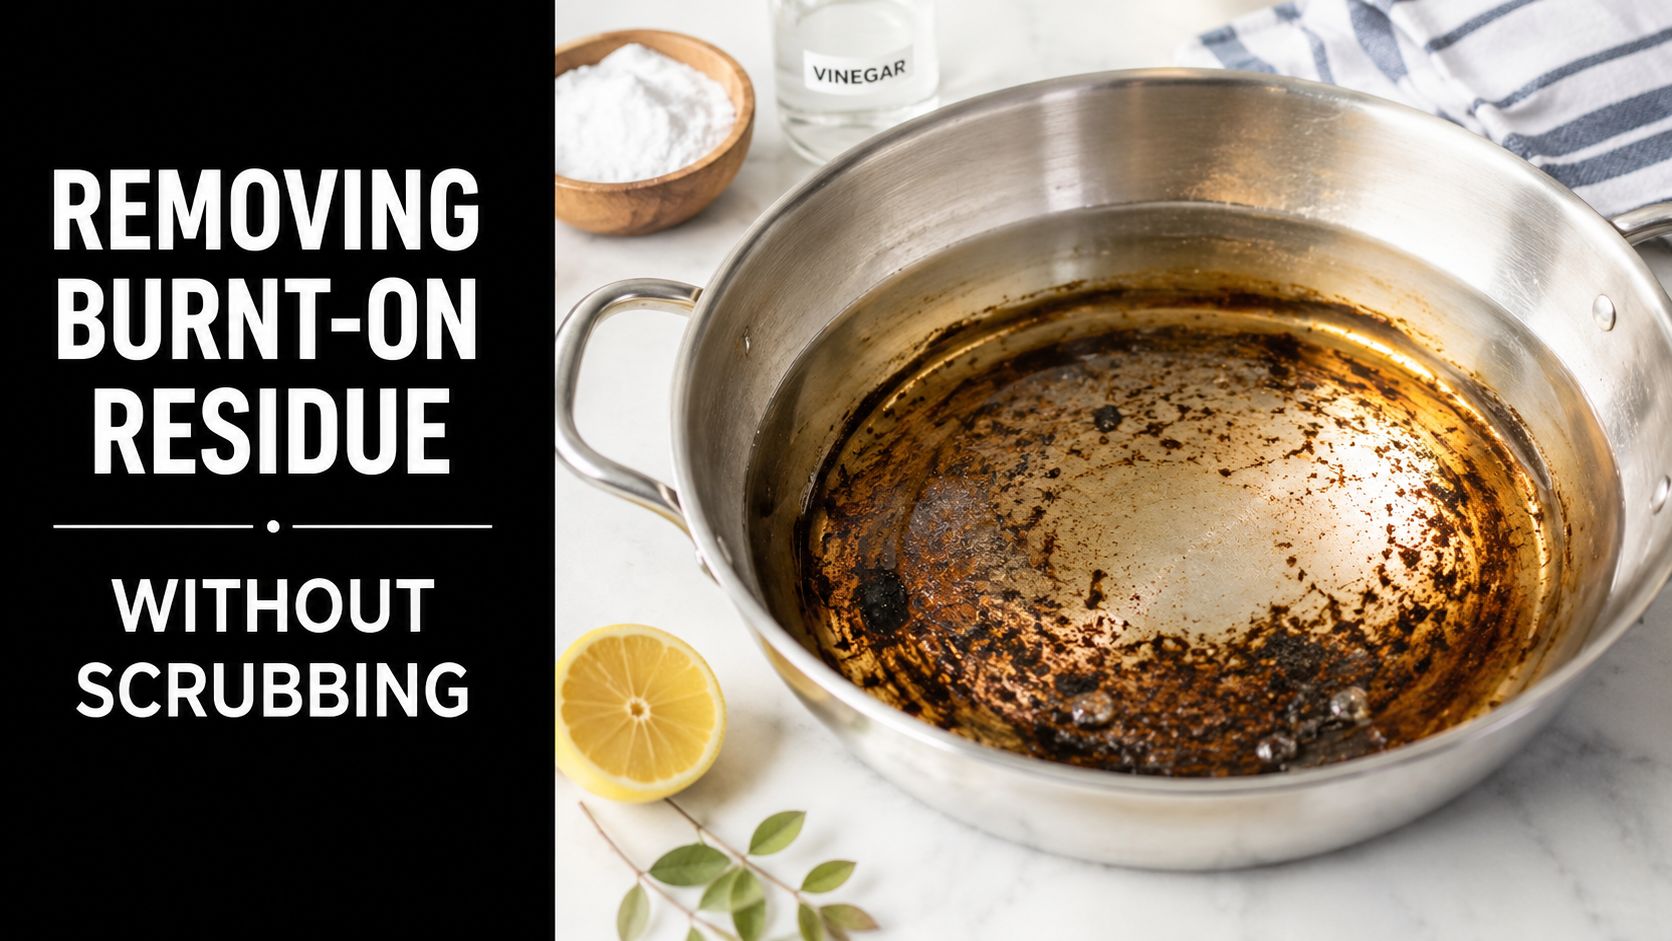
Burnt sugar, stuck rice, and forgotten bacon need patience, not aggression. A coating can survive a careful loosening process, but it can't be unscratched once a rough pad has cut through its surface.
Start with a warm detergent stand
First, add hot water and liquid dish detergent to the pan. Let it stand until the water becomes lukewarm, then use a soft sponge or cloth to wipe away what has loosened. This first stage gives dried food time to absorb water and soften, so you aren't trying to remove a brittle layer by force.
Don't leave the pan soaking overnight. A controlled soak is enough for ordinary dried residue, and prolonged exposure adds wear without solving the underlying problem. If the food releases, wash, rinse, and dry the pan as usual.
Escalate to the measured simmer
For residue that remains firmly attached, a Canadian Cuisinart instruction booklet recommends adding water to a depth of one inch and 1 tablespoon, or 15 mL, of dishwasher detergent, then bringing the mixture to a boil and simmering it for 15 minutes before rinsing. Follow the Cuisinart Canada cleaning instructions for that measured rescue method.
The simmer works by keeping the residue wet and warm long enough for the bonded food layer to loosen. It gives water and detergent time to work underneath the baked-on material, while a scrubber only applies force at the surface. Once the simmer is complete, let the pan cool enough to handle, rinse thoroughly, and wipe with a soft sponge.
Never improvise with steel wool, metal scrapers, or abrasive powder when a spot remains. If a dark mark is smooth, stable, and doesn't affect food release, it may be a cooking stain rather than an emergency. If the surface feels rough, shows a deep line, bubbles, or begins to peel, stop trying to restore it. Cleaning can remove residue, but it can't repair damaged coating. For a different material, keep the care requirements separate with this guide to cast iron cookware care.
Tools and Cleaners to Use and Avoid
Your sink setup should make the safe choice the easy choice. Keep a soft sponge and mild dish soap within reach, and remove steel wool or metal pads from the routine entirely.
The quick decision table
| Safe for Non Stick | Avoid Entirely | Why It Matters |
|---|---|---|
| Soft sponge | Steel wool | Metal fibres can scratch the coating. |
| Soft dishcloth | Metal scouring pad | Its abrasive surface can shorten coating life. |
| Microfibre cloth | Abrasive cleaner | Harsh particles can damage the cooking surface. |
| Mild dish soap | Metal scraper | A hard edge can gouge the finish. |
| Gentle baking soda paste for spot work | Oven self-clean cycle | Extreme heat can damage nonstick coatings. |
| Silicone or wooden utensil during cooking | Metal utensil | Metal can mark or scrape the surface. |
A baking soda paste can help with gentle spot work when applied lightly, but don't turn it into a gritty polishing compound for the interior. Keep pressure low and rinse carefully. If you're cleaning the outside of the pan, you have more flexibility, but the cooking surface deserves the softest treatment.
Canadian manufacturer instructions explicitly warn against metal and abrasive pads, and Health Canada advises that nonstick cookware shouldn't go through an oven self-clean cycle. The safest interpretation is straightforward: if a tool feels sharp, rough, or gritty between your fingers, it doesn't belong inside the pan.
Ventilation matters during cooking and cleaning, particularly if heat or strong odours are involved. If you're also trying to keep grease from settling around the stove, this complete guide to cooker hood care offers useful maintenance context. For a separate appliance with its own cleaning needs, see this guide to cleaning an air fryer.
Maintaining and Storing Your Pan for a Longer Life
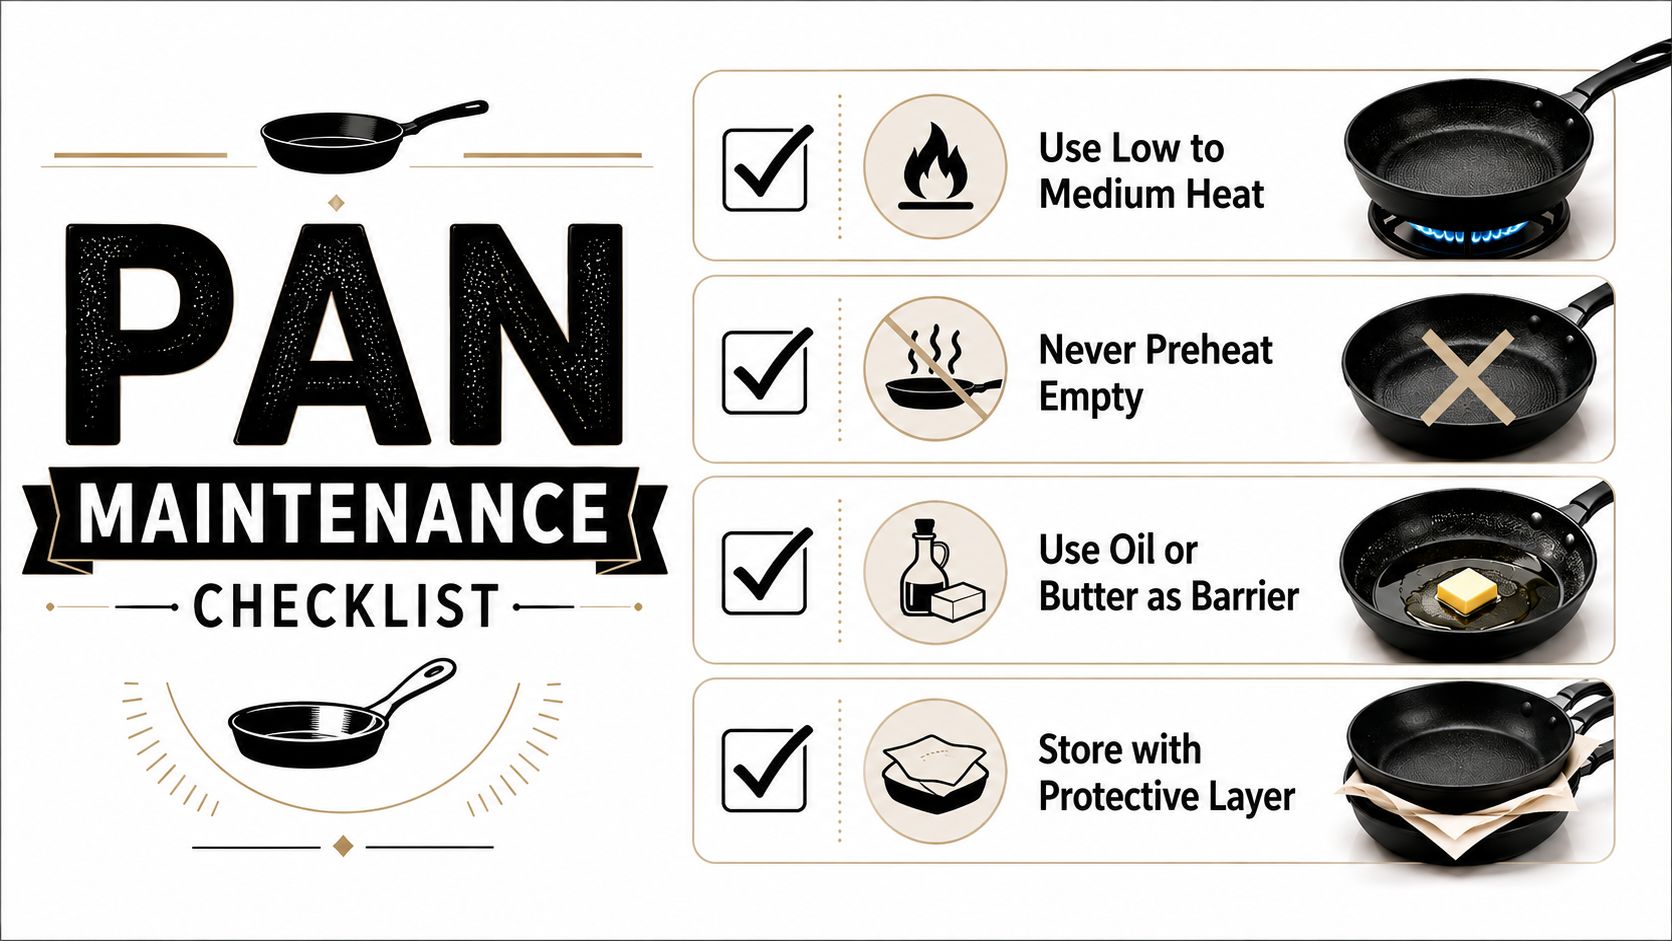
A pan that cooks gently usually cleans gently. Use low to medium heat, avoid preheating the pan while it's empty, and add a little oil or butter before the ingredients go in. Health Canada's Canadian cookware safety guidance supports avoiding empty preheating and temperatures above 260 °C (500 °F), habits that reduce the chance of overheated coating and stubborn cooked-on residue.
Choose silicone or wooden utensils for turning, stirring, and serving. Don't cut food in the pan, drag it across a rough surface, or use a metal whisk just because the pan looks durable. Small marks may seem harmless, but repeated contact gives scratches more opportunities to interfere with food release and make later cleaning less forgiving.
Store it like a coated surface
Direct stacking is a common source of damage. The base of one pan can rub against the cooking surface of another, and a drawer full of metal tools can create the same problem when pans slide around.
Use a soft cloth, pan protector, or folded towel between stacked pieces. If your kitchen allows it, hang the pan from a suitable hook so the cooking surface doesn't contact other cookware. A dedicated storage approach also makes it easier to reach the pan without dragging it past sharp lids or utensils. For broader kitchen storage ideas, use this guide to organizing pots and pans.
Know when cleaning isn't the answer
Replace the pan when you see deep scratches, bubbling, peeling, or flaking on the cooking surface. Persistent sticking after careful cooking and gentle washing is another practical warning that the coating no longer performs as intended. Uneven discolouration deserves attention too, especially when it appears alongside surface texture changes.
A stain alone doesn't automatically make a pan unusable. A damaged or unstable coating is different. Once the surface has visibly deteriorated, spending more time with cleaners won't restore its protective function.
Common Mistakes and Quick Troubleshooting
Most nonstick cleaning failures come from a few rushed habits:
- Cold-water shock: Spraying a hot pan with cold water can stress the pan and coating. Let it cool fully, then use warm water.
- Steel-wool panic: Scrubbing harder may remove residue while permanently scratching the surface. Use a warm detergent stand first, followed by the measured simmer when necessary.
- Loose storage: A pan sliding against metal utensils can collect scratches before the next meal. Add a soft separator or store it away from sharp tools.
- Dishwasher convenience: Dishwasher heat and detergent can be harsh on nonstick finishes, so check the manufacturer's instructions and favour hand-washing when the guidance is unclear. Canadian care guidance recommends hand-washing with hot, sudsy water and a soft sponge or cloth, followed by immediate rinsing and drying.
A sticky film that builds up over time often comes from repeated cooking residue rather than one dramatic spill. Start with warm water, mild soap, and a soft sponge. If the film remains, use the gentle soak and then the measured simmer described earlier, rather than switching to an abrasive cleaner.
A single dishwasher mistake doesn't automatically prove that the pan is ruined. Inspect the surface after it has been washed and dried. If the coating is smooth and intact, return to hand-washing; if it peels, bubbles, or has deep scratches, retire the pan.
White spots or cloudy patches can be leftover mineral or soap film, especially when the surface remains wet after washing. Clean gently, rinse thoroughly, and dry immediately. Don't chase a cosmetic mark with steel wool. If you're weighing a different cooking surface, this overview of non-stick cookware alternatives can help you compare options.
The takeaway is practical: cool the pan before washing, and never let anything scratch it. Apply those two rules tonight, then use warmth and time for residue that refuses to release.
GrifGlo brings together practical kitchen guides, cookware comparisons, organization advice, and decision-friendly product options for everyday routines. Visit GrifGlo to compare tools and kitchen essentials with fit, usability, and care requirements in mind before you replace or expand your cookware.


Leave a comment
This site is protected by hCaptcha and the hCaptcha Privacy Policy and Terms of Service apply.